Find the Image
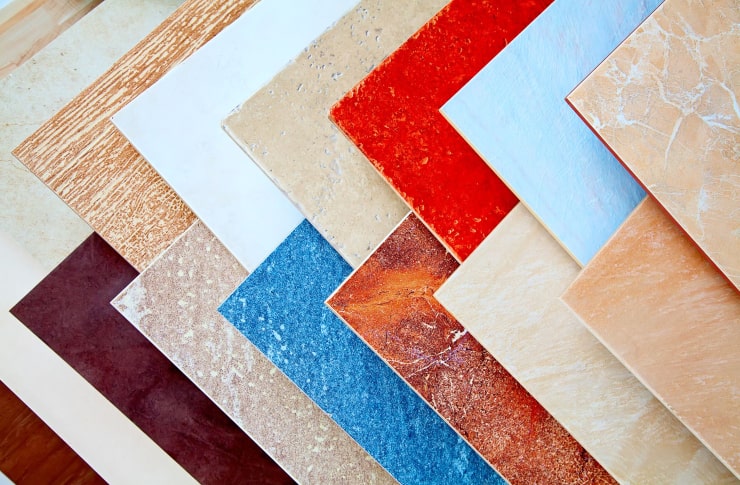
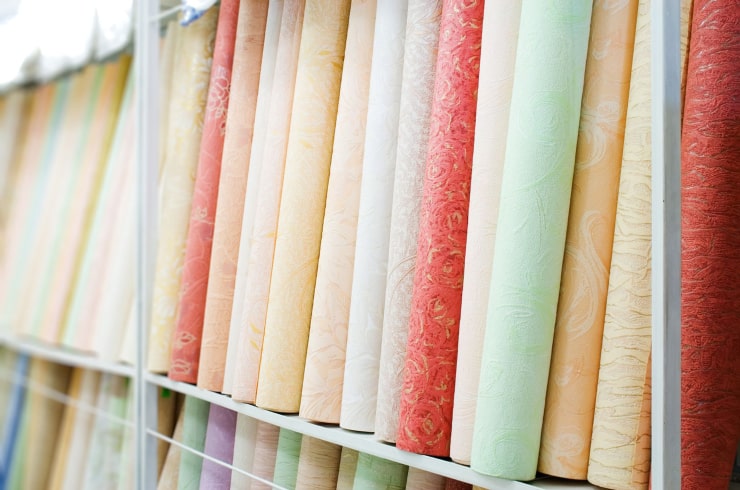
The solution Live Home 3D offers you is really simple and convenient. One option is to find the quality image of a particular material on the internet and upload it into the program. But, what if you saw the perfect material in a brick and mortar store? No big deal; you can just take a picture of the material and import it into Live Home 3D the same way you would import an image found on the internet.
Import New Material
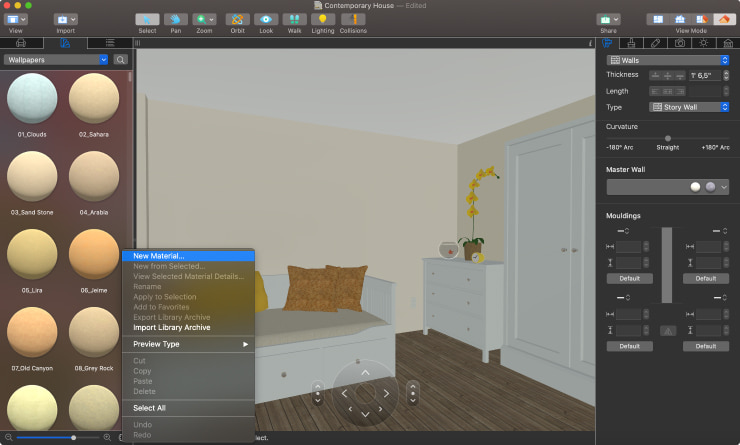
The next step is to import the image of the chosen material into Live Home 3D. Go to the Material Library that is right next to the Object Library, click on the gear icon and choose New Material in the pop-up menu.
Open the Material Composer
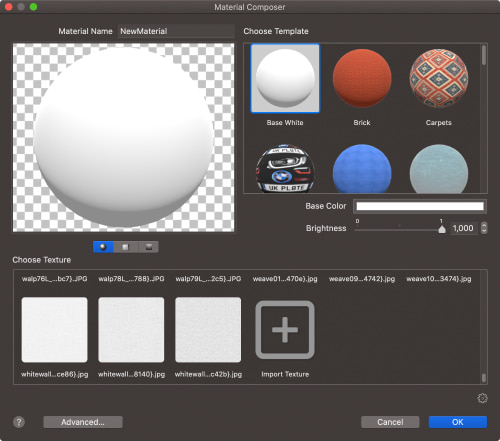
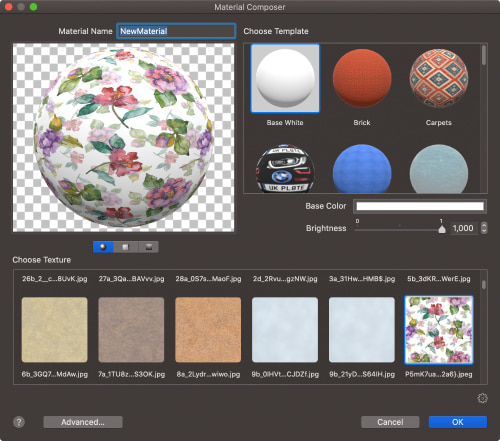
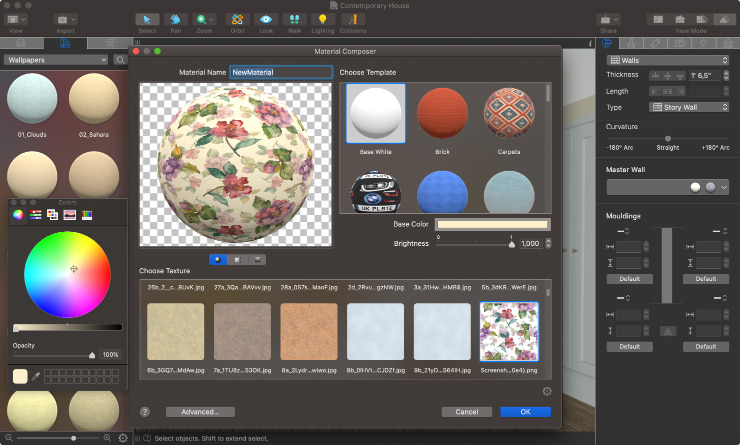
You will see the Material Composer dialogue box open with multiple texture categories like Block, Carpet, Brick, Laminate, Fabric, etc. Choose an appropriate category for your new material and then scroll through the available options in this section. Choose Import Texture at the very end of the list.
Upload Your Material
Now you can upload a new material from any folder on your device. Type in the material name and choose the preview type using the buttons below the preview. A selected material can be applied to a sphere, cube or flat surface.The preview simulates reflections from a spot and ambient light sources.
Adjust Color and Brightness Parameters, if Necessary
Note that you can also adjust the color and brightness of the material, if needed, using Base Color and Brightness respectively.
Change the Size of the Material
The next step is to apply the new material to your project. What you will most likely notice is that the applied new material is inadequately sized, and the pattern is stretched. You need to change the material size or scale so that it corresponds to the actual size or scale of the image pattern.
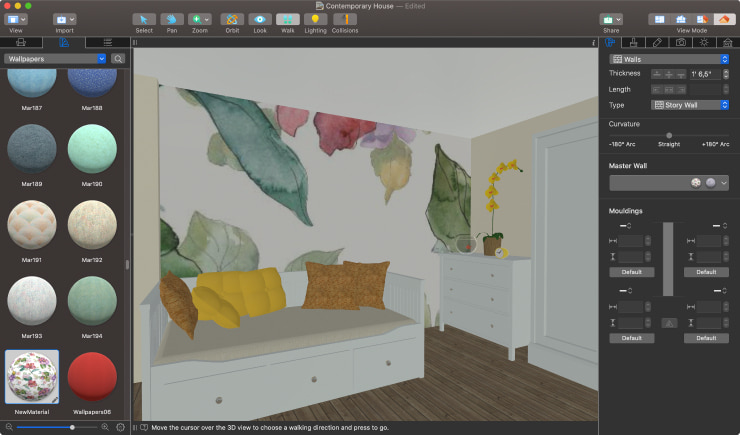
There are several ways in which you can experiment with the material’s properties until it is displayed accurately, and you are satisfied with the result.
The Scale Tool
Users of Live Home 3D Pro can access the Scale tool in the Material Editor by clicking on the icon of the new material and then tapping on the gear icon. This tool allows you to experiment with the scale of the material’s pattern.

The Tile Transform Tool
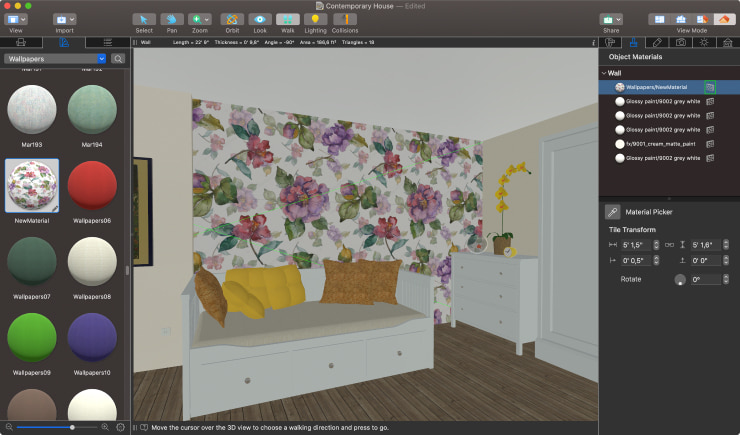
Users of the Free, Standard and Pro edition can also adjust the parameters with the help of the Tile Transform tool, located at the bottom of the Inspector. With the Tile Transform tool, you can adjust the scale and size of the material while observing the changes in 3D view at the same time.
The Tile Size Tool
This tool can be found in the Material Editor under the Scale Tool that was mentioned previously. The Tile Size Tool allows you to enter the exact measurements of the new material.
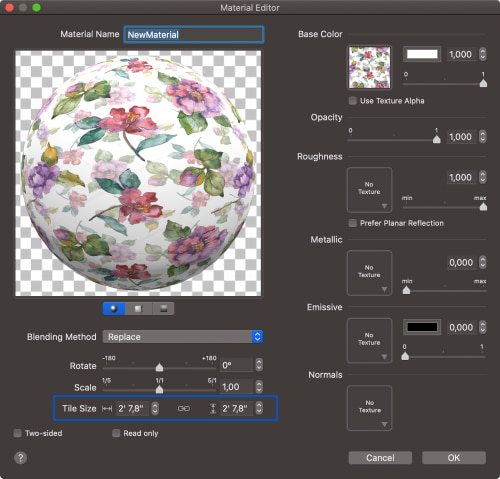
Adjust Additional Parameters in the Material Editor
Furthermore, in the Material Editor, you can make other types of changes, e.g., rotate the material, make it two-sided, adjust the material's roughness or transparency, add a metallic effect, etc. You can learn about all the capabilities of the Material Editor in the “Editing Materials” section on our website.
Once all the necessary adjustments are made, you can apply the new material to a wall, floor, piece of furniture, etc. The imported materials are automatically added to the “Imported” category of the Material Library. You can later add custom materials to other categories or remove the unwanted ones from the “Imported” category. Don’t hesitate to start adding and creating new materials and explore plenty of other features of Live Home 3D.