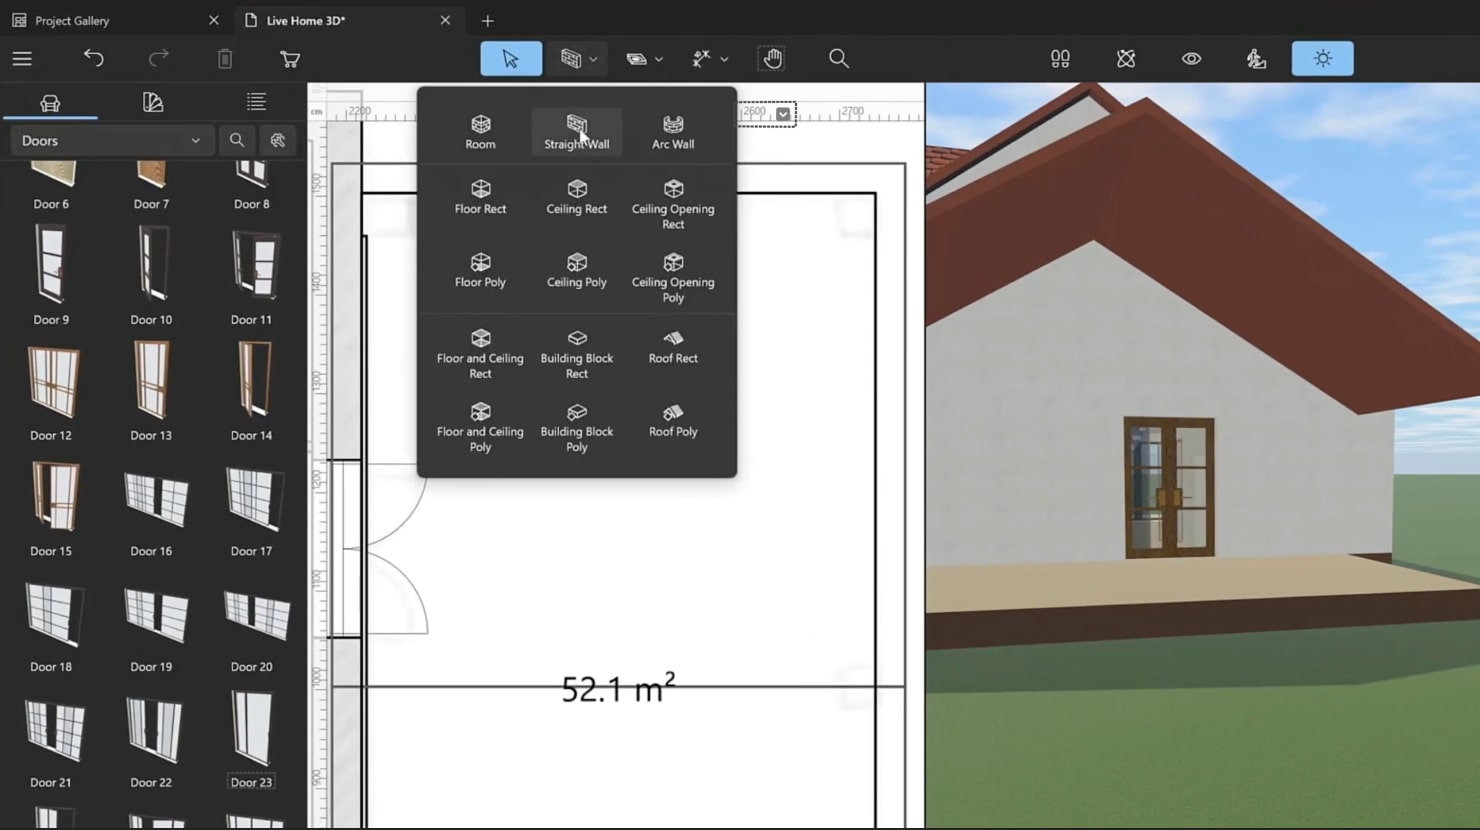
Adding Different Structural Elements
When you want to add support columns on the terrace and under the overhanging first floor, there are several ways to do it.
The first method is suitable if the roof and the support column are on the same floor. You just need to add a short wall using the Straight Wall tool and then change its type to Loft.
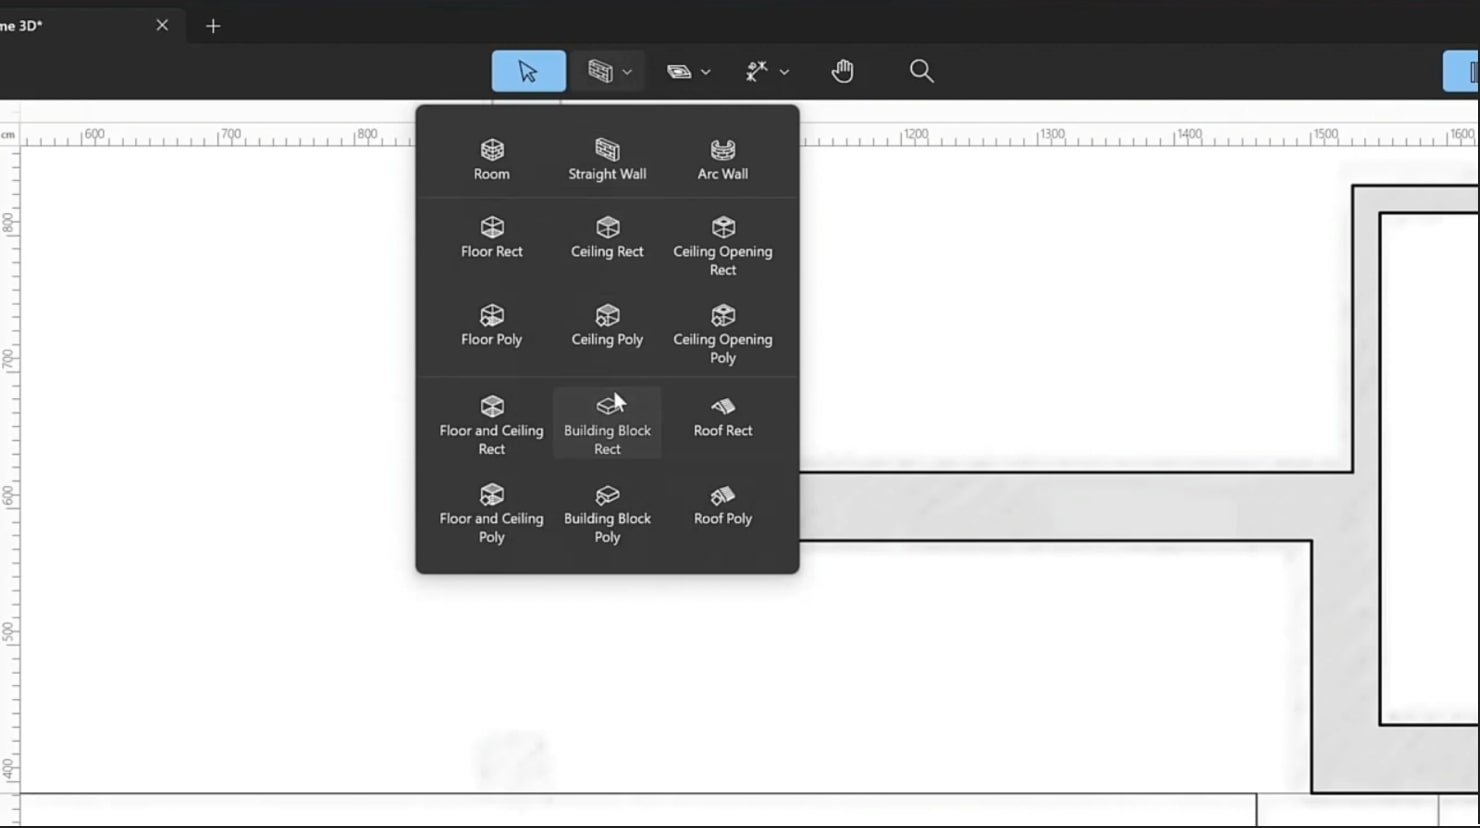
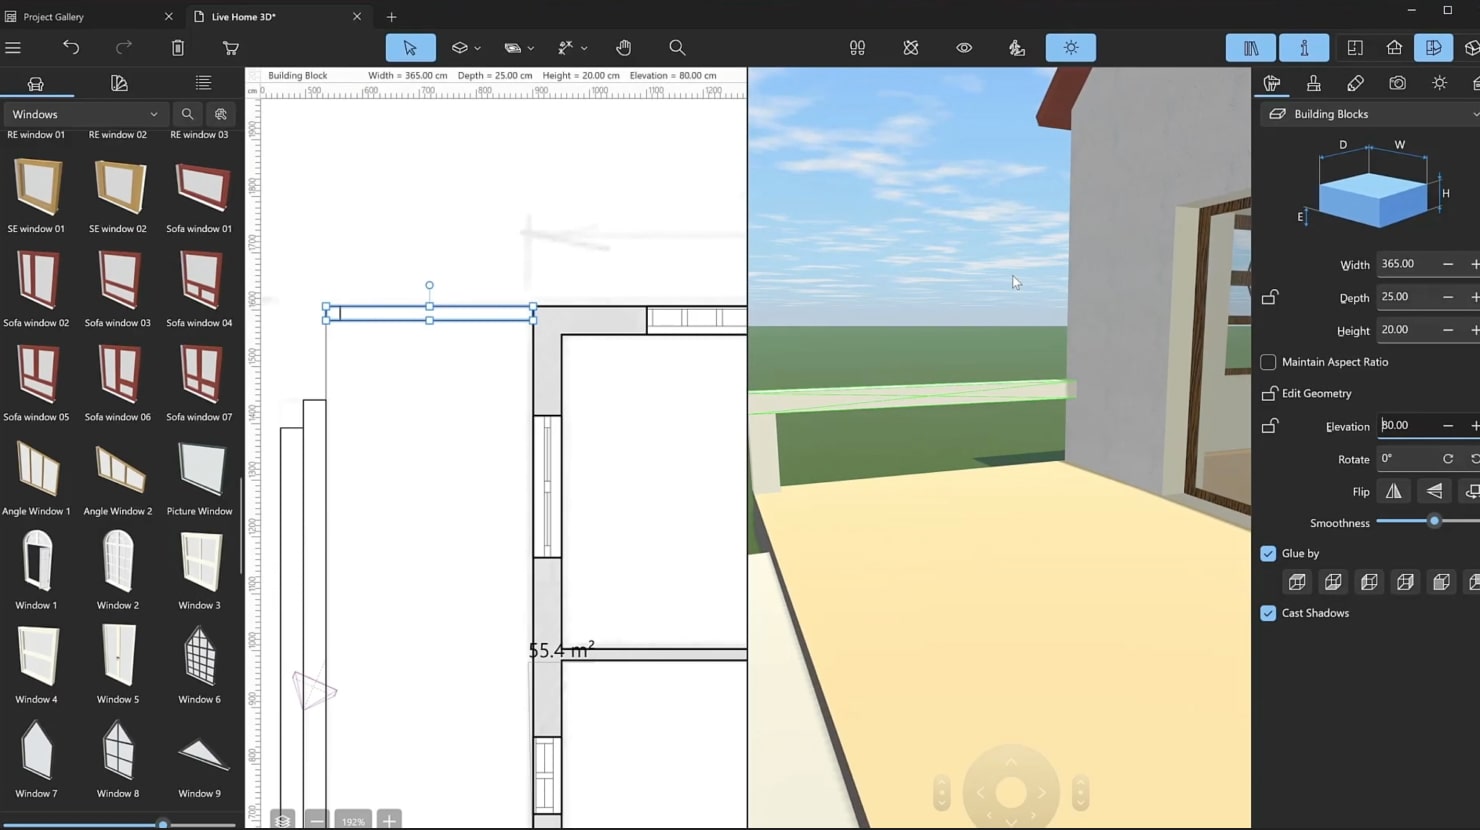
The second way, that is only available to users with unlocked Pro features, is using the Building Block tool.This tool has a wide range of applications, from constructing technical designs to decorative purposes, and it can even be used to create furniture using groups of blocks.
Unlike loft walls, the block’s height does not adjust automatically, so you need to enter the height value.
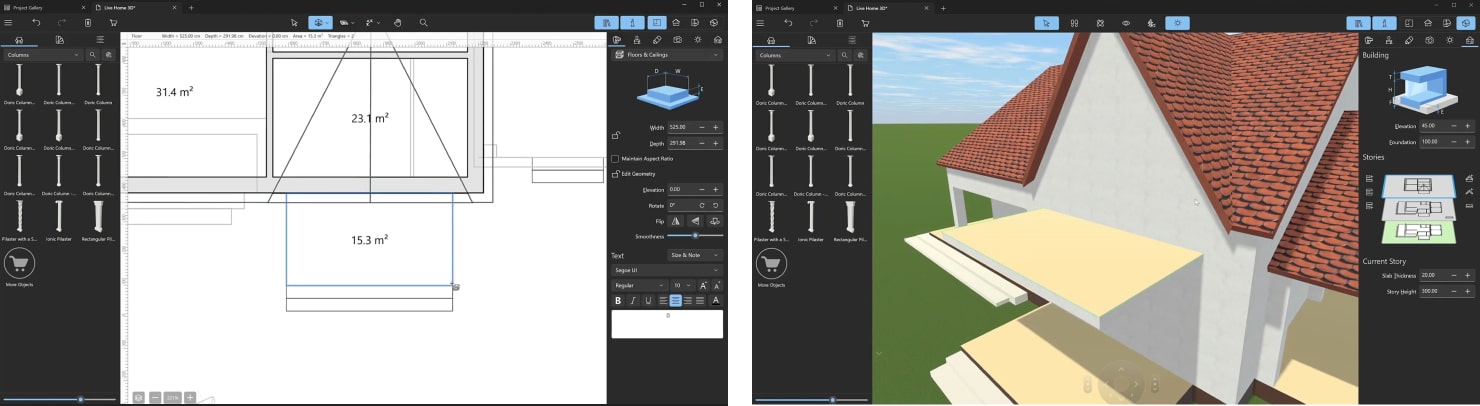
And, finally, the third way. You can add a column from the Live Home 3D Object library. Since columns are parametric objects, you can adjust its dimensions, size of the base and the capital.

When you want to add a balcony, it can be done in the same way as the terrace—with the Floor Rect or the Floor Poly tool. Switch to the top floor, choose the tool and draw a rectangle. The thickness of the balcony slab is determined by the slab thickness of the previous floor, and can be changed in the Building Properties section of the Inspector.
Adding Windows, Doors, Stairs and Fences
After you’ve finished building the walls and roof, it’s time to put in the doors and windows. To do this, just open the right part of the library. You’ll find over 2,400 different objects in the library that you can use. If you can’t find what you want among those, we offer you a variety of Extras Packs with additional objects and materials to choose from. At the end of each category in the Object Library, you can find the “More Objects” button.
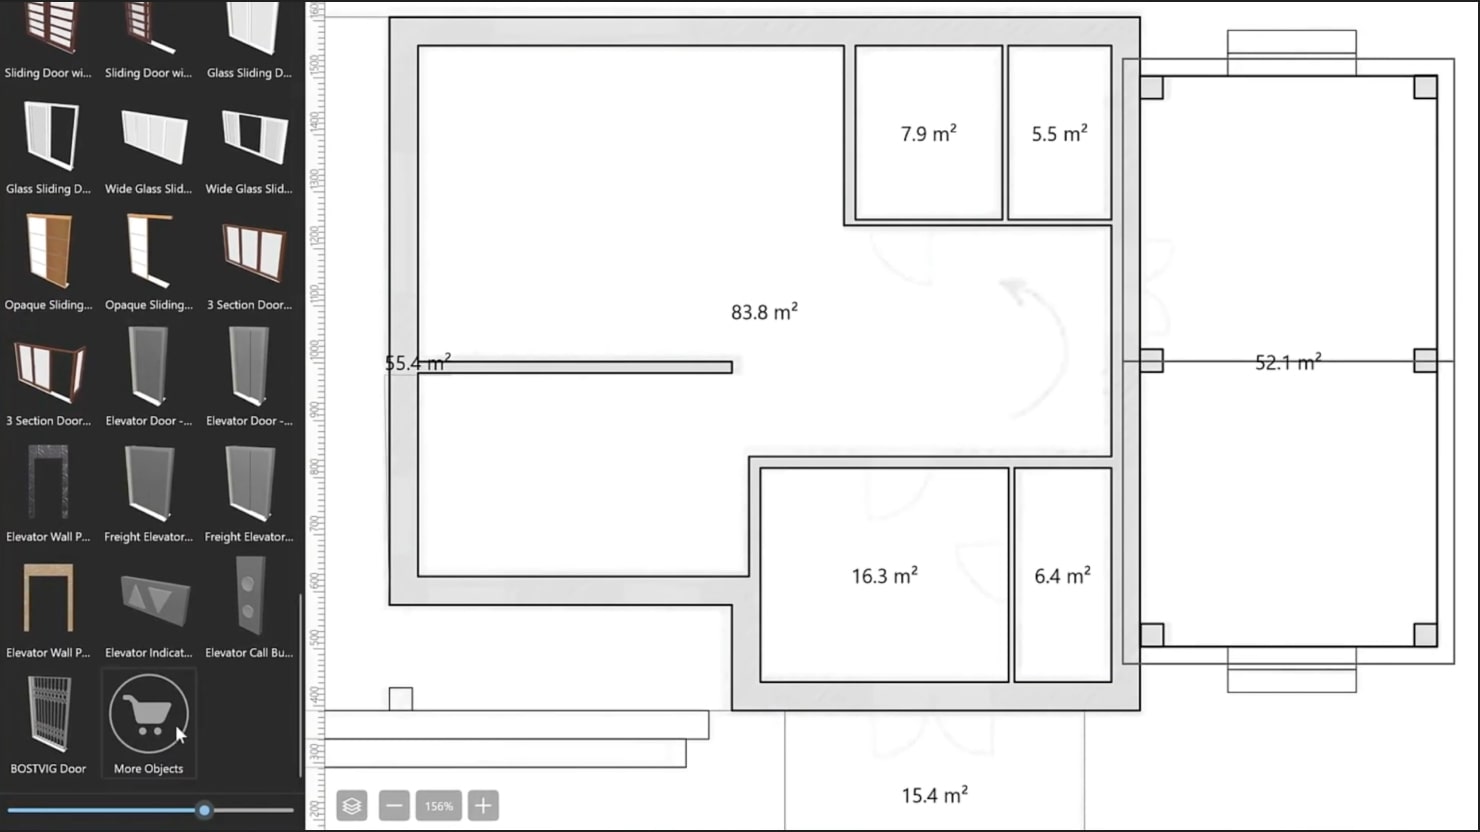
Clicking on it will take you to the built-in store. Here you can buy additional furniture and materials. Keep in mind that some objects, such as the collection of 100 windows and doors, can be obtained for free: you simply need to follow Live Home 3D on our social media channels.

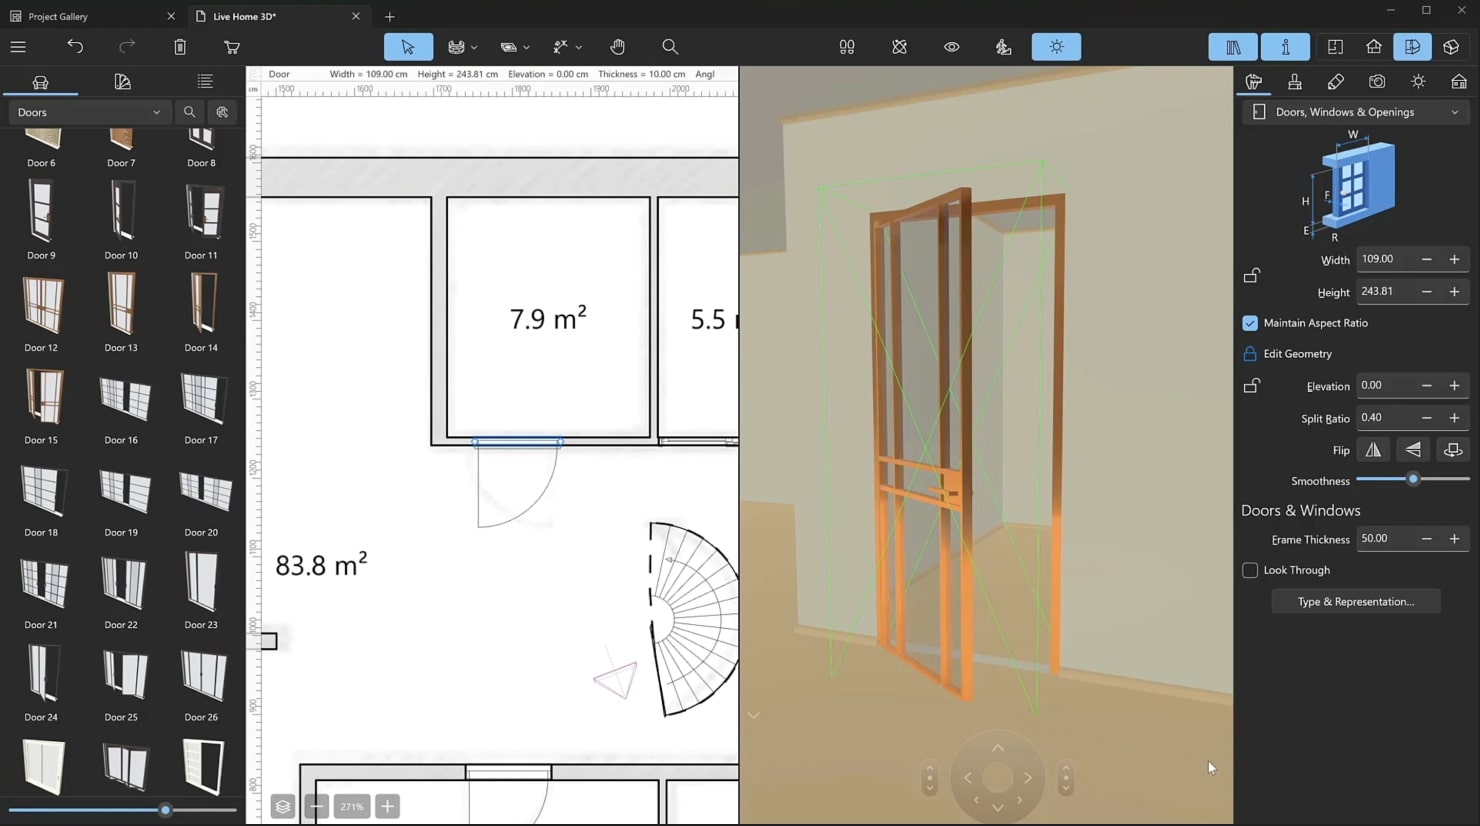
To add a door, choose the one you like and place it in the desired location. You can move it, change its dimensions in the Inspector and apply different materials. To alter the direction in which the door opens, use the Flip buttons in the Inspector. The horizontal and vertical flip buttons reverse the opening direction accordingly. Then, add all the other doors in the same way.
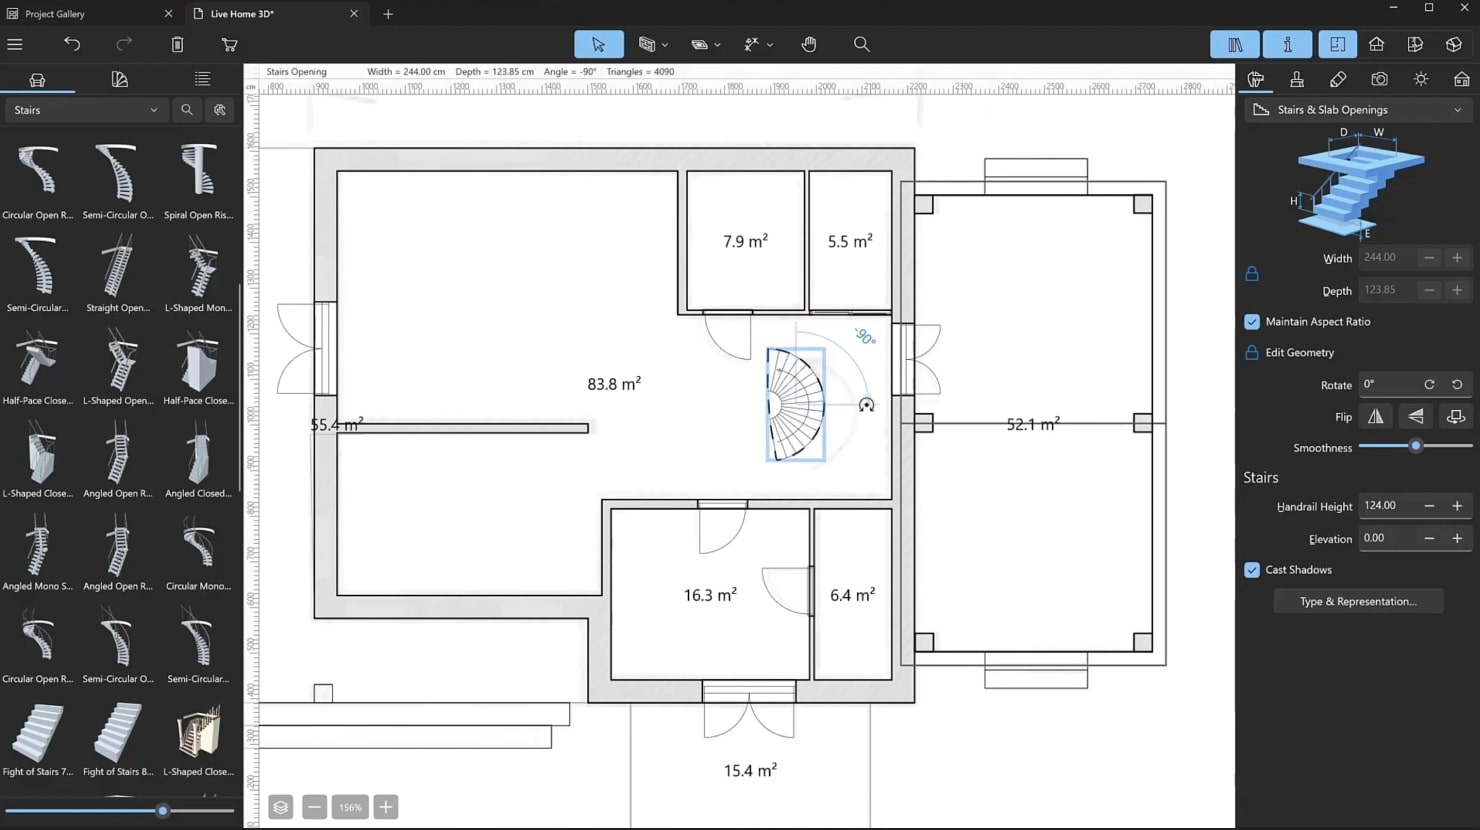
Now, let’s add the stairs. You can do it in the same way you added a door—find a suitable piece in the Object Library, drag and drop it into the project, adjust the size of the object and change the materials.
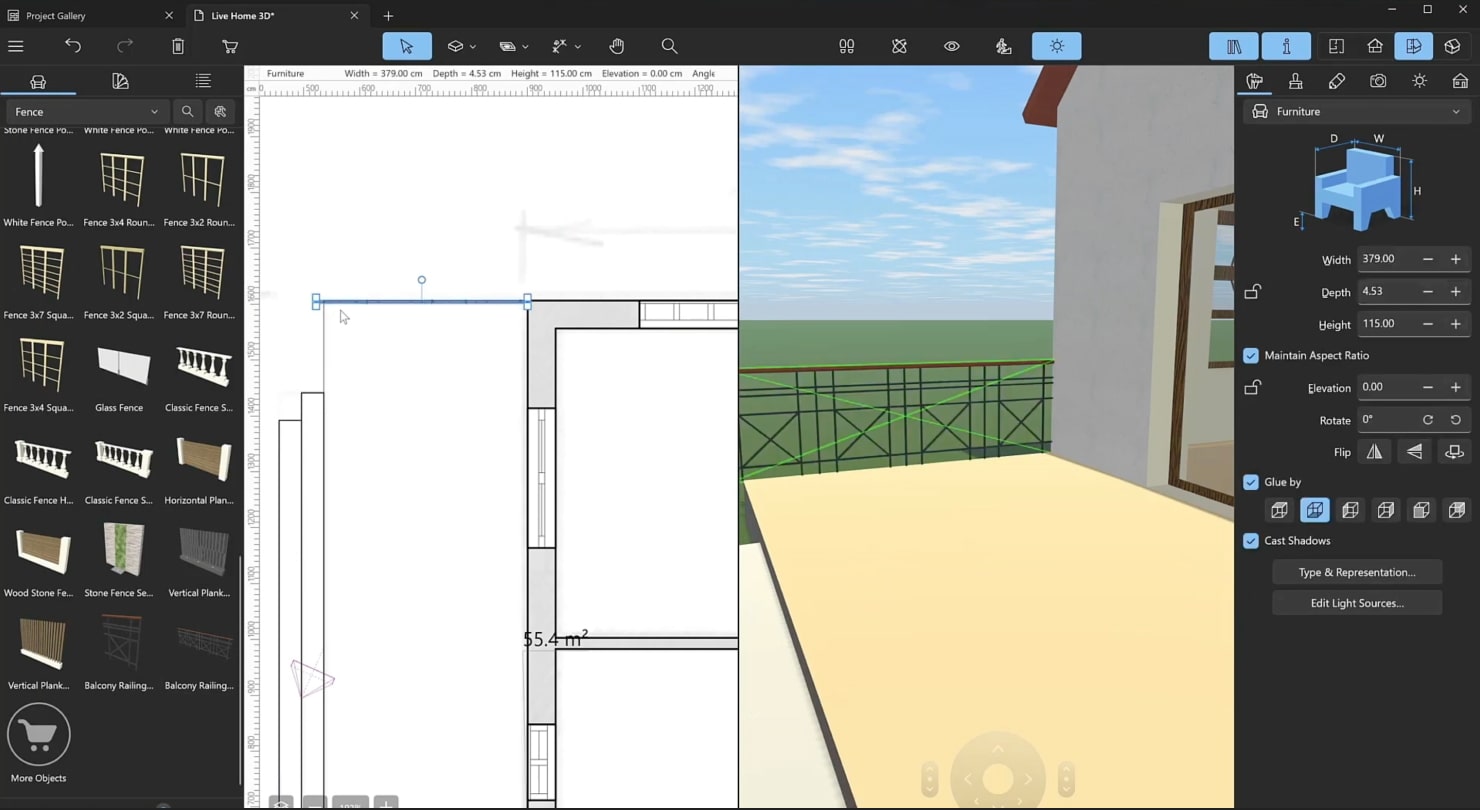
Create the fencing on the floor above the stairs. You may use objects from the library, or, as in our case, use the Building Block Poly tool. The fencing will be of a circular shape. With the tool, click on the plan to place the vertices of a shape, then right-click on the shape and choose Edit Contour from the menu. Add more vertices or reposition them if needed. By dragging a round control point between the vertices, you can turn a straight segment into an arc. Once finished, set the height in the Inspector and apply the desired materials.

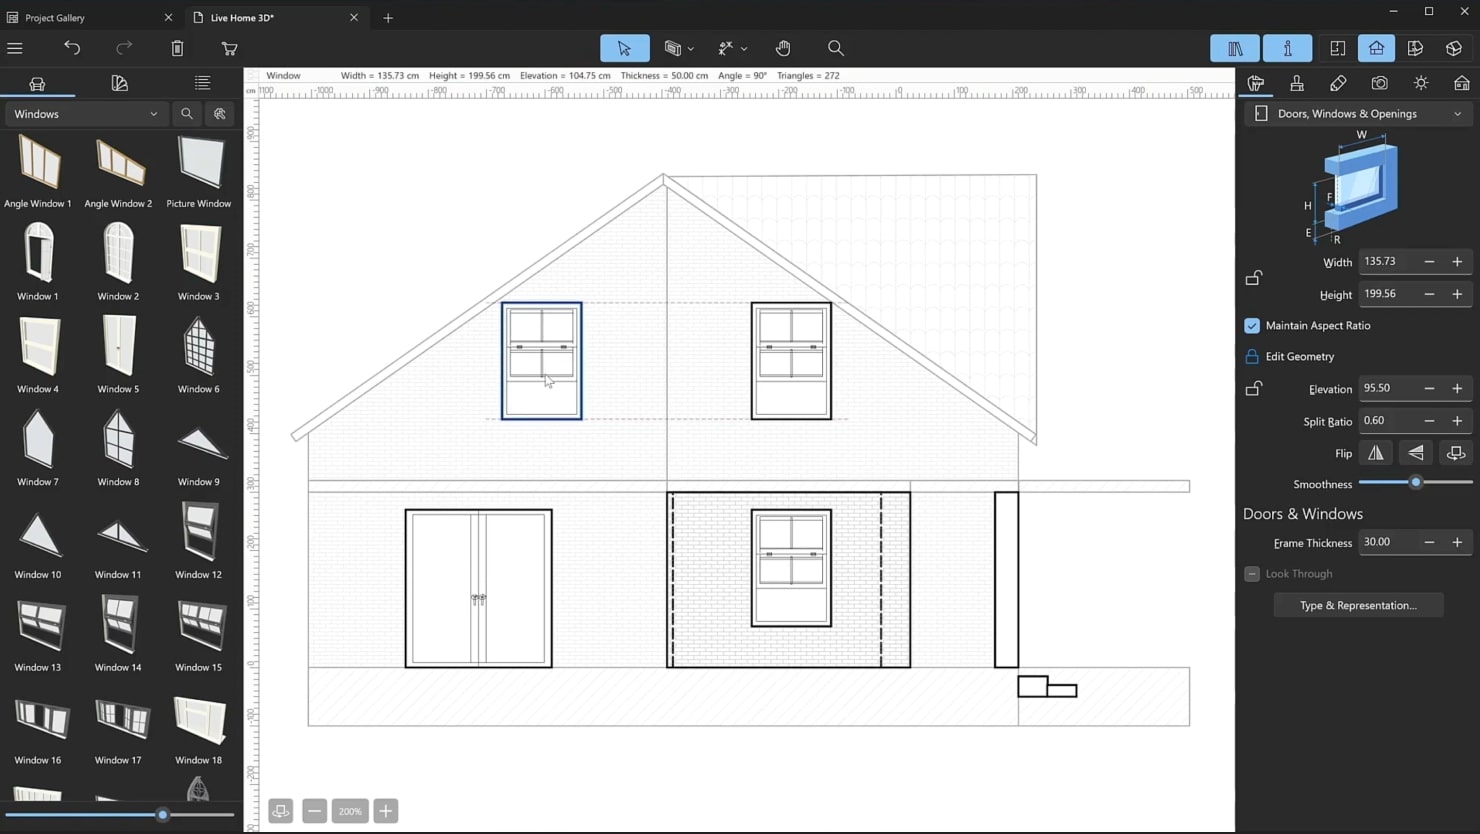
You can add windows by using the same method. Thanks to a variety of tools available in the app, you change their dimensions, elevation and materials. Note that the windows that you drag to the roof will change their angle from vertical to sloping—the skylight will be generated automatically. When working with windows and doors, it’s most convenient to use the “2D Elevation View”, which is available to users who purchased Pro features.
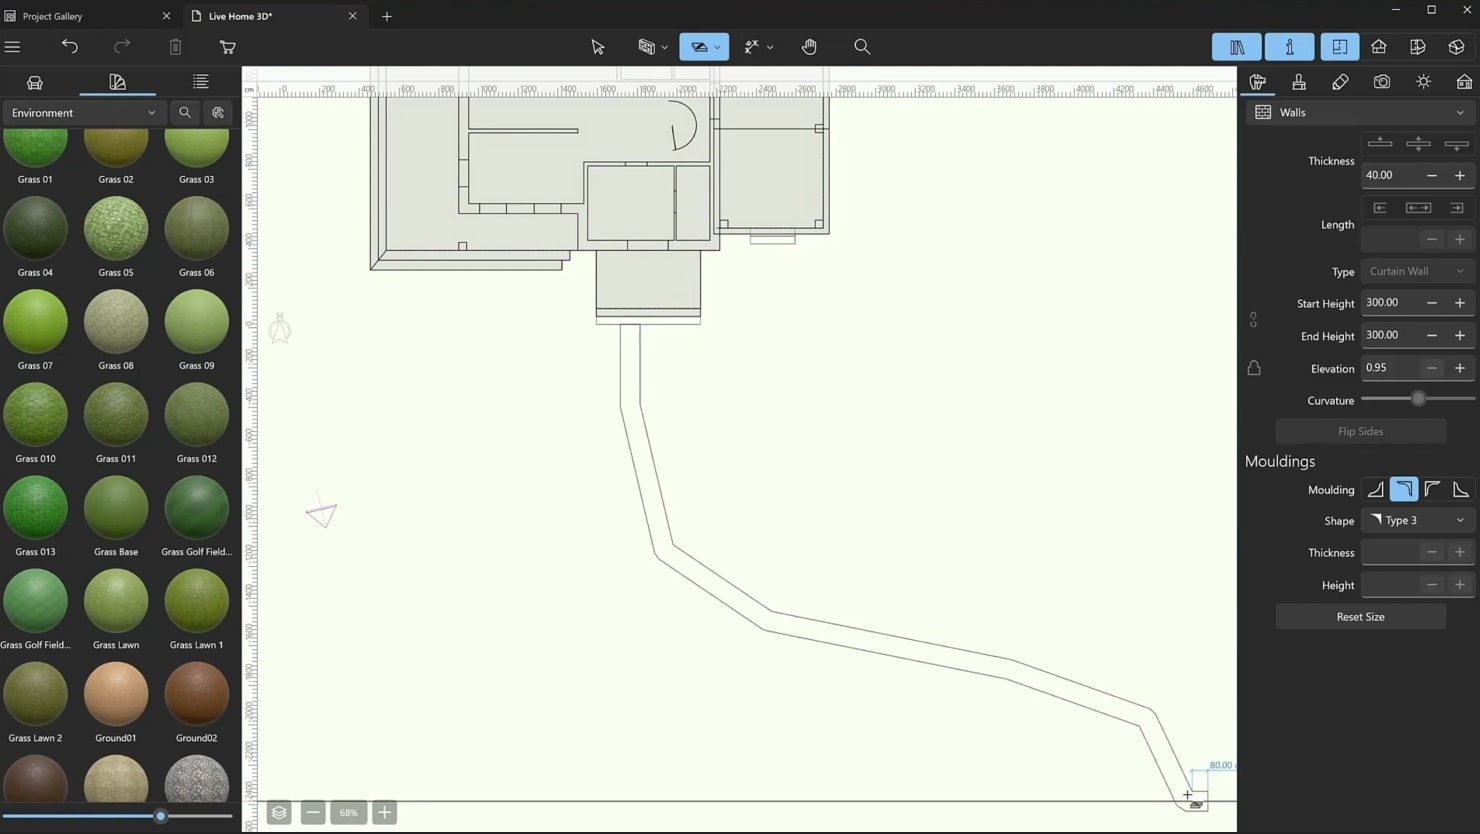
To install railings on the balcony and terraces, you can assemble a structure from the building blocks. Draw them with the Building Block Rect tool, change the dimensions and elevation in the Inspector.
Another way is using ready-made library objects, just as we will do for the balcony and the terrace.
Adding Materials
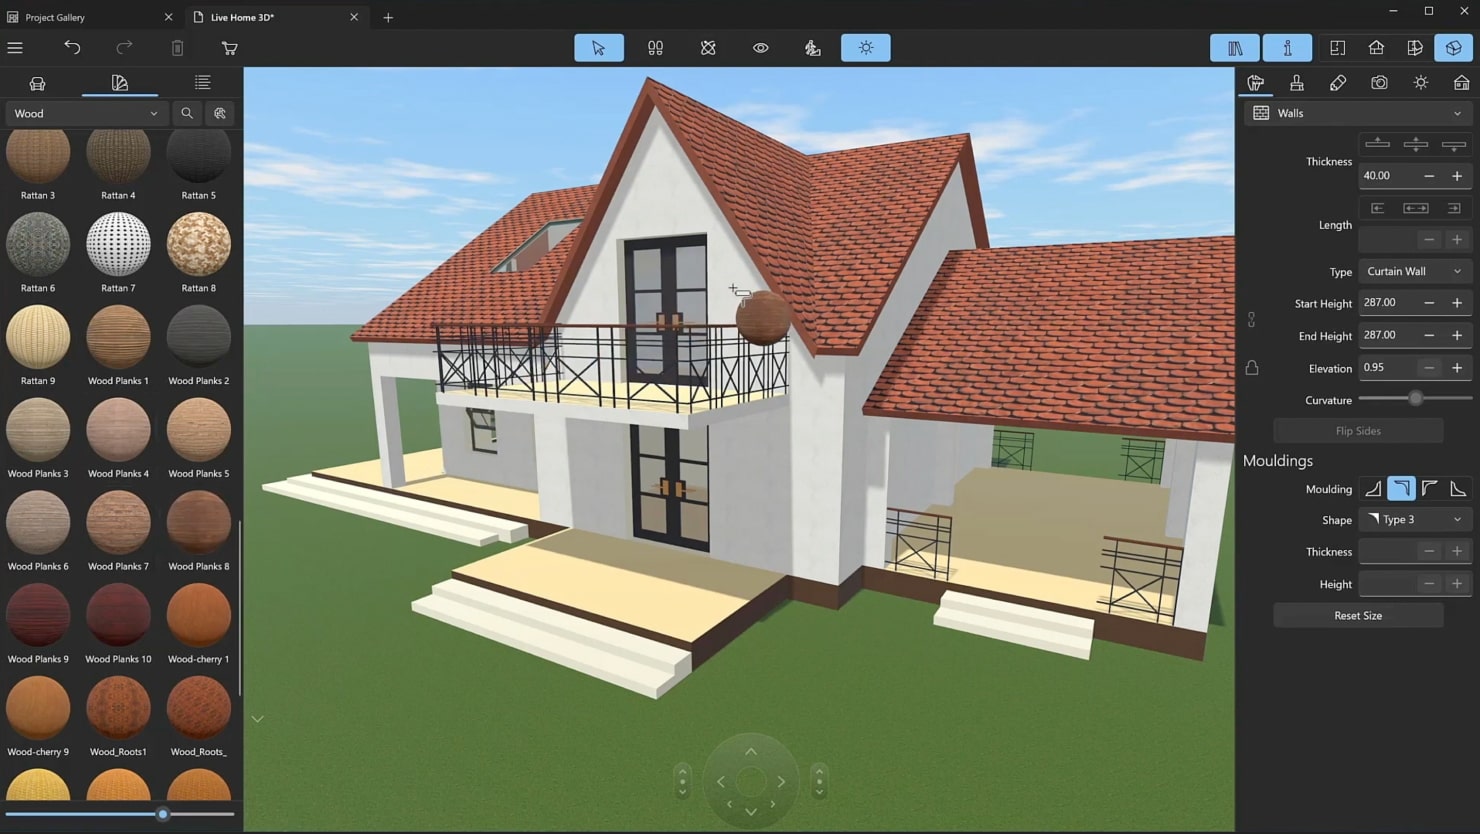
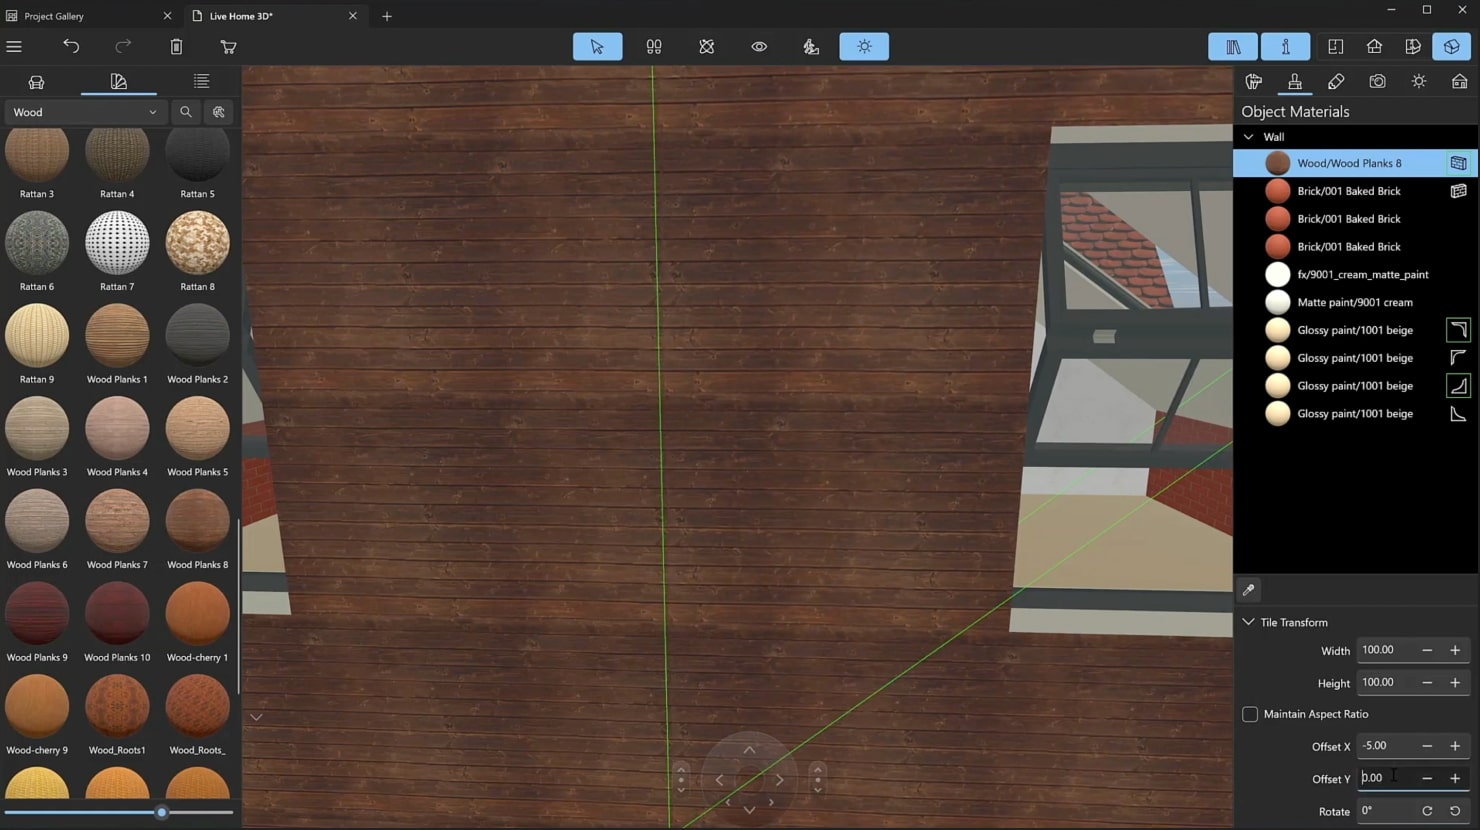
Now, when all the designs are ready, let’s start decorating the house. Materials are organized by categories and can be found in the Material Library. They can be dragged from the library and dropped onto the desired surface. First, let’s apply materials to the walls and floor slabs. If you work with floor slabs, press the Alt key when dragging the material to quickly repaint all the surfaces.
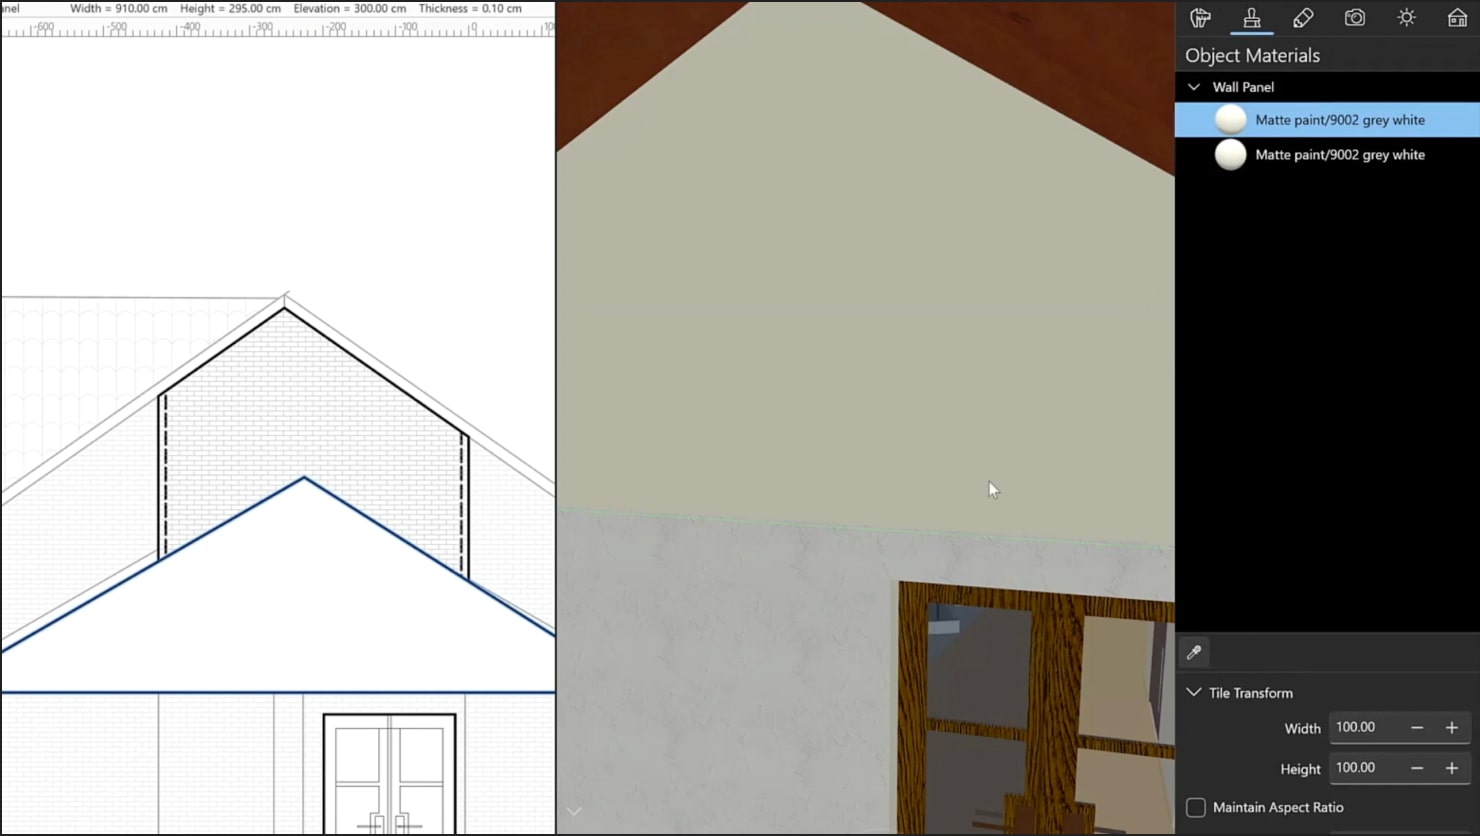
In the Tile Transform section of the Object Materials tab of the Inspector, you can change the size and position of the tiles the material is made of.
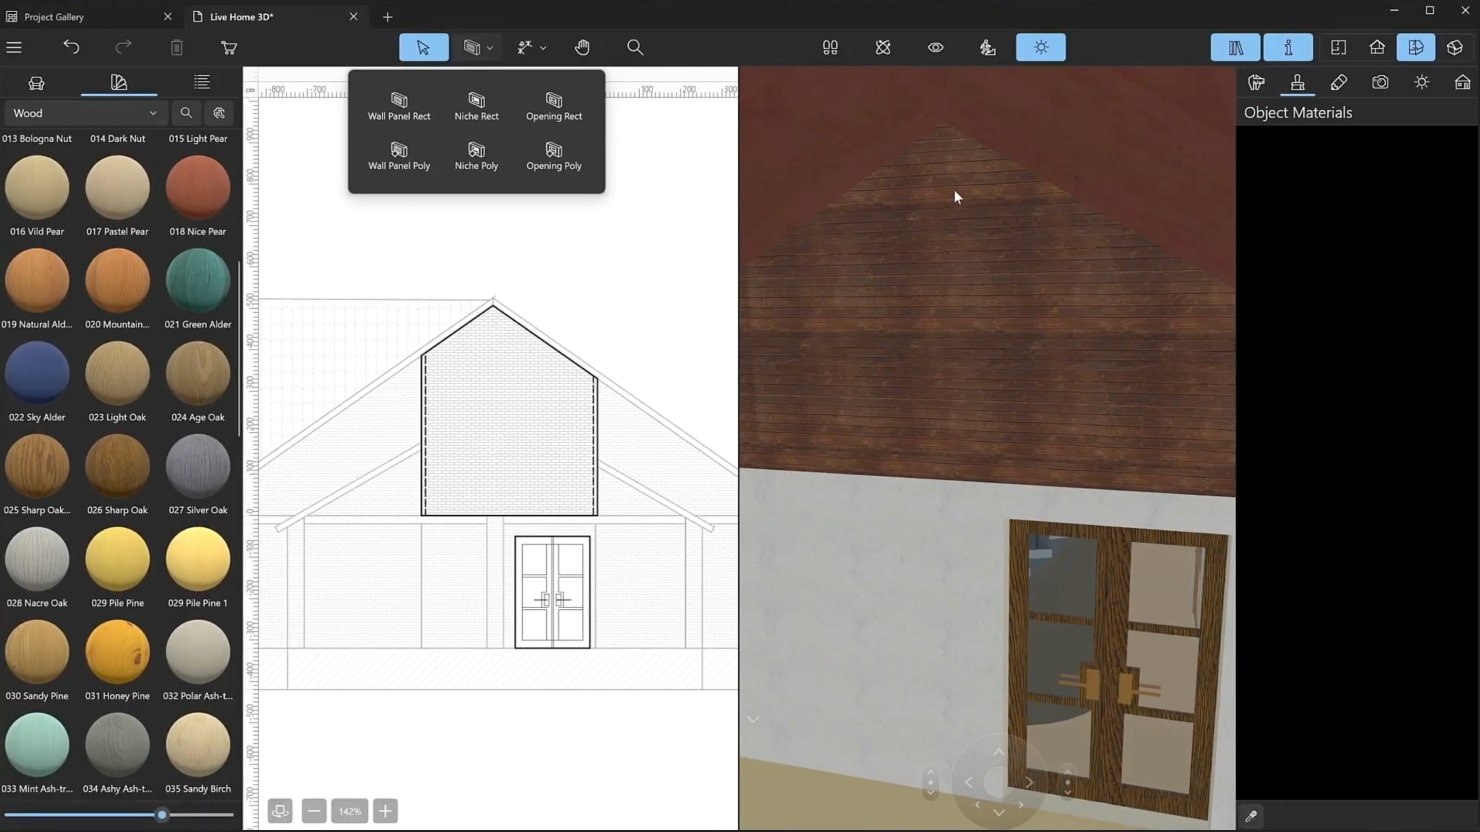
You can apply materials to the window openings as well. Pay attention to the area of the wall above the terrace. If you want to apply a different material to a certain part of the wall, you need to use the Wall Panel tool, which is available to users with unlocked Pro features in 2D Elevation View. For such a task, first, select the wall in 3D view. Then switch to 2D Elevation View and use the Wall Panel Rect tool to draw a rectangular panel. Note that you may also use the Wall Panel Poly tool as well.
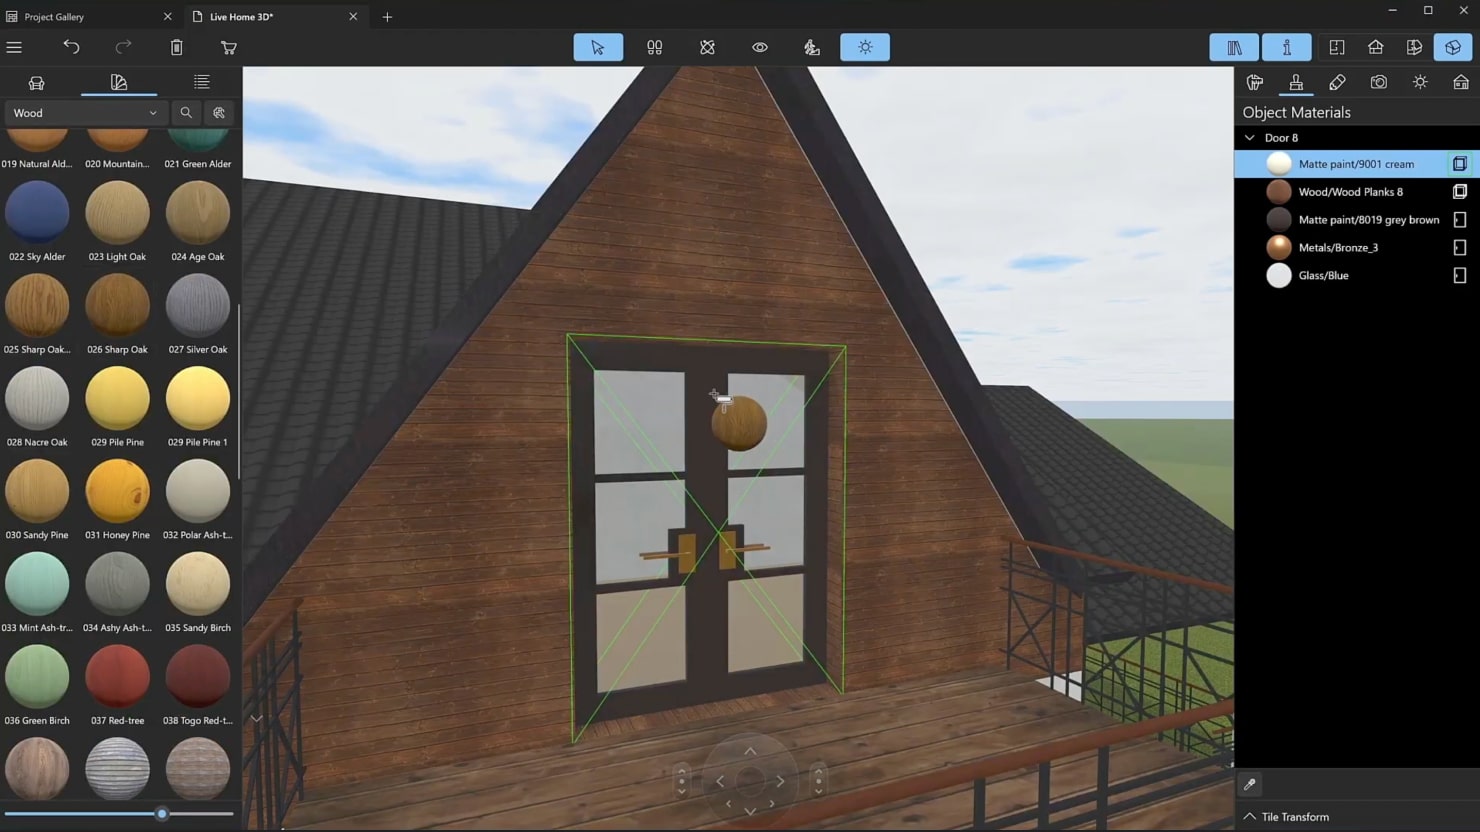
Choose Edit Contour from the context menu, add and reposition control points to create a panel of the required shape. Set a minimum thickness to it and apply the material used for the lower part of the wall. It’s convenient to use the color picker to copy the material from an object on which it already exists.
To apply the materials to the roof, you can select all roof sections in the Project Tree and then change their materials simultaneously in the Inspector.
You can try creating new material by right-clicking anywhere in the Material Library and selecting New Material from the menu. Note that adding new materials is only available for users who own Standard or Pro features.

Users owning the Pro features can also access the Advanced section of the Material Editor. There you can apply a texture to your material and set its properties, as well as configure many other parameters.

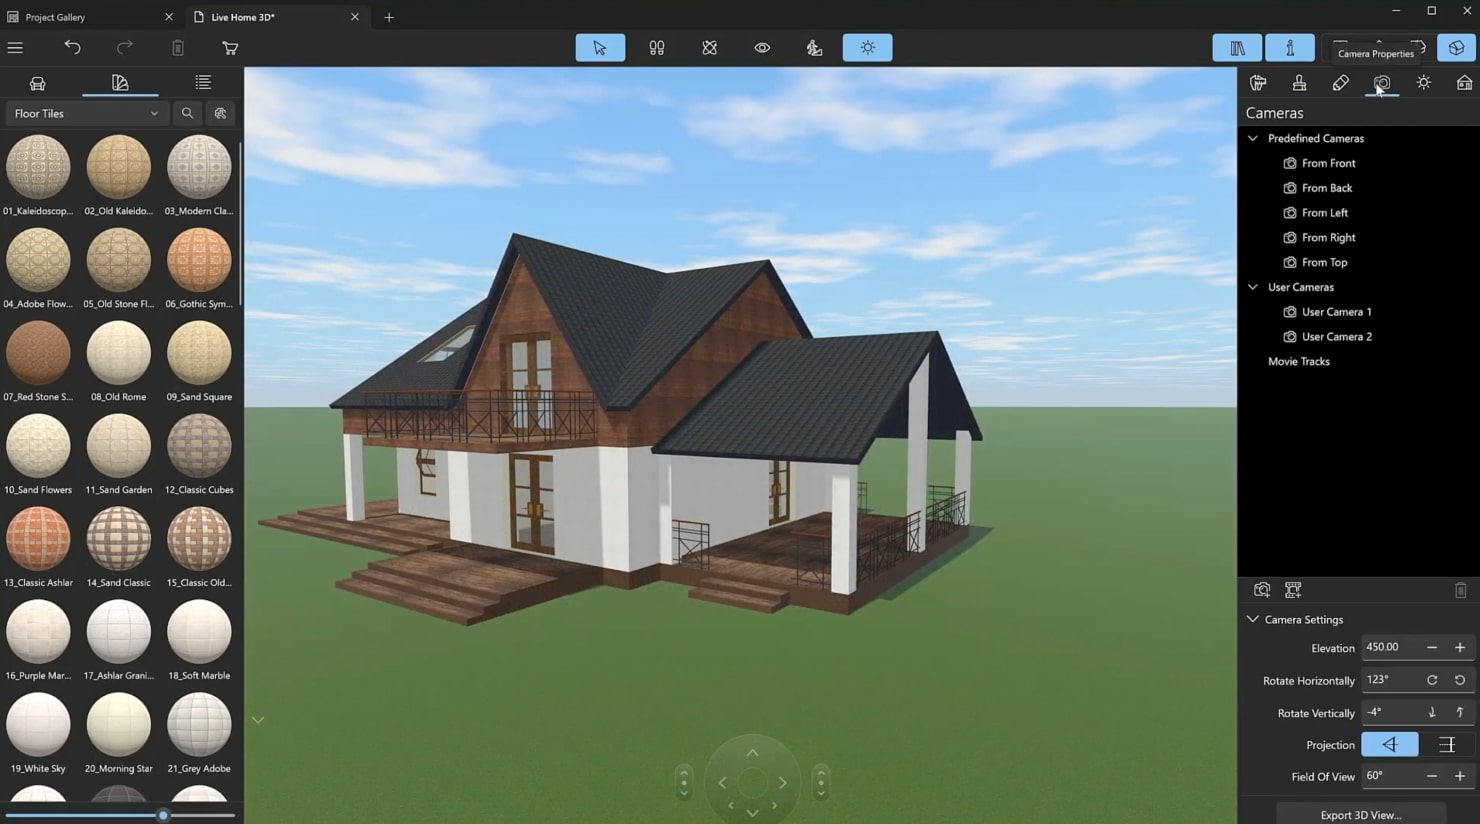
Now you will need to apply materials to the terraces, stairs and finish decorating the house, applying the materials to the internal walls, floors, doors and windows. When the house is ready, you can go to the Camera Settings tab to add and adjust a camera. In Live Home 3D you can specify locations and view directions in the 3D space and save them as cameras. Then you can select a camera to jump to a particular location in the house. The same set of cameras also serves the purpose of exporting views and 3D renderings of your project. You can change the settings of the camera’s height as well as the tilt and view angles. Another type of camera is a Movie Camera, which is designed for creating flyover videos of your project. Under the Camera Settings tab you will also find said flyover videos (or Movie Tracks) if there were any of them created.
Adding Landscape
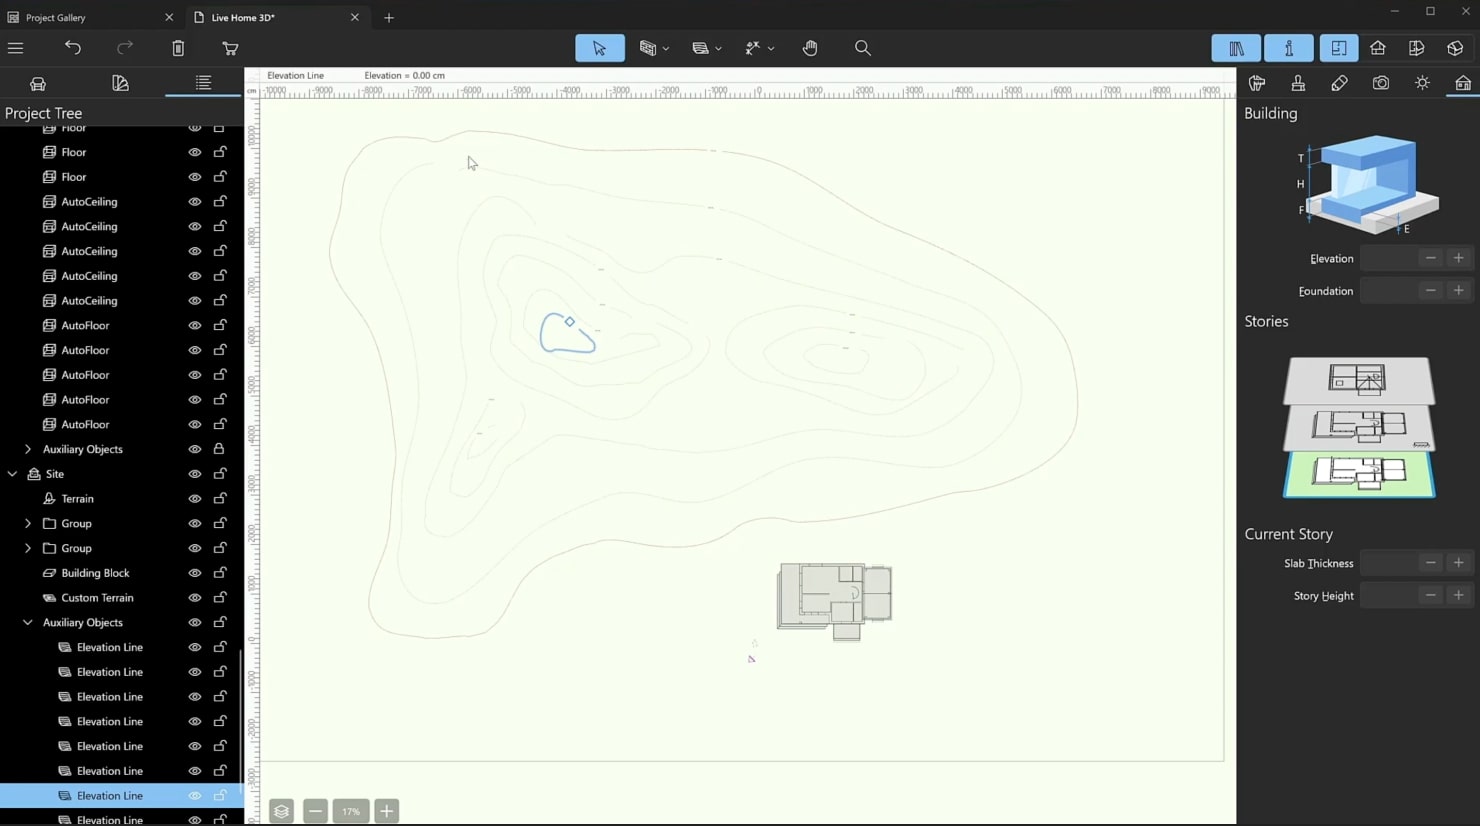
Starting with version 4.0, the Pro version of Live Home 3D offers a set of tools for creating and editing terrain for users who own the Pro features. In our example, we will create small hills behind the house. Go to the Site level. First you need to draw the area of the future landscape using the Terrain Rect or Terrain Poly tools—this is a required step for future work.
Now you can freely experiment with all the tools. Let’s explore how the Elevation Spline works. First, draw a few arbitrary lines marking the boundaries of hills or pits. Open lines will form hills like ridges or hill ranges, and closed lines will form plateaus and mountains. When drawing, use smooth lines and try to avoid sharp corners, or they’ll give the terrain an unnatural angularity.
To close a spline, right-click on it and select “Edit Contour”, then right-click again and choose “Close Path”. The contours of the landscape lines can be changed and edited in the same way as building blocks and panels.
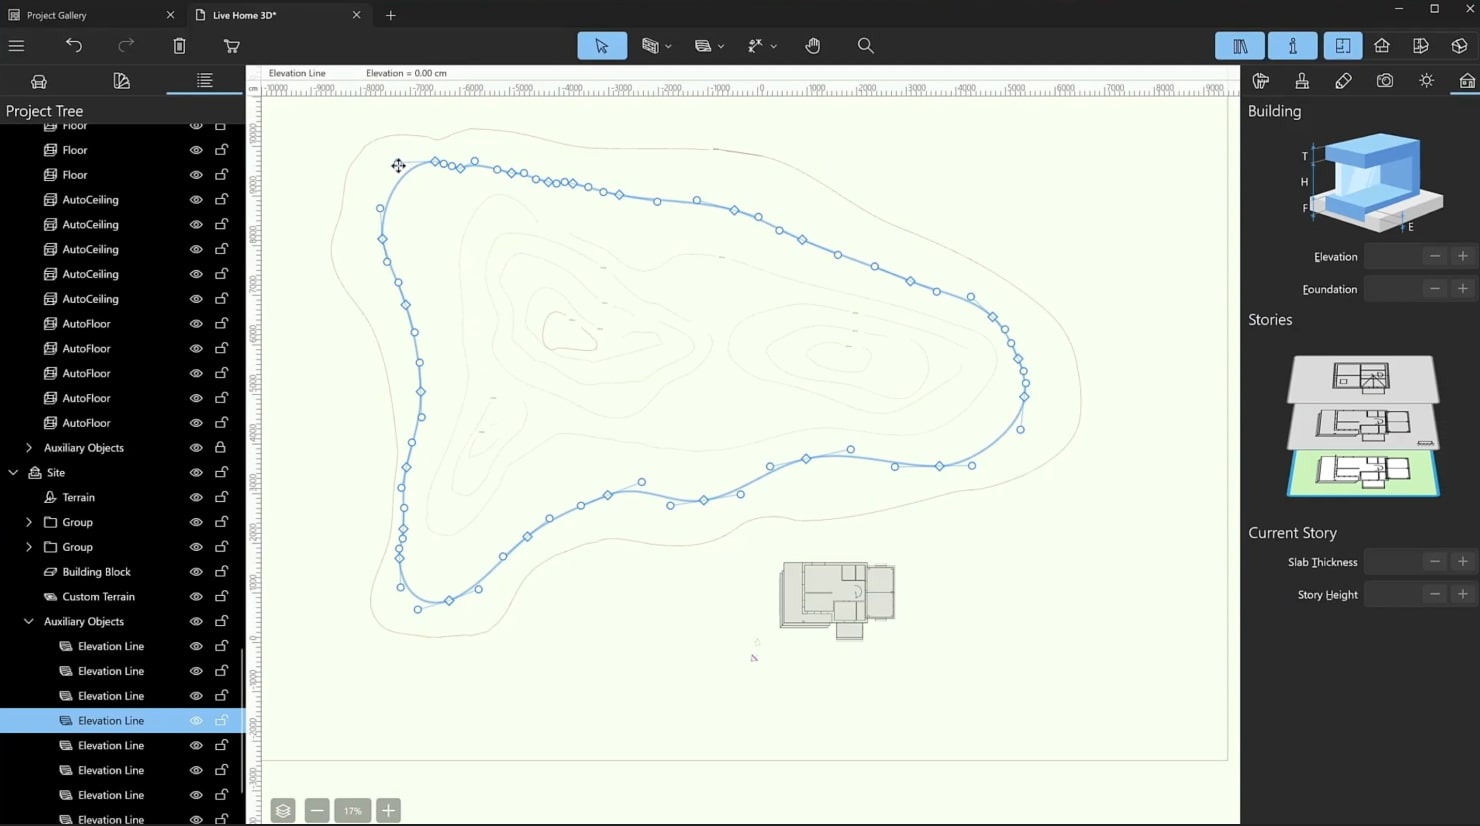
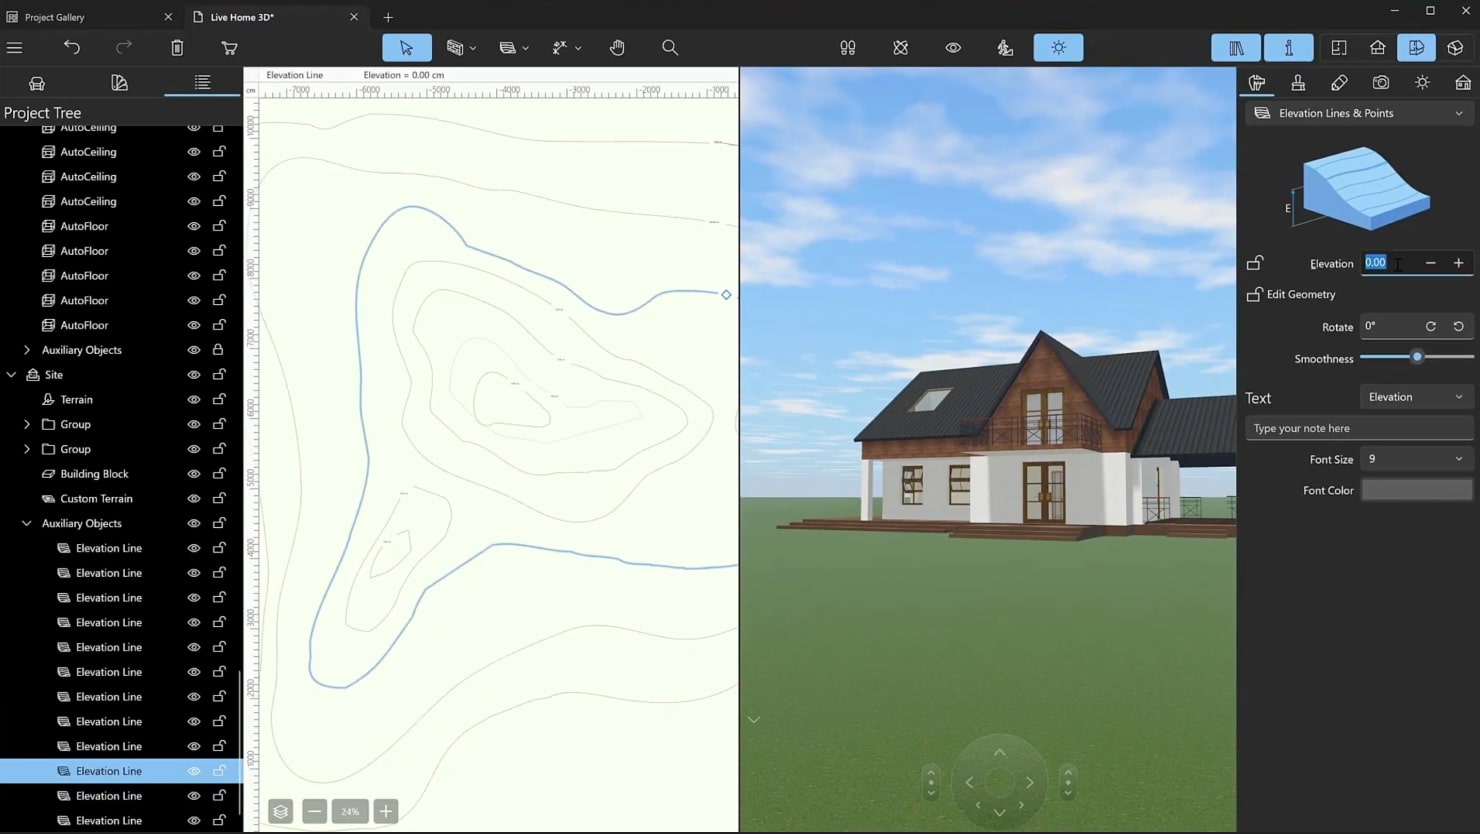
Then, set the height of the hills. Select splines one by one and change their Elevation setting. You can add more splines, remove extra ones and edit existing outlines at any time. You can also apply materials to the terrain objects to change the lawn style.
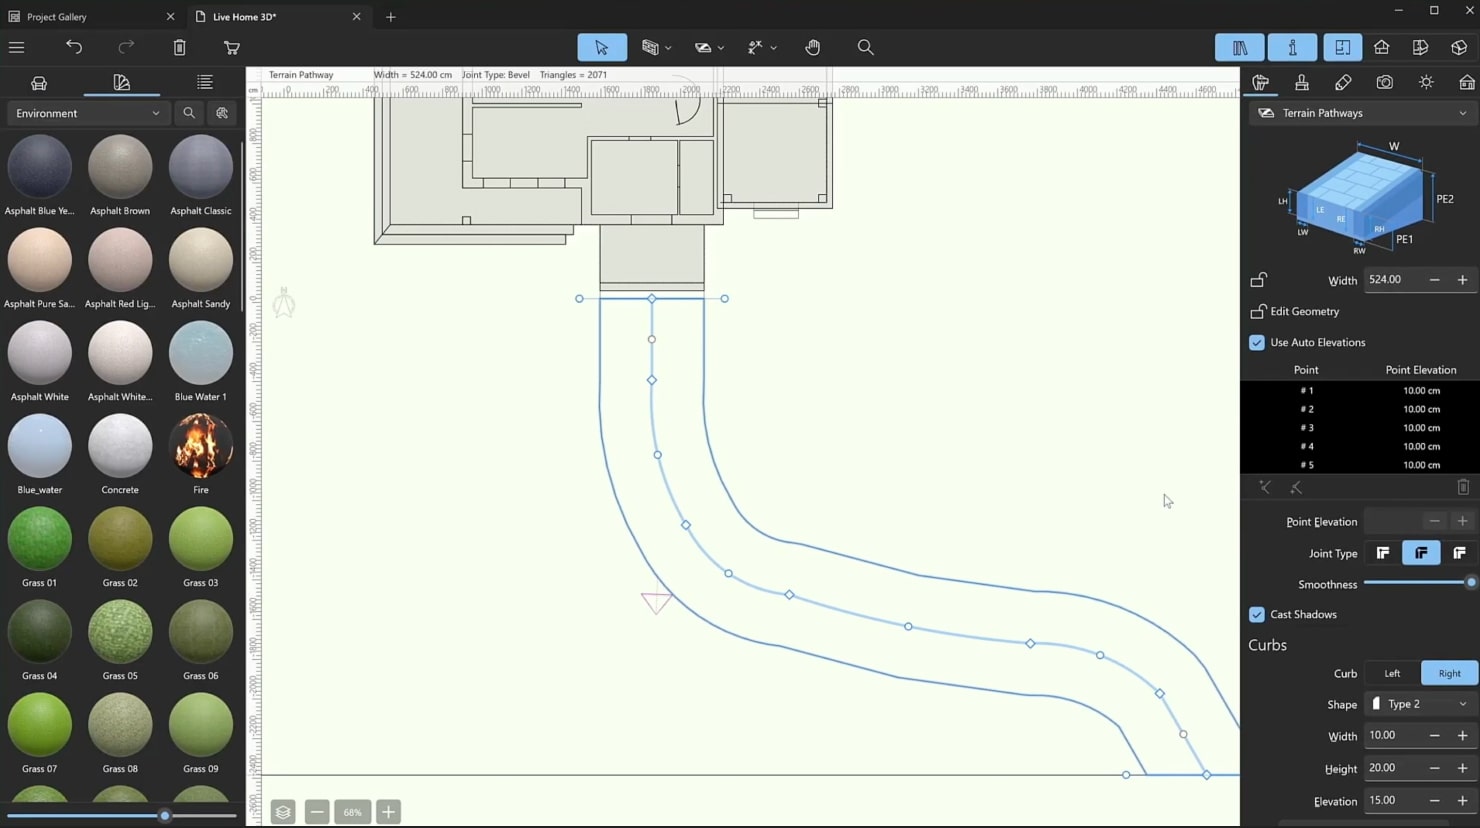
To build a driveway, select the Pathway tool and draw in the same way you drew the walls. In the Object Properties tab of the Inspector, change the width of the path and other parameters: the type and size of curbs and the type of joints. Paths can be laid not only on flat surfaces, but also directly over the terrain.
The next step is to change the materials of the path. To modify the shape of the path, double-click on it. You will see the control points. Move them and change the smoothness of the curves in the Inspector.
When you want to add some trees on the hills, go to the Plants section of the Object library to find a plethora of trees, flowers, as well as houseplants and other types of plants. In addition, we offer you a collection of more than 300 models available in the Extras Pack: Additional Plants which includes plants with seasonal changes to plan the exterior of the site according to your favorite season. Simply drag plants from the library and drop them onto the plan and resize them, if necessary. You can group them at your discretion.

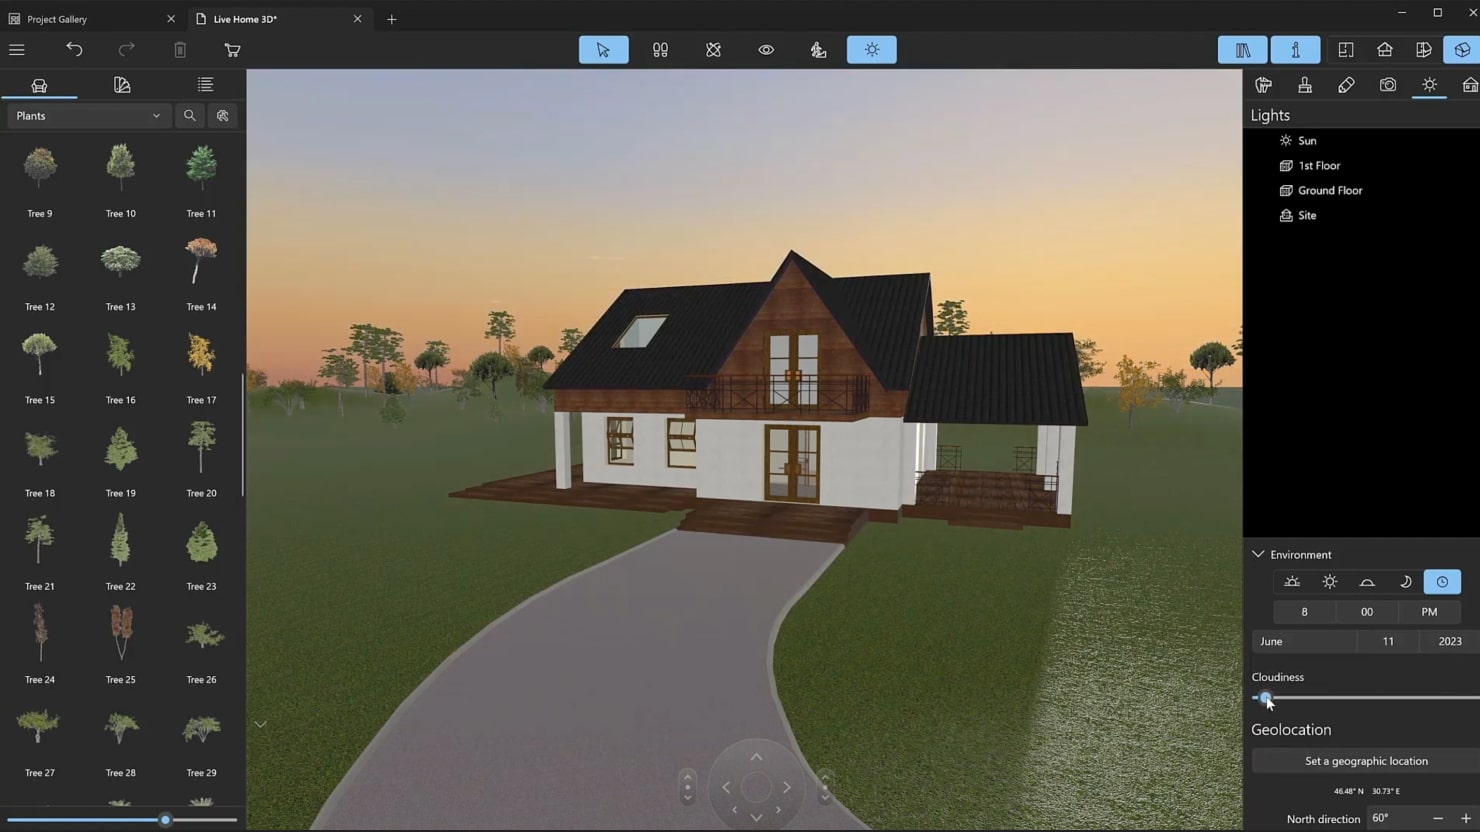
Orientation and Time of the Day Settings
You can set the orientation of your house in the Environment section of the Light Properties tab. Moreover, you can change the time of day from early morning to late night and adjust the cloudiness.
Here you go—your house is now ready! You can save it to your device or add the house to your templates. You’ll be able to locate the house you’ve created in the Custom Templates category within the Project Gallery.

Wrapping Up
Designing a house in Live Home 3D follows the same principles across all platforms, whether you use macOS, Windows or iOS version of the app. Once you master a house creation in one version, you can easily create it in others. Watch our comprehensive video tutorial below on designing a house from start to finish using Live Home 3D for Windows.
Furthermore, you can explore the house creation tutorial specifically-tailored for macOS and iOS on Youtube to ensure you have all the necessary resources at your fingertips for turning your dream house into a reality.