Lighting
Managing Light Sources in the Inspector
The Light Properties tab of the Inspector controls light sources.
The list of light sources in the Inspector contains light sources actually present in the project. Artificial light sources are grouped by floors.
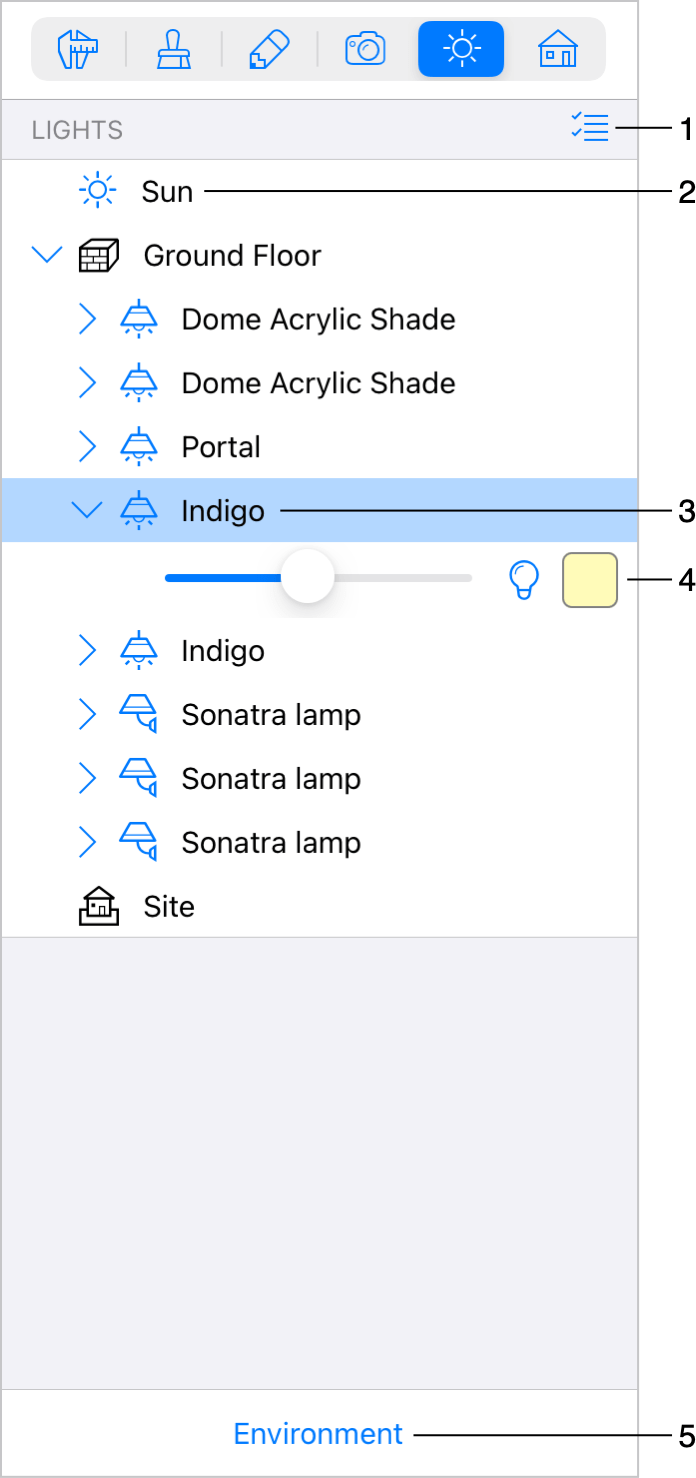
1 – This button activates the multiselection mode. To select several light sources, tap on the button and then tap on light sources that you want to select.
2 – The light source that emulates the sun- or moonlight. It is always present in the list. To turn the light off or on, tap on the sun or moon icon.
3 – A selected lamp. To turn the light off or on, tap on the icon. You can select several lamps to switch them on or off together. A crossed out icon indicates that the light is off.
4 – Settings of a lamp. A lamp can have one or several light sources which can be adjusted independently. It is possible to change the luminosity and color of a light source. Tap on the bulb icon to switch the light on or off.
5 – Show the Environment settings.
Environment Settings
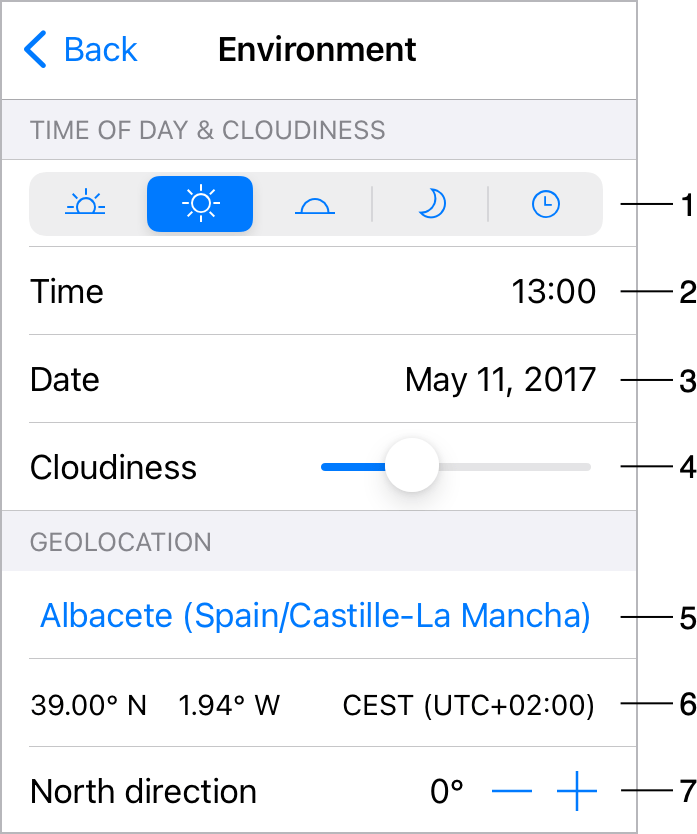
1 – The Time of Day buttons let you set up lighting in the morning, midday, evening or at midnight. The rightmost button lets you set up the time. The selected option affects the sunlight and sky. See The Daylight Settings for details.
2 – The time of day of your project. You can set here any time you need as an alternative to the predefined time above.
3 - The date is used to calculate the position of the sun in the sky.
4 – The Cloudiness slider only affects how the sky looks without changing the amount of the sun or moon light.
5 and 6 – The nearest city and coordinates define the geographic location. This information is used to simulate the daylight. See The Daylight Settings for details. To choose the location or time zone, open the Geolocation settings by tapping on the city name or coordinates.
7 – The North direction parameter lets you set up the direction to the north in your project. You can also rotate the compass directly in the 2D view.
Geolocation
The Geolocation screen lets you choose the location and time zone. To select your location, tap on the map. The panel near the map will display the name of a city near the selected point, the coordinates of the city and the time zone.
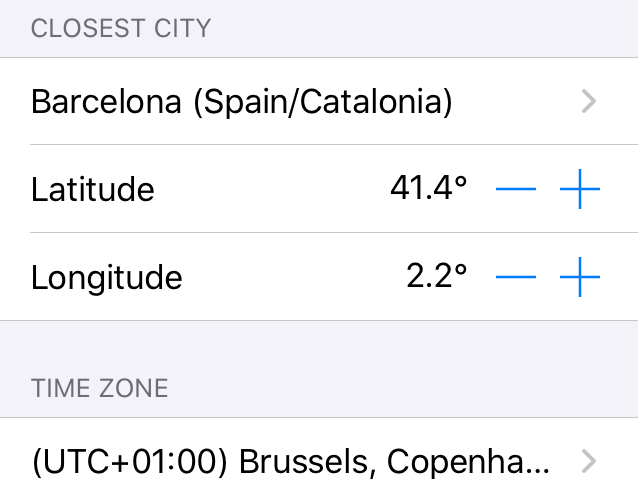
If an automatically selected city is not what you wanted to select, you can choose a city name from the drop-down list. Use the search tool to make it faster.
As an alternative, you can enter the Latitude and Longitude.
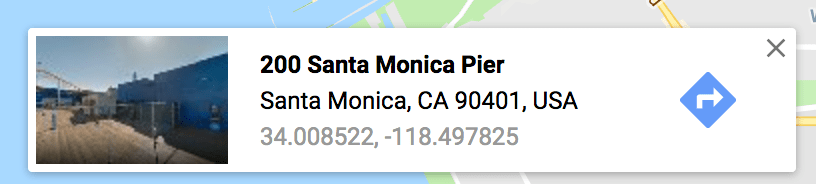
One of ways to find out the coordinates of some place is to open the Google Maps site. Long-press on the place of interest and choose "What's here?" from the menu. A popup panel will display Latitude and Longitude. For example, some point in Los Angeles has Latitude=34.00 and Longitude=-118.49.
It can happen that your time zone is different from one that has been set automatically. Then you can select a time zone directly.