Working with Objects
Properties of Objects in 2D
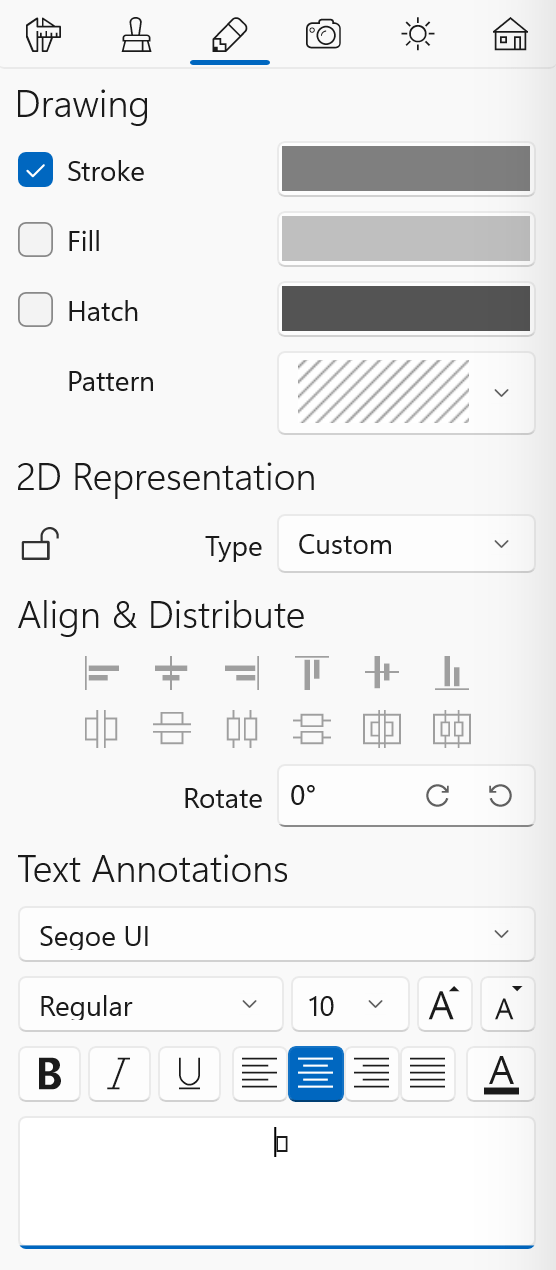
The 2D Properties tab of the Inspector lets you specify the appearance of objects on the floor plan. To open the tab, choose Window > Inspector > 2D Properties.
The Drawing Settings
The settings in the Drawing section contain the Stroke, Fill and Hatch tools.
Using the Stroke tool, you can show or hide the object's outline.
The Fill and Hatch tools let you fill an object with a solid color or pattern.
The tools in this section are intended to work with objects which are created using the drawing tools such as a wall or floor. Stroke and Fill can be applied to the Text Annotation object. You can also use the Stroke tool to change the color of the Dimension object.
The Rotate Tool
The Rotate tool is intended to rotate the Text Annotation object. It works with other object types as well.
The 2D Representation
The 2D Representation tool can work with library objects as well as with objects created using the drawing tools.
When the Custom option is selected, a library object (or imported one) will be displayed on the floor plan using one of the 2D representation images taken from the standard library. If the default image doesn't match an object, you can choose another image from the library or import it. To open the library, bring up the Type & Representation dialog and open the 2D section. The standard images are in the vector format. To display a drawn object such as a floor, the program will refer to the Stroke, Fill and Hatch settings explained earlier.
The Auto Outline option works with most of the library objects and all imported objects. If you select it, the program will create the object's outline based on the top view. The image will be in the vector format.
The Auto Image option creates a 2D representation upon the current object's top view. It is similar to what you can see in the 3D view. There is the possibility to change the opacity of the image which is useful when objects overlap on the floor plan. The created image will be in the raster format.
The lock icon is used to lock or unlock the 2D representation of certain objects. When you change the representation of all objects by selecting all of them on the floor plan, objects with locked representation will retain the original one.
Align and Distribute Objects
You can align selected objects by their edges or centers. To do this, select at least two objects and choose one of the options in the Align section. Open the floor plan to use these tools.
The Distribute section has two blocks of buttons. The left block lets you distribute spacing or centers of the selected objects. This feature is mostly used for objects of Furniture type. You must select at least three objects. Open the floor plan to use these tools.
The block of two buttons on the right can distribute spacing and centers of windows, doors, openings, niches, and wall panels that are installed into a wall. You must select at least three objects. You can use these tools on either floor plan or in Elevation view (Pro edition only).
The Text Settings
The text settings in the Text Annotations section work with the Text Annotation and Dimension objects. You can also apply them to a floor label.
You can select a font and change its typeface, size and color. You can also set up the text alignment.