View the Home Model in Augmented Reality
Open a House Project
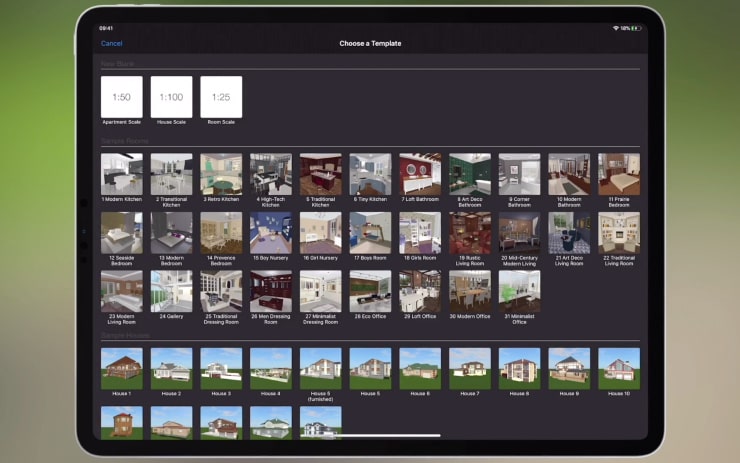
The first thing you need to do is open your project (or create one if you haven’t started working on it yet). You can also use one of the program templates, which is what we will do in the following example.
Export Your Project to AR
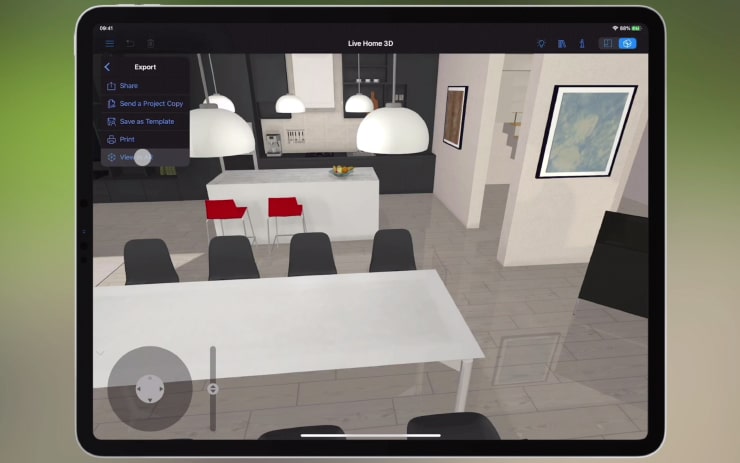
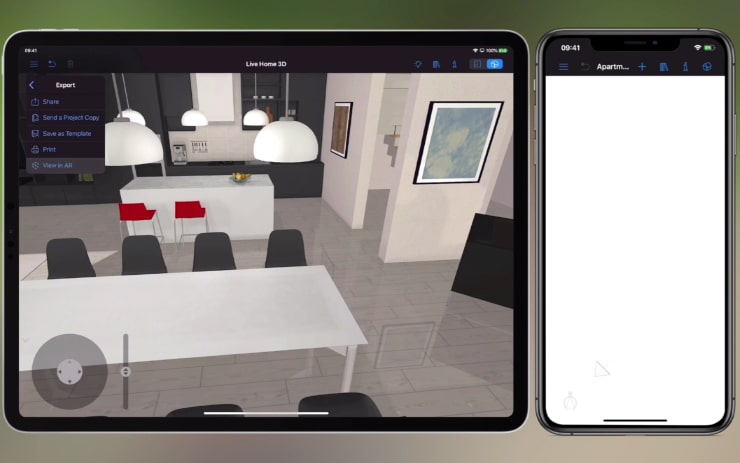
Now tap on the “Menu” button and choose “Export > View in AR”. You can also do this by tapping the AR button while you are in the 2D mode.
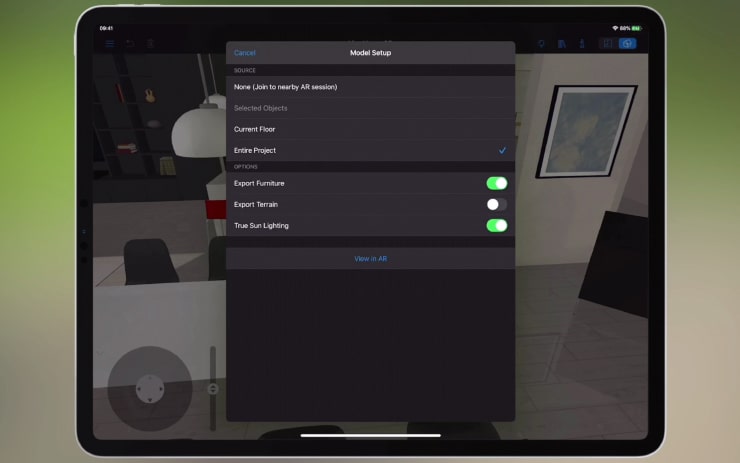
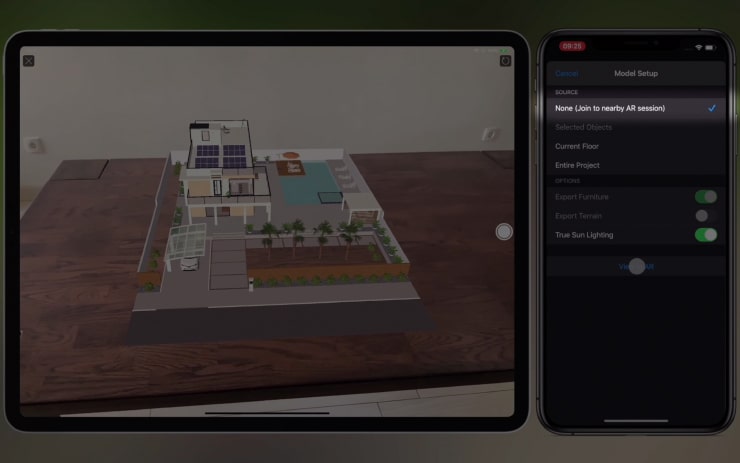
The dialog box that appears allows you to choose which part you want to see in AR: the entire project, the current floor, selected objects, or you may just join the nearby AR session.
The dialog box also allows you to control whether you want to see or hide furniture and terrain from the project in AR. True Sun lighting for the exported model can also be enabled here.
Select “View in AR”
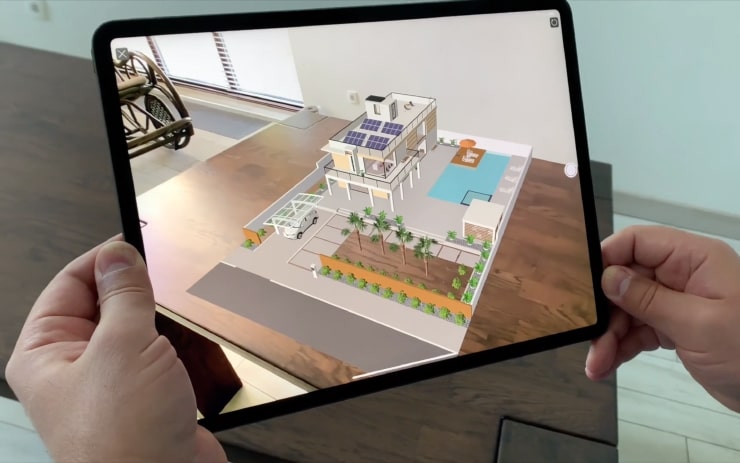
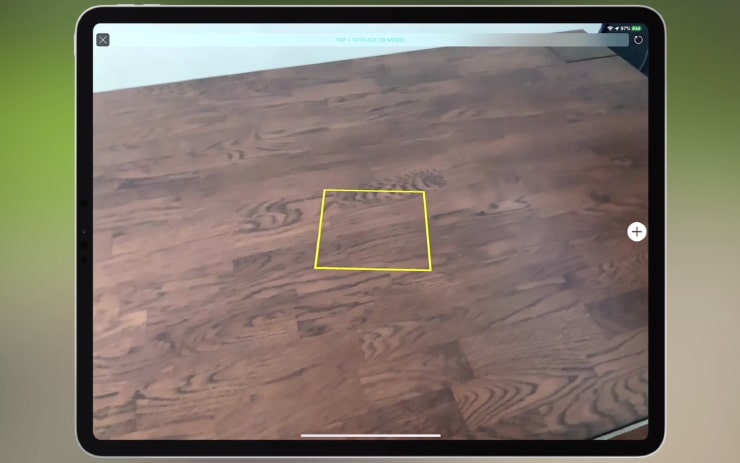
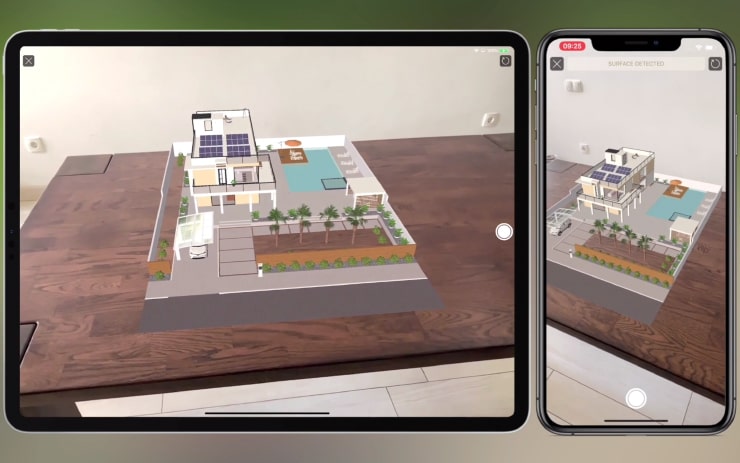
Now tap “View in AR” to proceed straight to the AR view. This is where all the magic happens! The first thing you need to do in the AR view is capture a horizontal surface to place the AR model. For this, point your camera at any horizontal flat surface. Move the camera around slowly until the rectangle in the center of the screen turns into a solid outline.
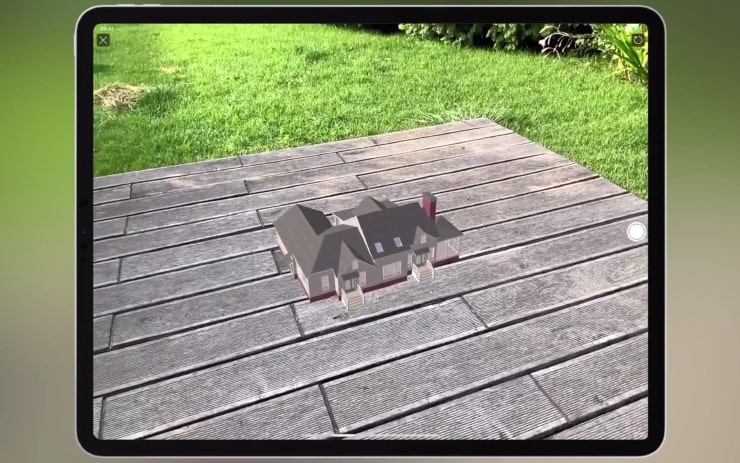
Select the Required Scale
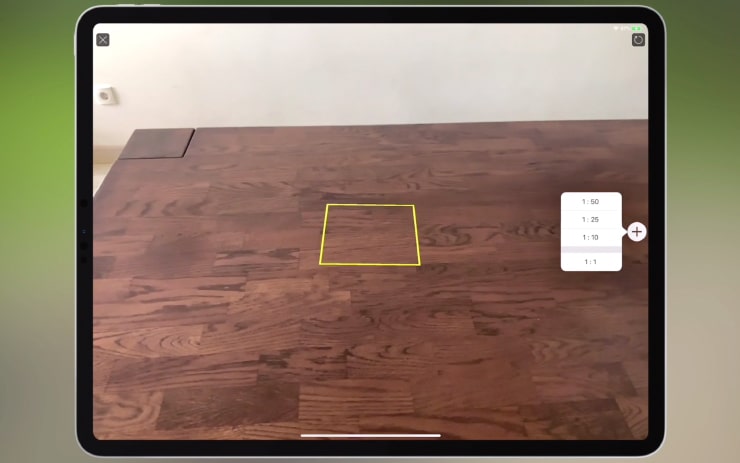
Tap on the plus button and select the scale for the house or apartment in AR. You can choose among the following scales: 1:50, 1:25, 1:10 and 1:1. The house will be placed automatically onto the captured surface.
Move and Rotate the 3D Model
If needed, you can move and rotate the 3D model of the house using gestures right in the AR view.
View or Walk Around the AR Model
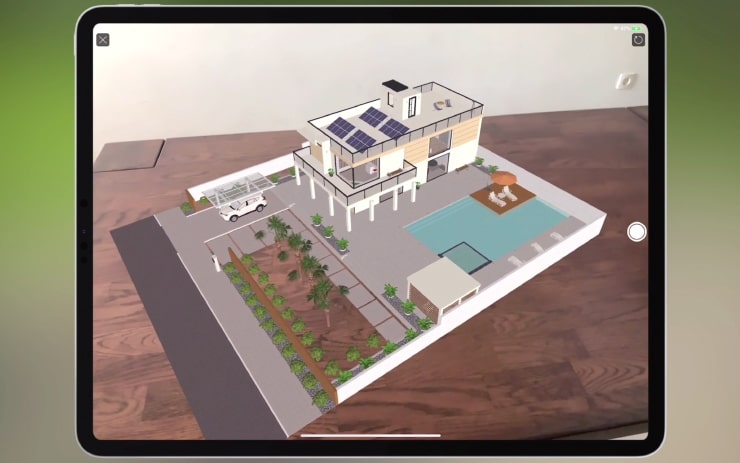
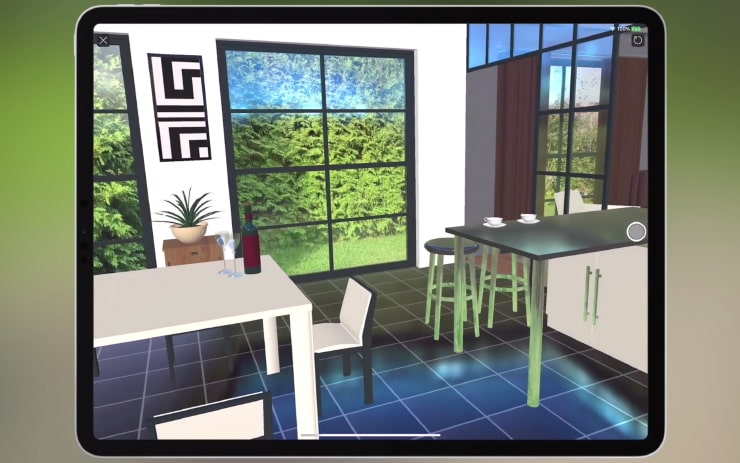
Once you have finished with the house positioning, you can view it from the different viewpoints by simply moving your device around it. When choosing the largest (1:1) scale, you can figuratively “walk inside” or around the house.
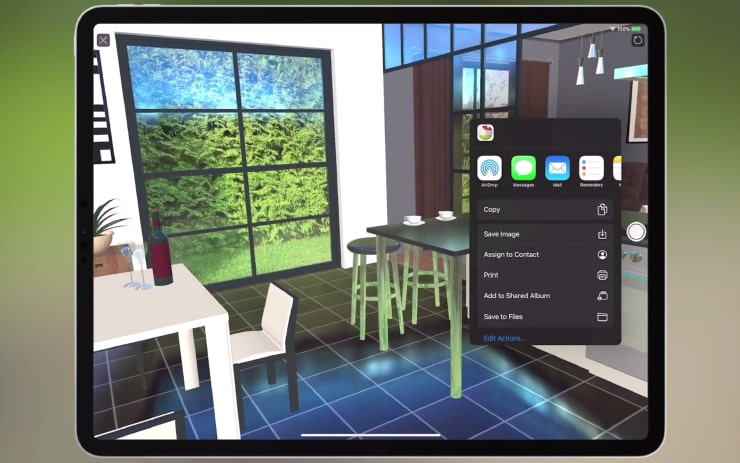
Export the AR View
To export a view as an image, tap on the shutter button.
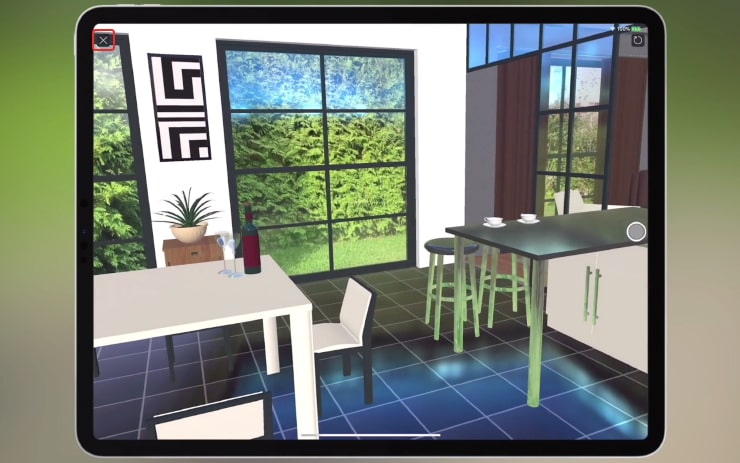
Exit the AR View
To exit AR view, tap the X button.
Restart the AR Session or Start a New One
If you wish to change the scale, capture another surface or position the house in a different way, tap on the circular arrow in the top right corner of the screen to restart the AR session.
Share AR Experience Across Multiple Devices
You may also like to share your AR experience with several other iOS devices. Here are the easy-to-use instructions:
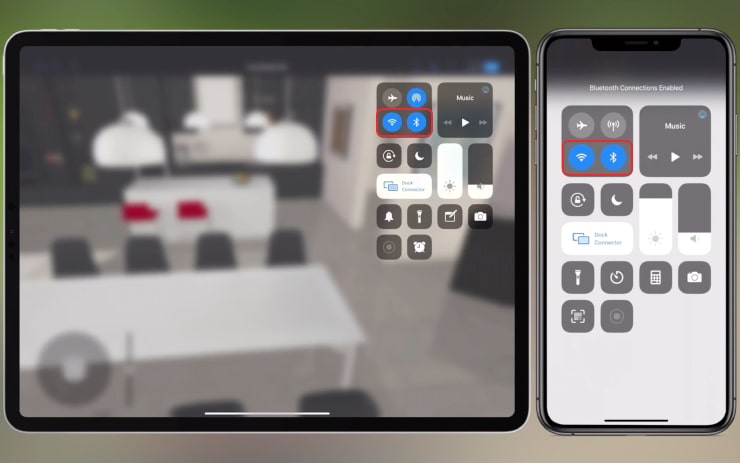
Enable Wireless Connection
Enable your wireless connection, such as Wi-Fi or Bluetooth, on both casting and receiving devices. The devices you share with must have the latest version of Live Home 3D installed and the same iOS or iPadOS versions. Both casting and receiving devices must be located in close proximity.
Open AR View on the Casting Device
On the casting device, open the project you want to share in AR view.
Join the Nearby AR Session on the Receiving Devices
On each of the receiving devices, open the AR setup dialog and choose the “Join to nearby AR session” option. Then tap “View in AR.”
Place the receiving devices as close as possible to the position where the casting device started the AR session. You need to wait until the receiving devices fully load data from the casting one.
Enjoy the AR Experience with Your Friends, Co-workers and Clients
Once the home model appears on all devices, you may move and rotate it right in the AR view. The changes you apply will be seen on all devices.
Well, that's all you need for viewing the home in AR! This article is based on the “Viewing the Home Model in AR” video. You are welcome to watch it!