Working with Projects
Exporting the 3D View
You can save the current 3D view as a graphic file in the PNG, JPEG, BMP or TIFF format.
Revise the 3D view before exporting. You may need to correct the elevation and orientation of the camera. If you plan to export the same view again, save it as a user camera using the Camera Properties tab of the Inspector.
To export the 3D view:
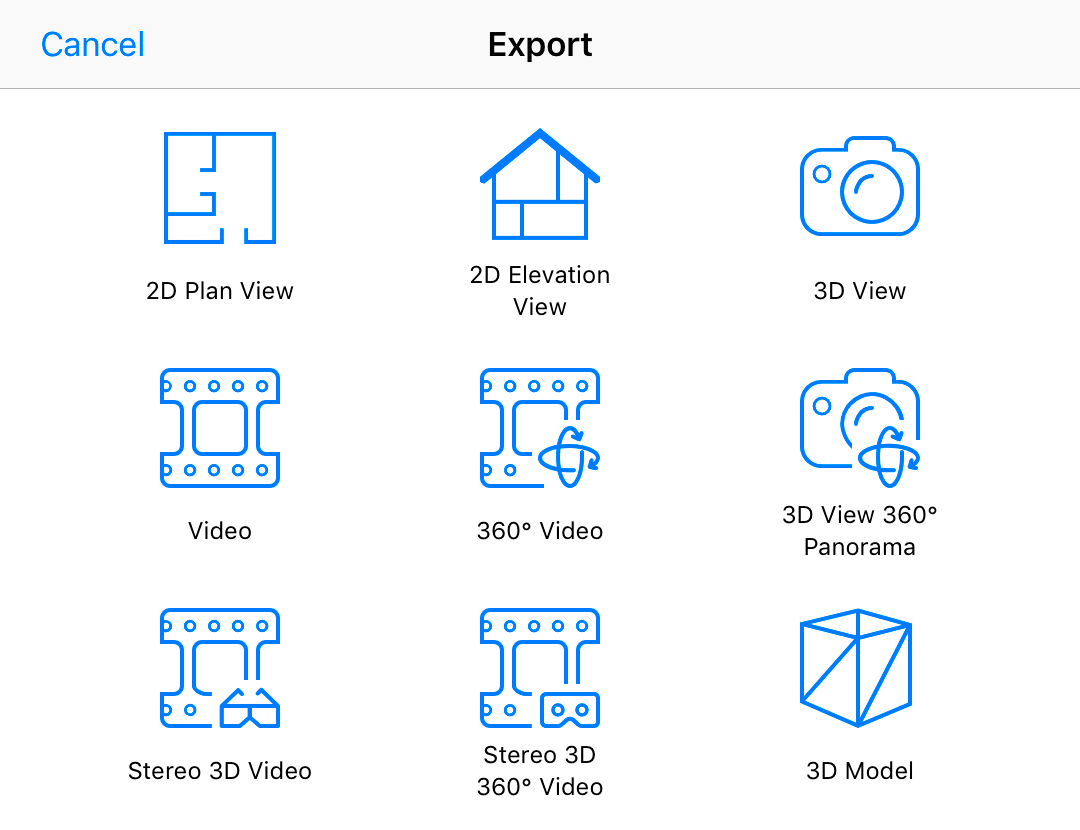
- Tap on the Menu button
 and choose Export and then Share.
 - In the Export popover, select 3D View.
- Set up export properties:
- File Format - the provided formats are supported by a wide range of apps and devices. If you hesitate over a choice, pick JPEG. It often produces the smallest file size.
- Camera - select a camera if you saved points of view as a custom camera. The As Current View option lets you export the current 3D view.
- Size - the size of the image that will be created.
- Tap on the Share button to create an image.
- Select where you want to save the created file, or which app or device you want to share it with.
The Export popover lets you choose 3D View 360° Panorama as well. The app saves panoramas in the JPEG format. The rest of settings are identical to the described above.