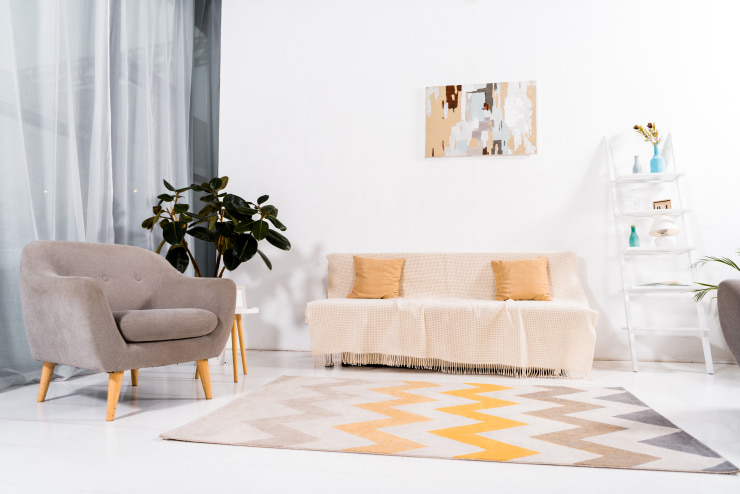
Ways of Adding a Rug on a Floor
Let’s start with the options available for adding a rug on a floor surface. We will begin with the easiest way of creating a rug using the Building Block tool, available in Live Home 3D with activated Pro features. Skip to sections 2 and 3 if you haven't unlocked Pro features yet. There, we will describe how to add a rug on the floor with the help of the Floor tool or by using Shapes.
Using Building Block Tools
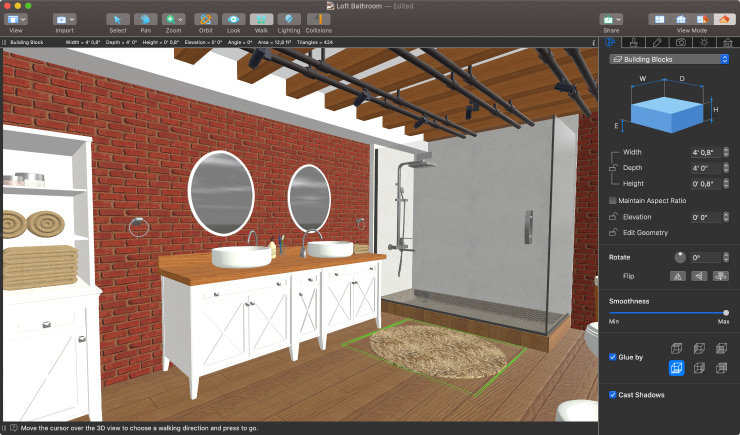
This is the most convenient way for making a rug, available in the Pro version of Live Home 3D. One of the advantages of this method is that you can adjust the parameters of the Building Block on both 2D Plan and in 3D view via the Object Properties of the Inspector. Another benefit of using this tool is being able to adjust the placement of your rug in 3D view.
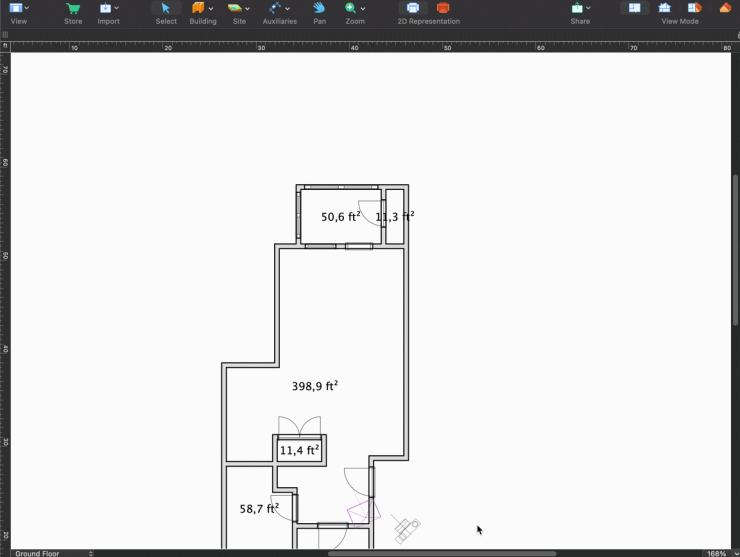
To start working with the Building Block tool, switch to the 2D Plan view and choose either the Building Block Rect if you want to add a rectangular or square rug, or the Building Block Poly if you need to create a rug of an arbitrary shape. Draw a rug with the desired dimensions. You can also easily adjust them later.
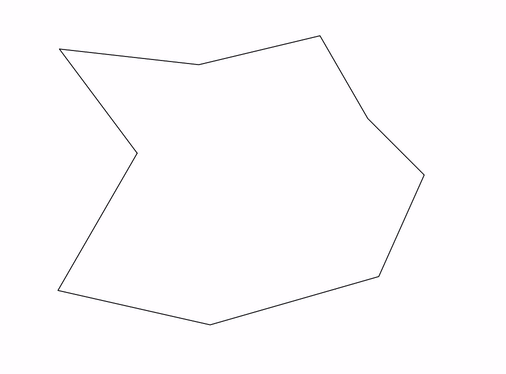
If you are adding a rug of an arbitrary shape, double click on the rug to edit the contour by dragging the contour points in the necessary directions. You can also add or remove points to create the needed shape.
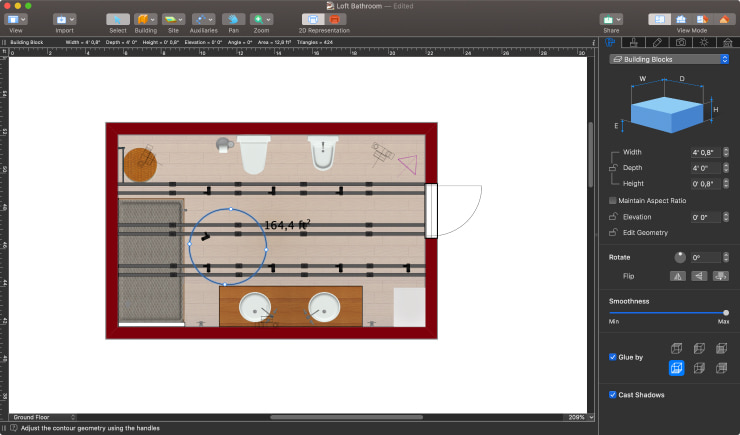
Be sure to untick the Maintain Aspect Ratio option on the Inspector panel and set the height for your rug in the Object Properties tab of the Inspector.
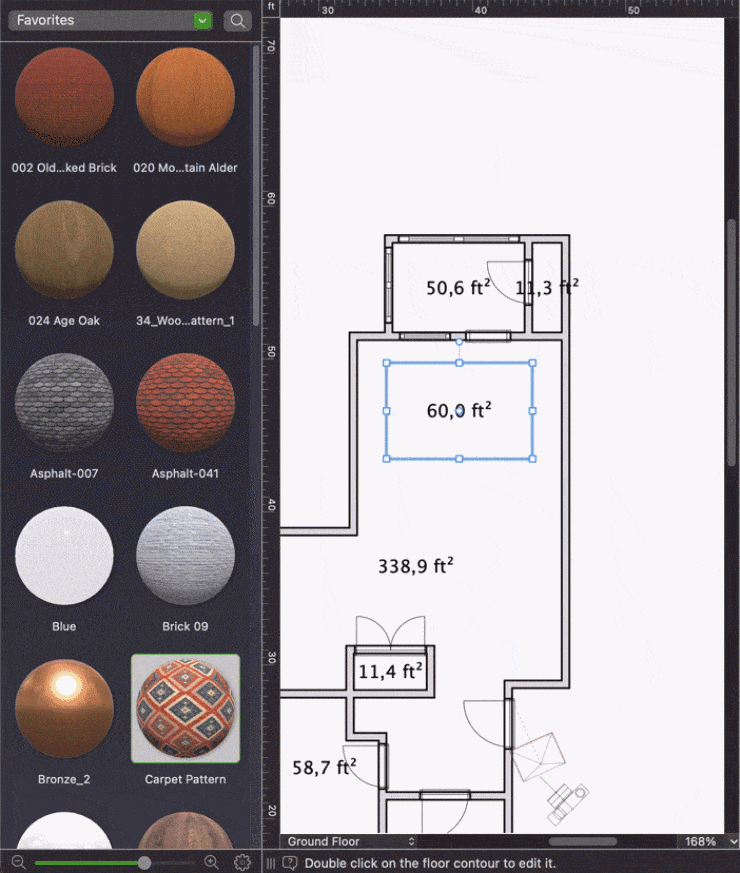
Now it’s time to choose a texture for your rug by opening the Material library and choosing the necessary material from the available samples in the Carpets or Fabric categories, or even using your own custom material for the rug. Drag and drop the material onto the rug and adjust the scale of the pattern using the Tile Transform tool, if you need to.
Using Floor Tools
The Floor Rect tool is another fast way to add a rectangular or square rug to the floor surface. Switch to the 2D Plan view and choose the Floor Rect among the Building tools, then draw a rug of the desired size in the necessary place on the 2D plan. Note that, when using this method, the placement of the rug can only be adjusted on the 2D plan.
A rug of an arbitrary shape can also be created with the help of the Floor Rect or the Floor Poly tool. Draw a rug of the necessary size on the 2D plan. Now, you can adjust the rug’s shape by using contour points. Right click on the rug on the 2D plan and choose Edit Contour (or simply double click on it). Drag the contour points to create the desired shape.

You can also remove contour points to achieve the necessary shape of the rug.
Now apply a material to the rug using either any of the samples available in the Material library, or your own custom material. Use the Tile Transform tool to adjust the pattern, if necessary.
Using Shapes
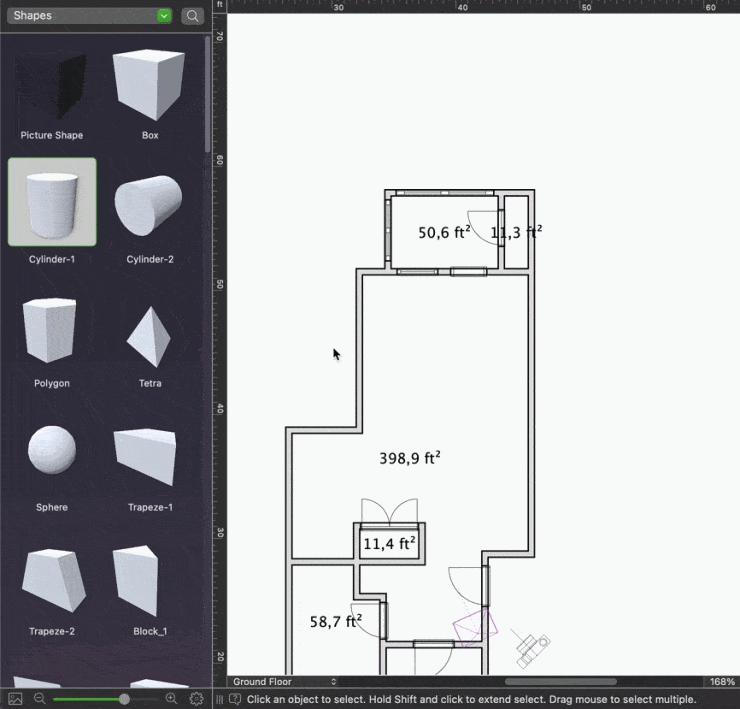
Adding a rug using Shapes is quite easy. Open the Object library and choose the desired shape. For example, if you need to create a round rug, choose a cylinder shape. Next, put the rug into the necessary place onto the 2D plan. Be sure to untick the Maintain Aspect Ratio option on the Inspector panel and set the height for your rug in the Object Properties tab. Now you can apply a material to the rug the same way as described in the first paragraph.
If you need to create a carpet on the stairs, the Shape tool can also come in handy. Switch to the 3D view and choose the surface shapes among the available options. To form a carpet for the stairs, you will need to work with both horizontal and vertical shapes. Untick Glue By and Maintain Aspect Ratio options in the Inspector. Adjust the height, depth, width and elevation parameters of each surface. Keep adding surfaces to cover all the steps with the carpet.
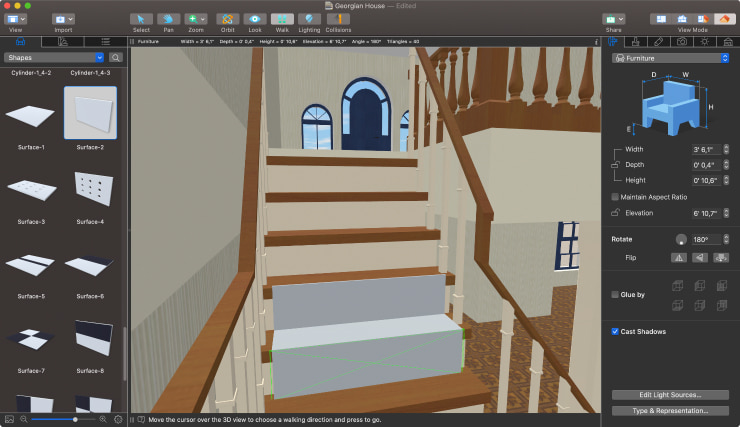
Finally, you need to apply the desired material to a carpet by dragging and dropping a texture from the Material library.

Ways of Hanging a Rug on a Wall
Shapes or Wall Panels can be used to hang a rug on the wall in Live Home 3D with purchased Standard features or in the free version of the app. You can work in both 2D and 3D view, but the 3D mode will be more illustrative for adjusting the dimensions of a rug. Skip to sections 2 and 3 if you want to learn about these methods.
In the first paragraph, we will describe the most convenient way of putting a rug on the wall, which is by using the 2D Elevation view. This path is available for those who have already activated the Pro features.
Working in 2D Elevation View
The easiest way to hang a rug on the wall is doing it in the 2D Elevation view mode, available in the Pro version of Live Home 3D. First, select the necessary wall either in 2D or 3D.
Then, switch to the 2D Elevation view and use the Wall Panel tool available on the toolbar to draw the necessary panel. The shape of the panel can be adjusted on the 2D plan, and its thickness can be changed in the Object Properties tab of the Inspector.
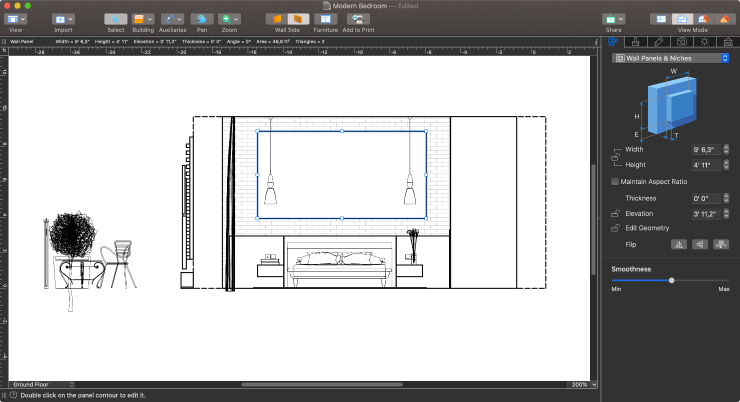
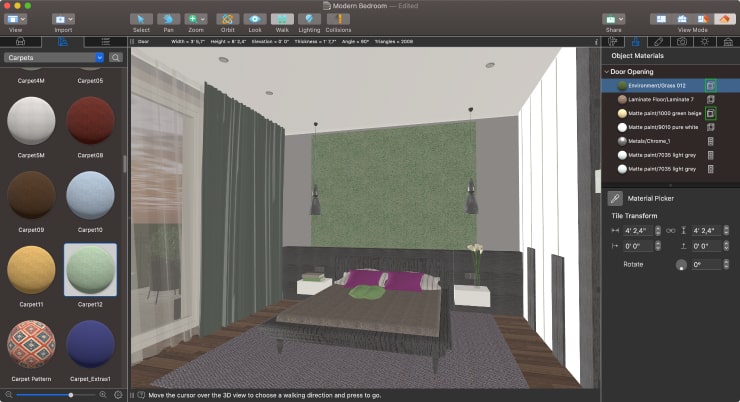
Now, the final touch is adding a material for your rug. You can find one in the Carpets or Fabric categories of the Object Library or import your own. The scale and position of the pattern or texture can be adjusted using the Tile Transform tool in the Object Materials tab of the Inspector.
Working With Wall Panels
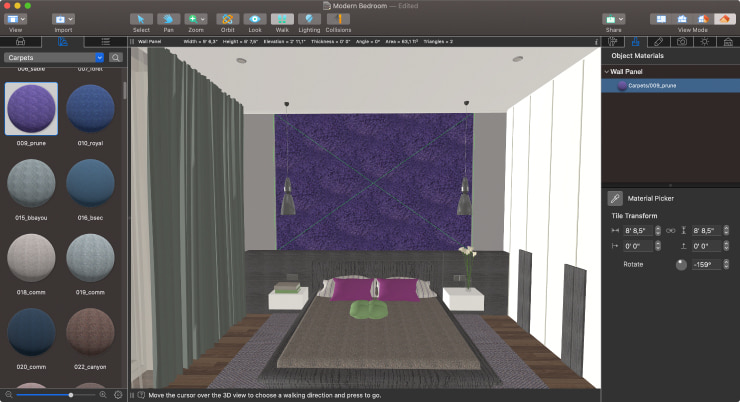
Open the Object library, choose the necessary type of Wall Panel and put it on the wall. The Wall Panel will automatically stick to a wall. Next, untick the Maintain Aspect Ratio option in the Object Properties of the Inspector and adjust the height and width of the rug, if desired.
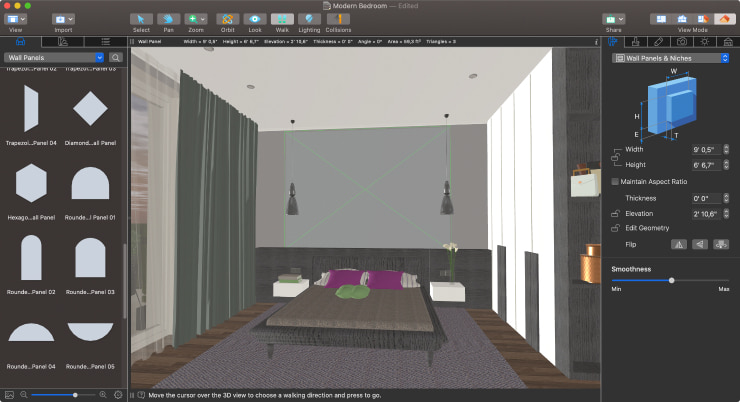
It’s time to apply a material to the rug. The available textures can be found in the Carpets and Fabric categories of the Object Library. You can change the scale and position of the pattern or texture with the Tile Transform tool in the Object Materials tab of the Inspector.
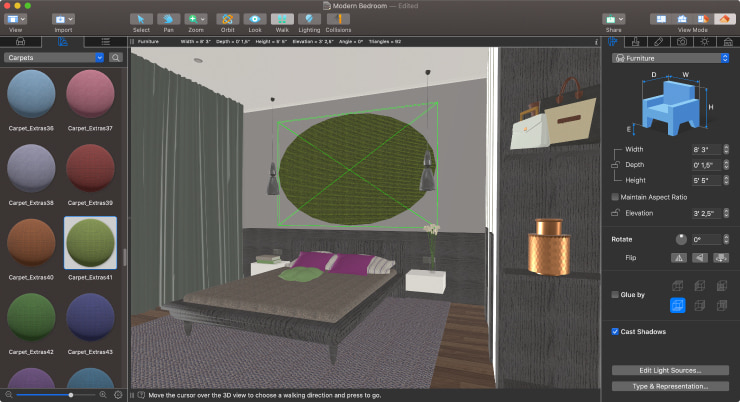
Working With Shapes
The principle of working with Shapes to hang a rug on the wall is quite similar to working with Wall Panels, especially if you use the surface shape to create a rectangular rug. So, let’s make an oval rug for a wall to see the features of the Shape tool. Open the Object Library and choose a cylinder shape to add on a wall.
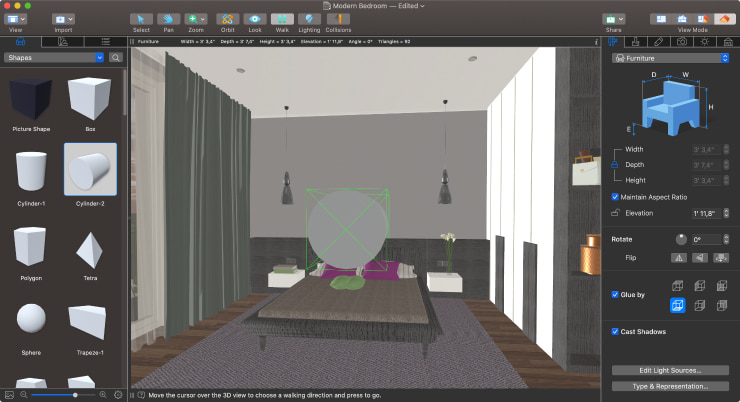
Pay attention to the Inspector tab. First, untick the Glue by and Maintain Aspect Ratio Options. Next, adjust the Elevation of your rug to put it in the necessary place. Now you can set the dimensions for the rug: to make an oval rug, the width parameter should exceed the height one, and the depth should be set to minimal in order to give the rug a realistic look.
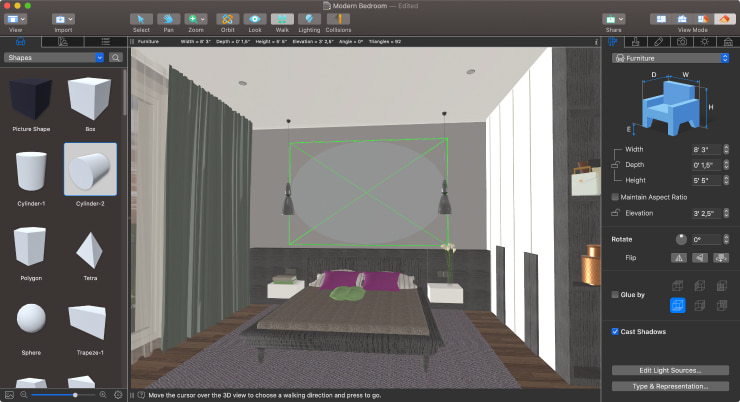
Add a material for the rug the same way as described in the first paragraph. Note that changing the scale of the material with the Tile Transform tool is not possible if you created a rug using Shapes.
Now that you have learned about all the ways of adding a rug in Live Home 3D, you can create a unique custom rug that will be a great addition to your design!