Import a Model From a File
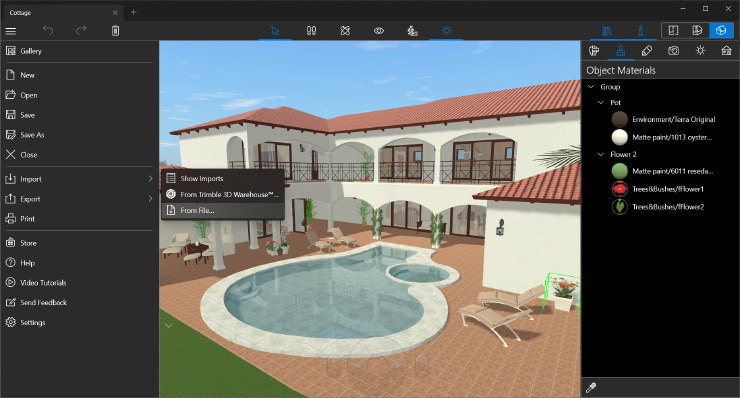
In the Windows version:
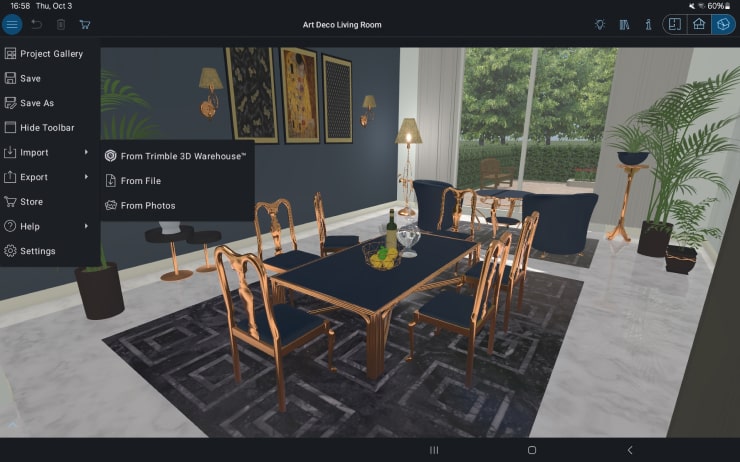
- Tap on the Menu button and select “Import > From File” from the menu.
- Select a file with the 3D model.
- Click Open.
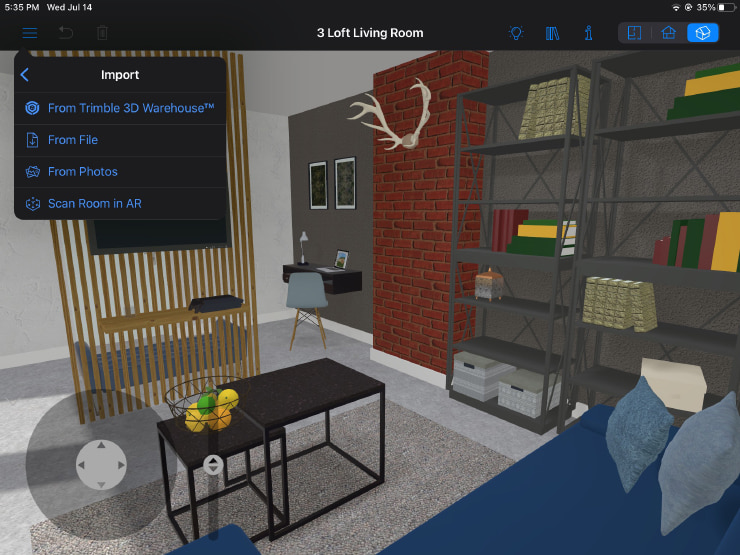
In the iOS / iPadOS version:
- Tap on the Menu button and choose “Import > From File.”
- Select the file with the 3D model.
- Check and modify the import options, if needed. The default settings are fine for most situations.
- Tap on Import.
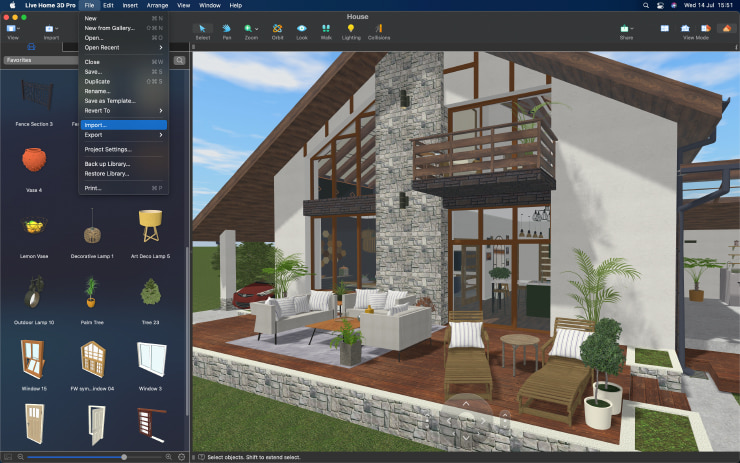
In the Mac version:
- Select “File > Import” in the menu or choose the Import button in the toolbar.
- Specify the format of the imported file and select the file.
- Modify the import options, if needed.
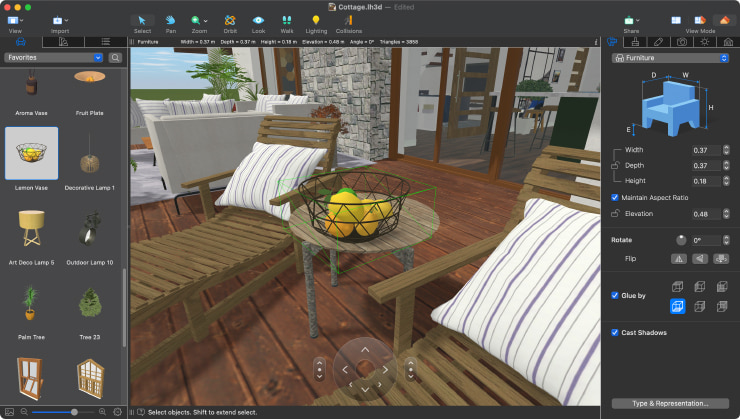
- In the Type and Representation dialog that opens, verify the object dimensions and click OK. If you don’t see such dialog when importing an object, please select the imported object, select the “Arrange > Merge” menu and the “Edit > Type & Representation…” menu to see this dialog.
- If the 3D model you are importing is a window, a door or stairs, specify the required object type in this dialog. You will be able to access this dialog later from the “Edit > Type & Representation…” menu.
There is an alternative way to import an object in the Mac version: simple drag and drop from Finder. This way, an object will be imported with the default settings.
In the Android version:
- Tap on the Menu button and choose “Import > From File”.
- Select a file with the 3D model.
- Verify the import options. You can keep the default settings which should work well in most cases.
- Tap on Import.
Change the Object Type, If Needed
The imported model will be added to the project. If needed, you can change its type from Furniture (used by default) to window, door or stairs in the Type and Representation dialog.
Edit Textures
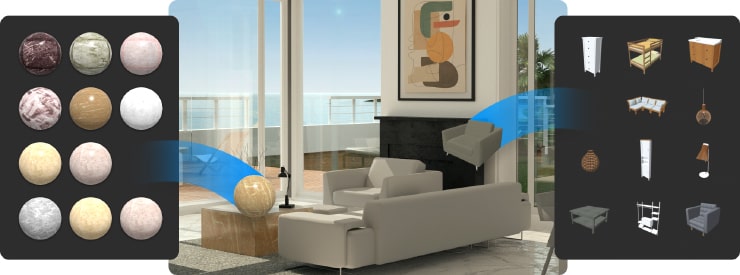
Imported objects may have references to one or several textures. The app will try to locate the folder containing these textures. And, if the texture is not found, you will be asked to locate it manually. You can skip opening textures and use the materials from the built-in library.
Adjust the Import Settings
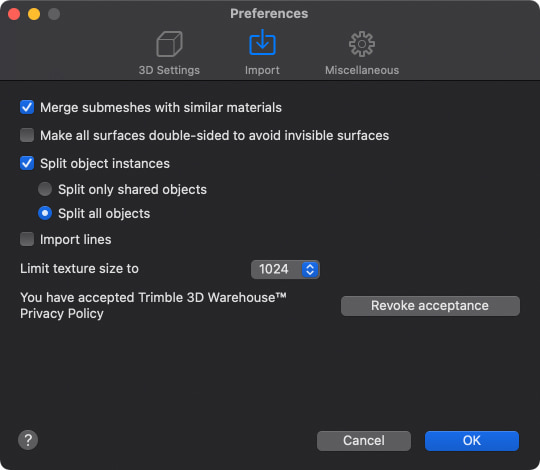
You can have even more control over the imported objects in the app Preferences. For example, merge parts with similar materials to simplify the model and increase the rendering speed, make all surfaces double-sided to avoid invisible surfaces, split a compound object turning its parts into separate objects, etc.
Merge Submeshes With Similar Materials
Remove excessive details from the model to simplify it and increase the rendering speed. This optimization limits application of different materials to separate model parts. Below is a short explanation of how this works with the two cubes.
If the cube has different materials on each side, it has no similar materials. If you switch this option on and off, the result will be the same.
If the cube has the same material on all sides:
- If the sides of the cube have the same material, and this option is off, all the sides have the original material. It is possible to change the material of any cube side.
- If the cube is imported again with this option activated, it will have the same look, though the 3D model will differ. When applying the materials to one cube side, all sides will get the new material.
Make All Surfaces Double-Sided to Avoid Invisible Surfaces
When you import a 3D model of a box and look at it from the outside, you will see one side of each surface. Live Home 3D creates faces for each side. The app applies color and texture to these faces to make them visible.
But, if you need to look at the box from the inside as well, each of its sides should have two faces, inner and outer, to make them visible. The lack of these faces will make some parts of an object invisible.
Most of the objects can be viewed only from the outside, like a sofa or any other furniture item. Adding faces leads to increasing the 3D object size, which results in increasing the document size. So, to simplify 3D models of these objects and decrease their size, faces of invisible object parts are not needed.
Our advice is to import all objects with the “Make all surfaces double-sided” option off. And re-import only the objects you need to view from the inside with this option switched on.
Split Object Instances
The “Split Object Instances” option can split a compound object into separate objects. In this case, an imported object will be added as a group that includes all of the original parts.
Models can be split only if they consist of several components. For example, some models are composed of several objects (a computer, a lamp and books on the table). If you split such compound objects, you can remove or rearrange some of these components.
An additional option is to split all or only identical objects. Please note that not all models can be split. The model’s ability to split depends on how it was created.
Import Lines
When the “Import lines” option is deactivated, the program ignores lines—for example, the lines that were created in the SketchUp software using the Line tool. In most cases, the option should be switched off.
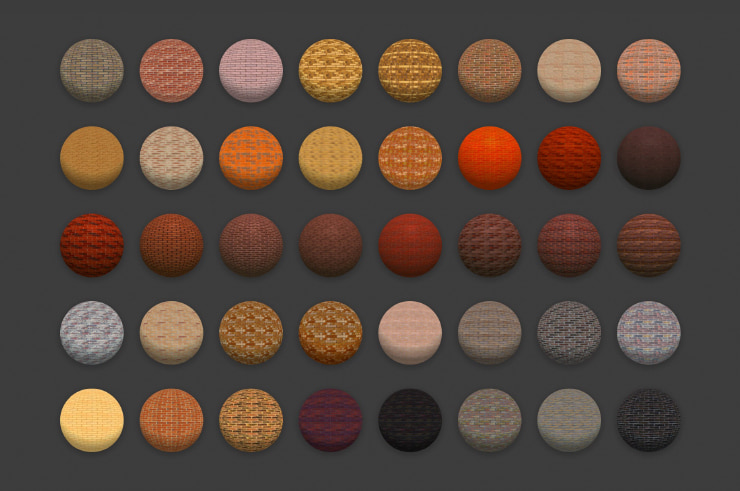
Texture Size
The program automatically limits the size of images imported as textures. If an image is larger than the selected value, it will be scaled down. The aspect ratio will be maintained. For example, when you select "1024," you limit the size of the larger texture side to 1024 pixels.
With the higher value, the textures are of higher quality and contain more details. With the lower value, the app will render objects in the 3D view faster. So, you can choose what is more important for your project.
How to Access the Import Settings
In the Windows version, click the Menu button and select “Settings > 3D > Import”.
In the iOS, Mac and Android versions: you need to double-check and alter the import options, if necessary. The default import settings can be adjusted in the application settings.
On a Mac, select “Live Home 3D (Pro) > Settings…” in the menu to bring up the program Settings dialog. The Import section lets you set up the default state for the options that appear in the Import dialog.
To display the program settings on the iOS, iPadOS and Android versions, tap on the Menu button and select “Settings”. Then bring up Import settings.