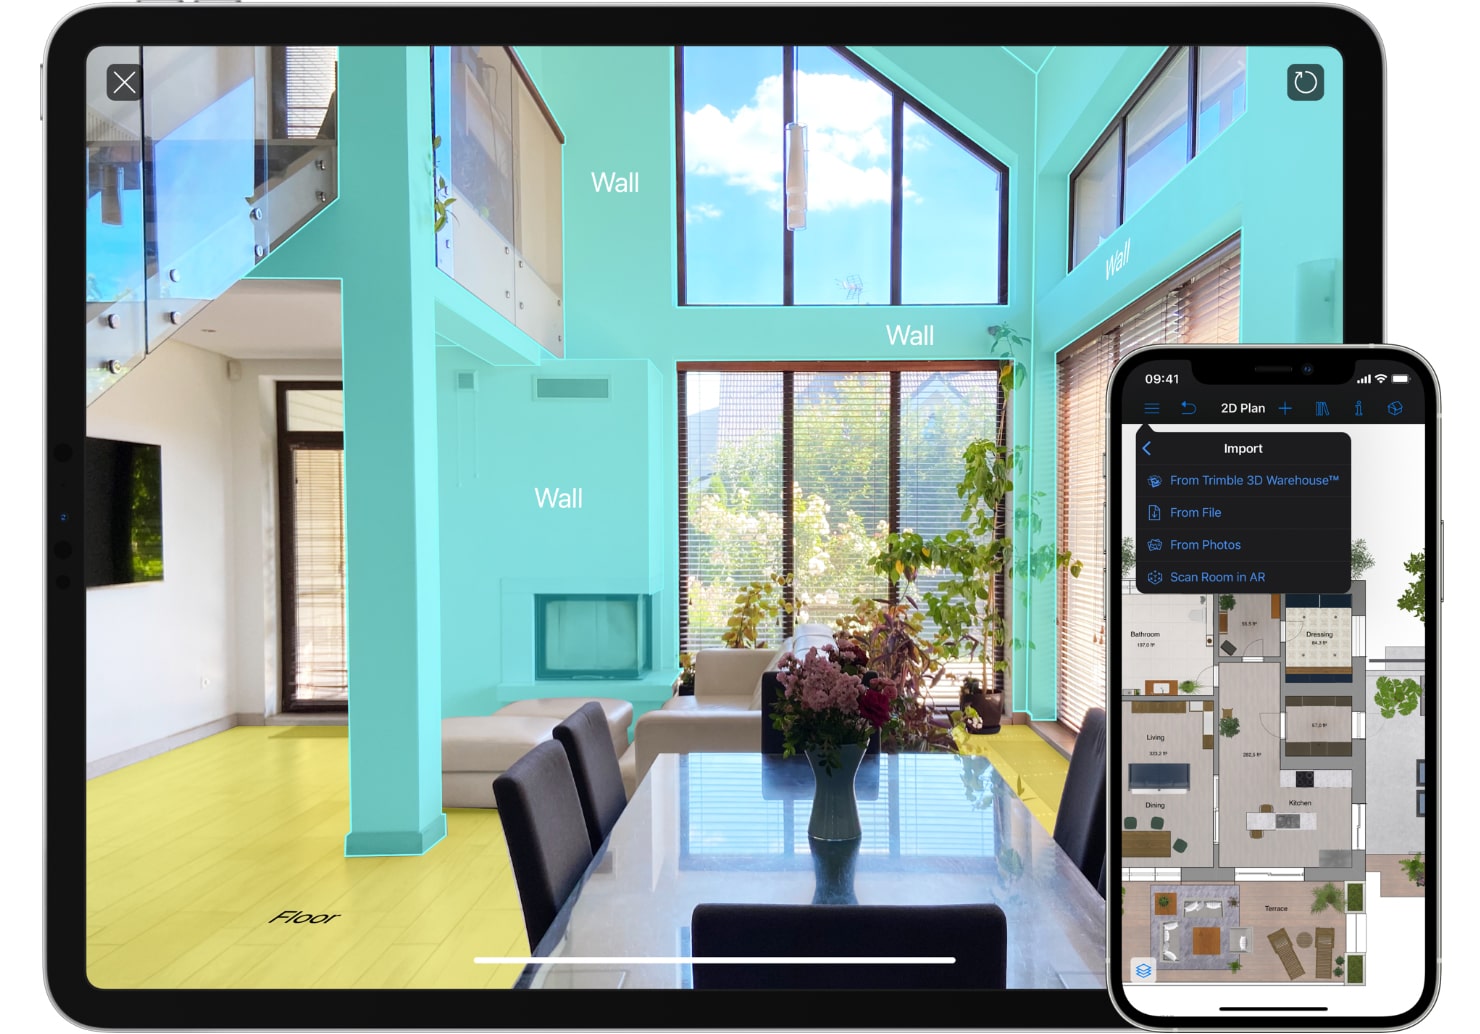
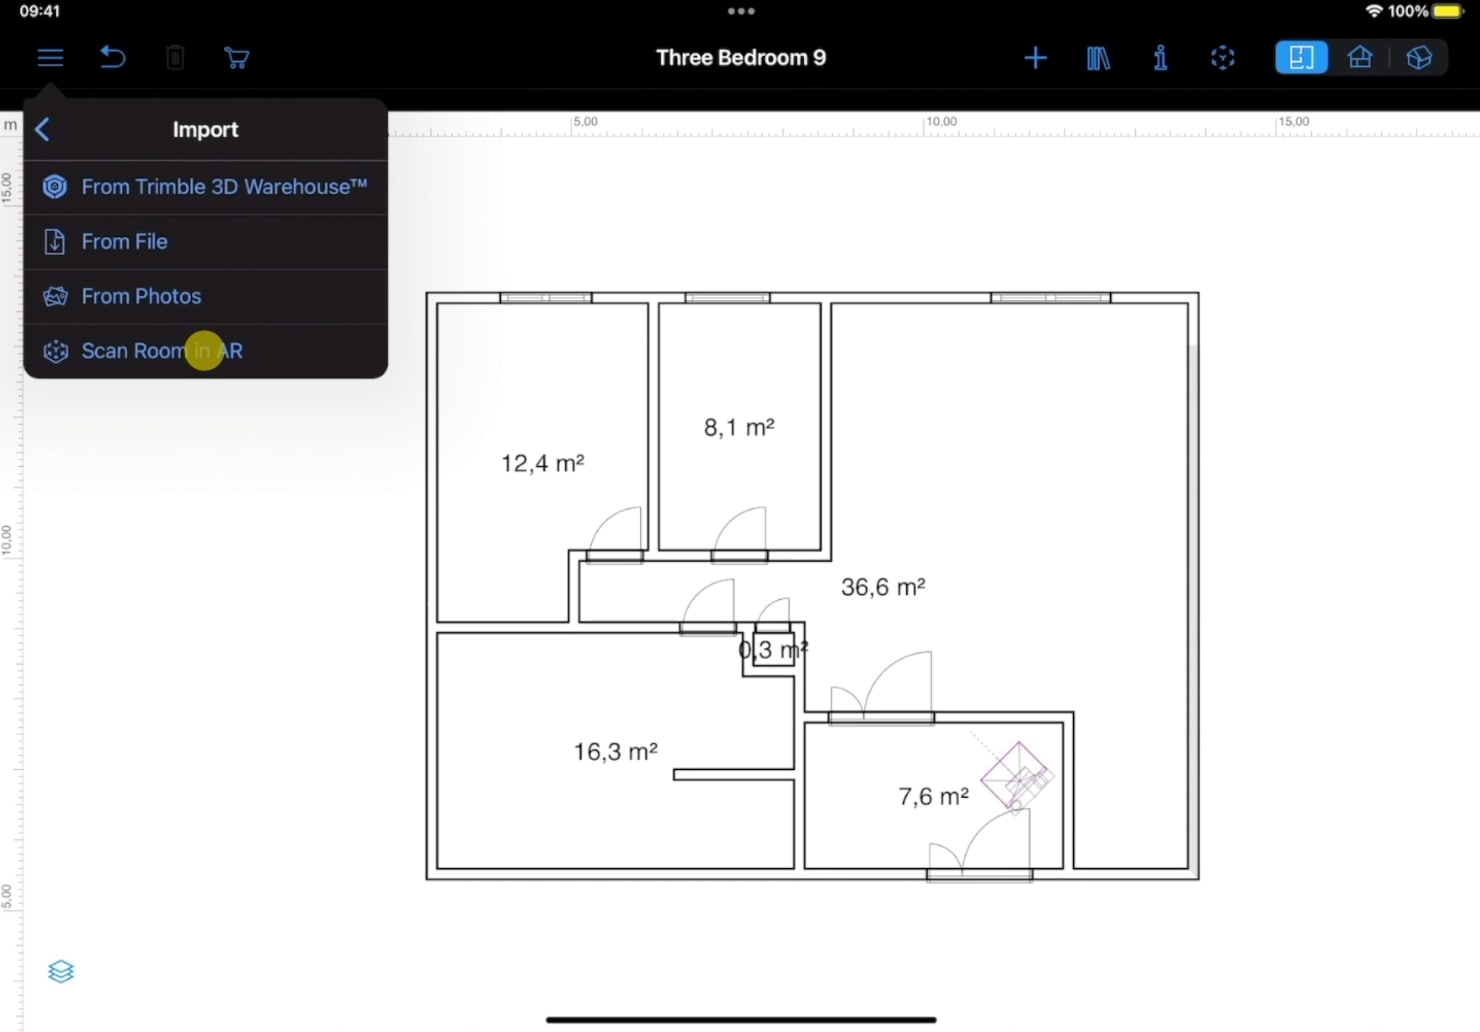
Activate Room Scanner
To start the scanning process, you need to stand in the center of the room. You can activate Room Scanner on your device via “Import > Scan Room in AR” in the Menu.
Start the Scanning Process
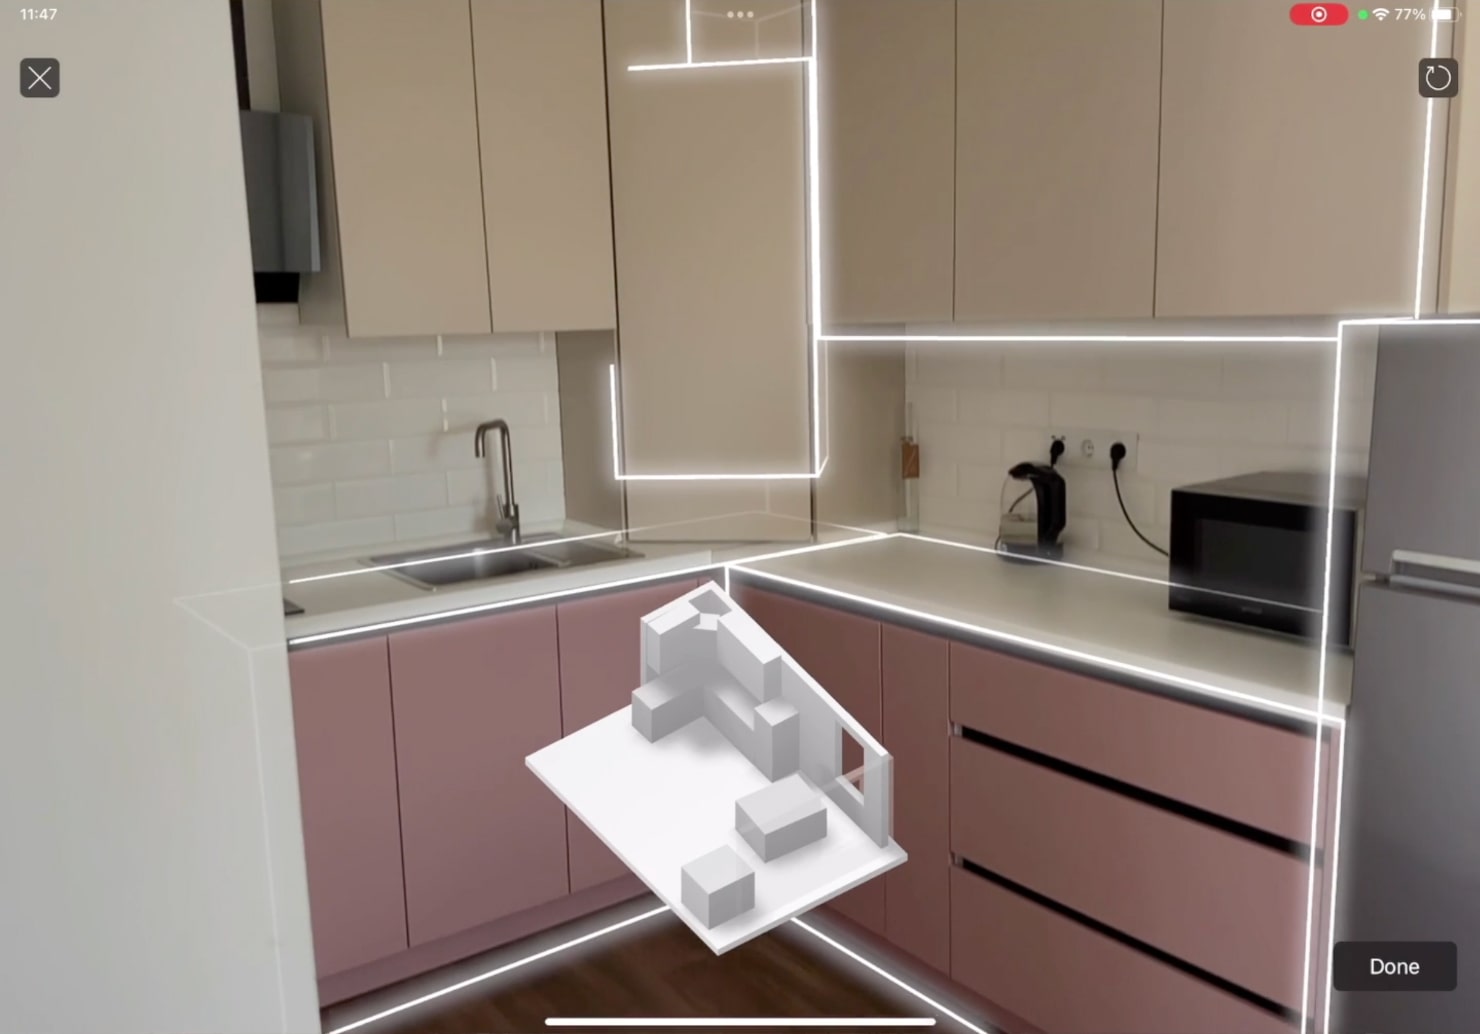
When you see your room in AR, you can start the scanning process. Follow the instructions provided by the app to scan your room.
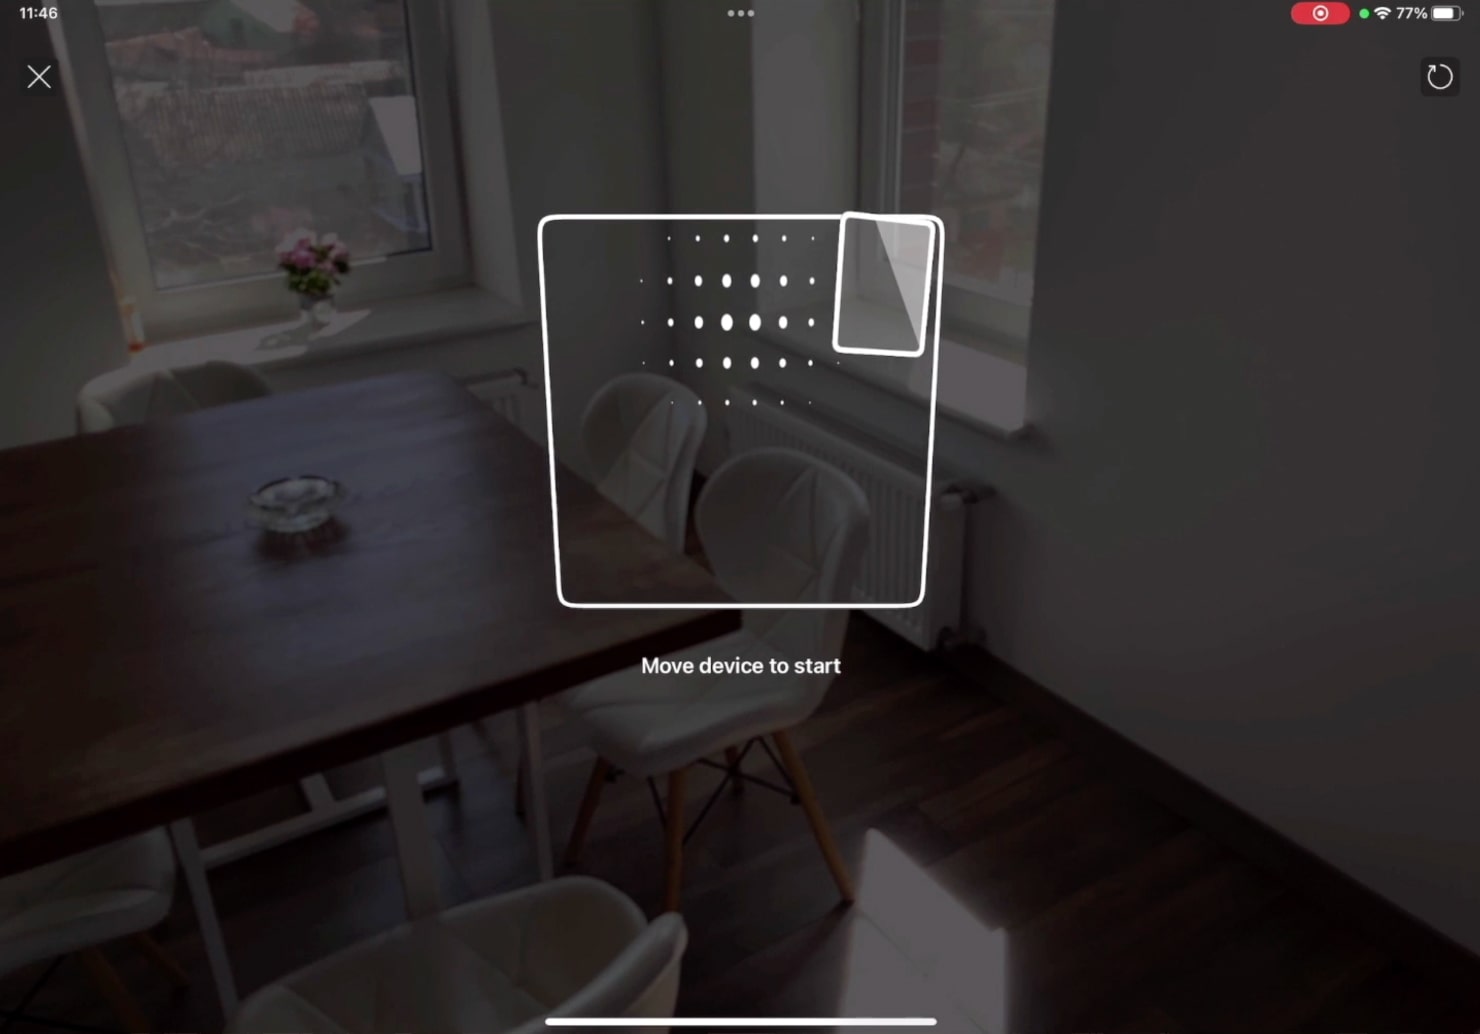
The app will guide you on how to position your device and display graphic overlays to help you visualize the physical structures in your room.
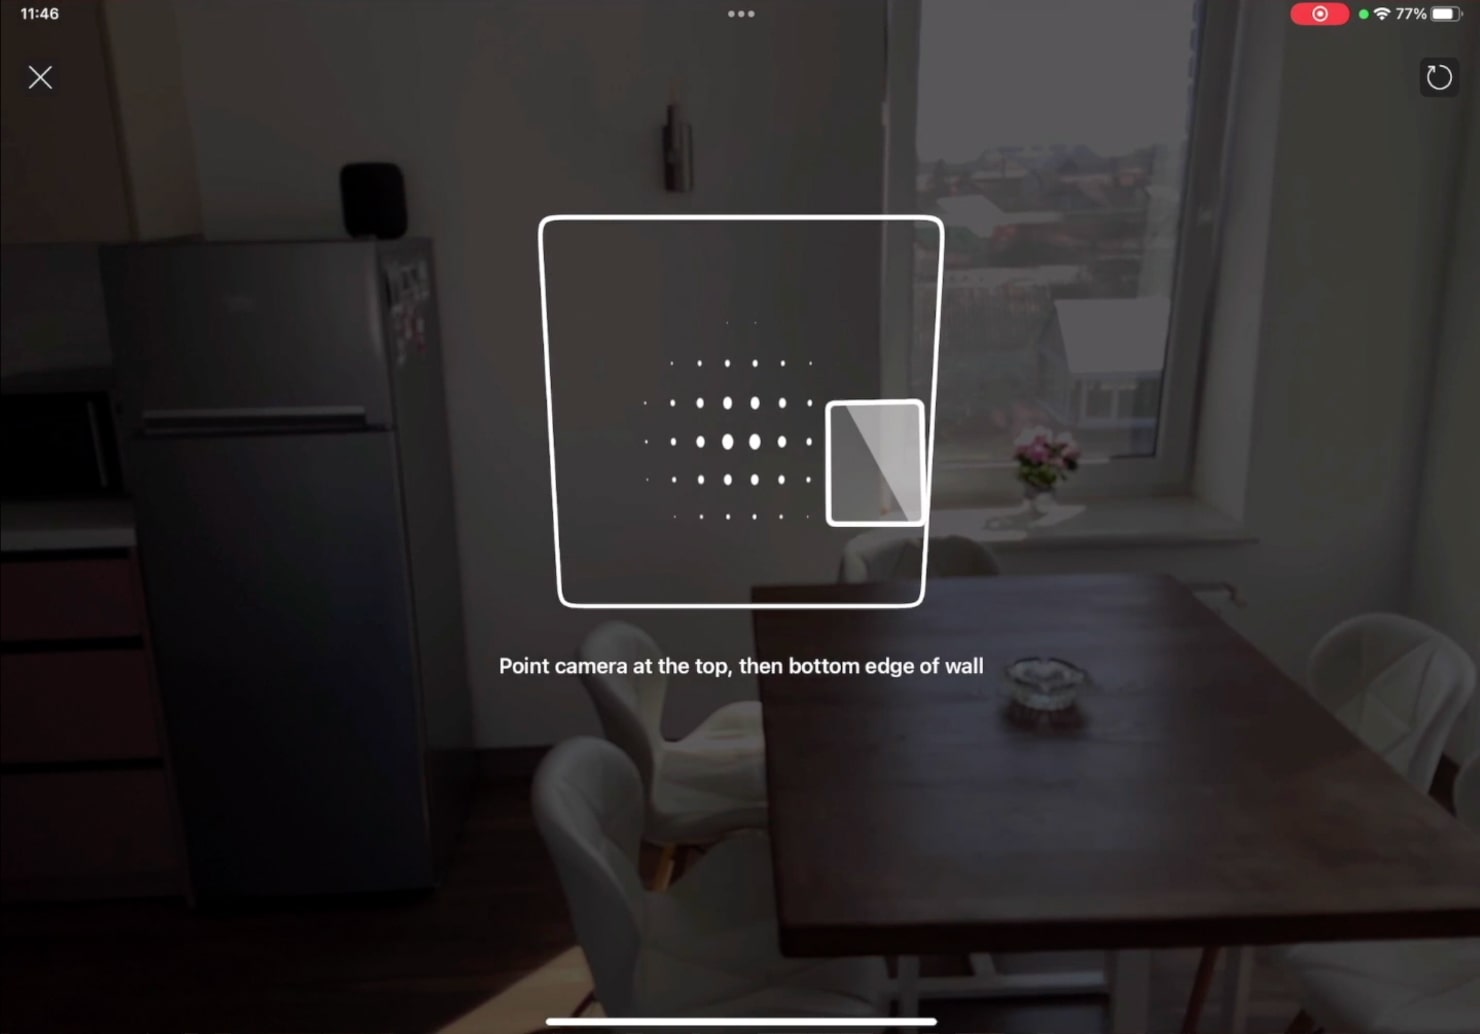
Scan the Walls
To scan the walls of the room, slowly turn and walk around while scanning each wall individually. You will notice that the walls, doors, windows, and openings are automatically identified.
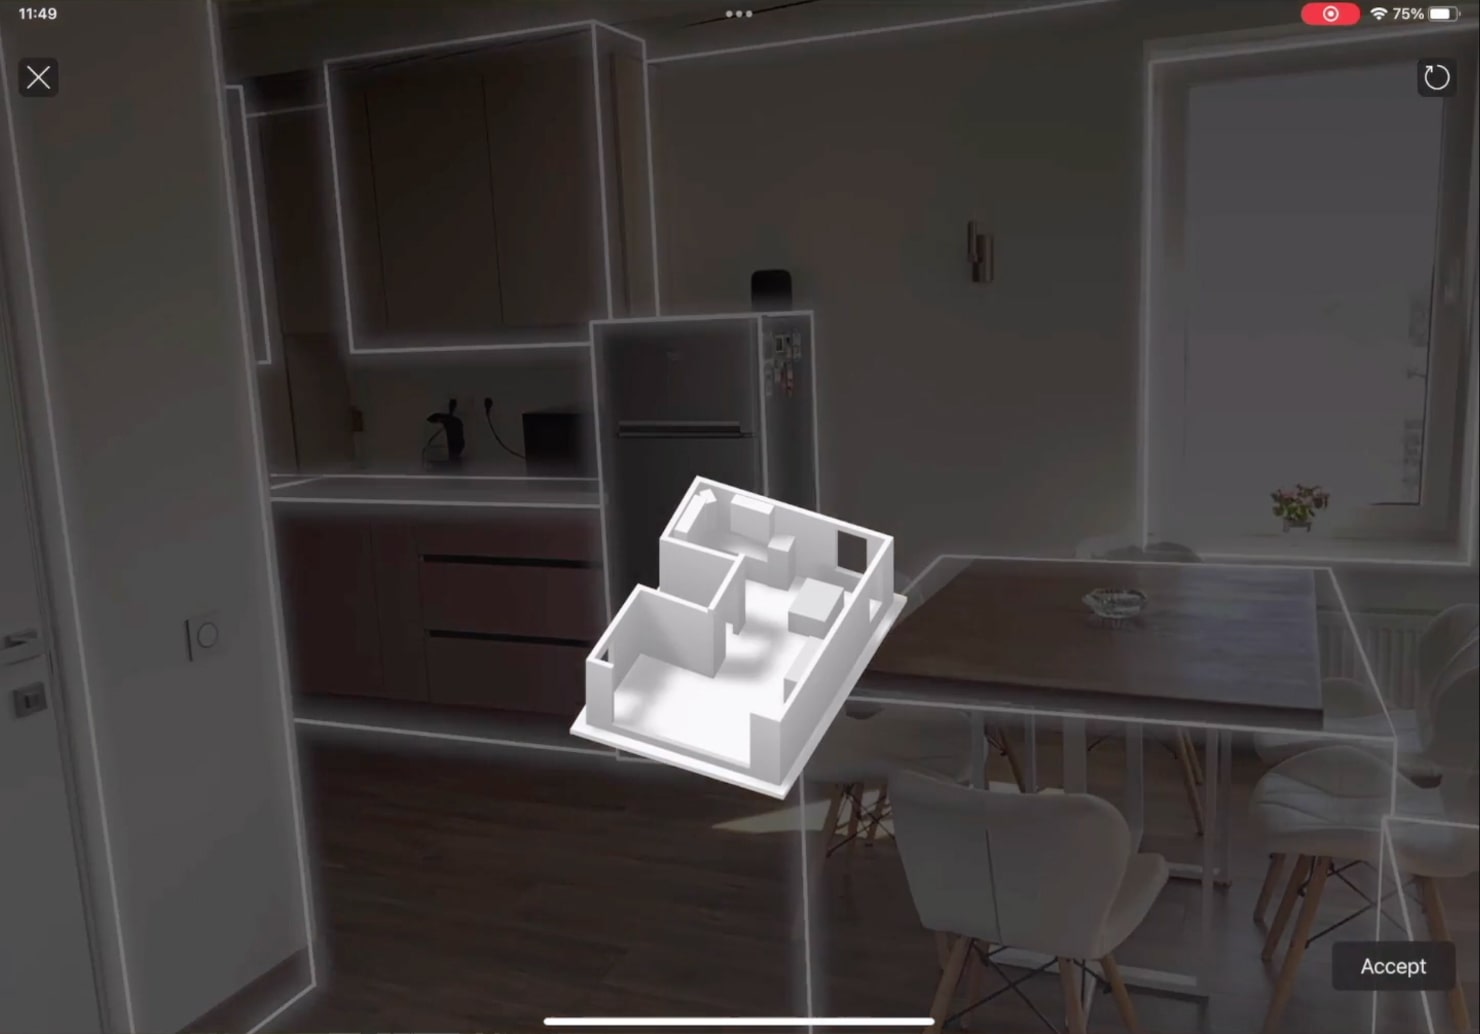
Finish the Scanning Process
Once you have scanned all the necessary walls in the room, just tap the Done button to complete the process. After that, Room Scanner will automatically create the rooms, based on the data obtained from the scan, and insert them into the 2D plan. The orientation of the walls will correspond to the True North if the device’s compass is calibrated accordingly.
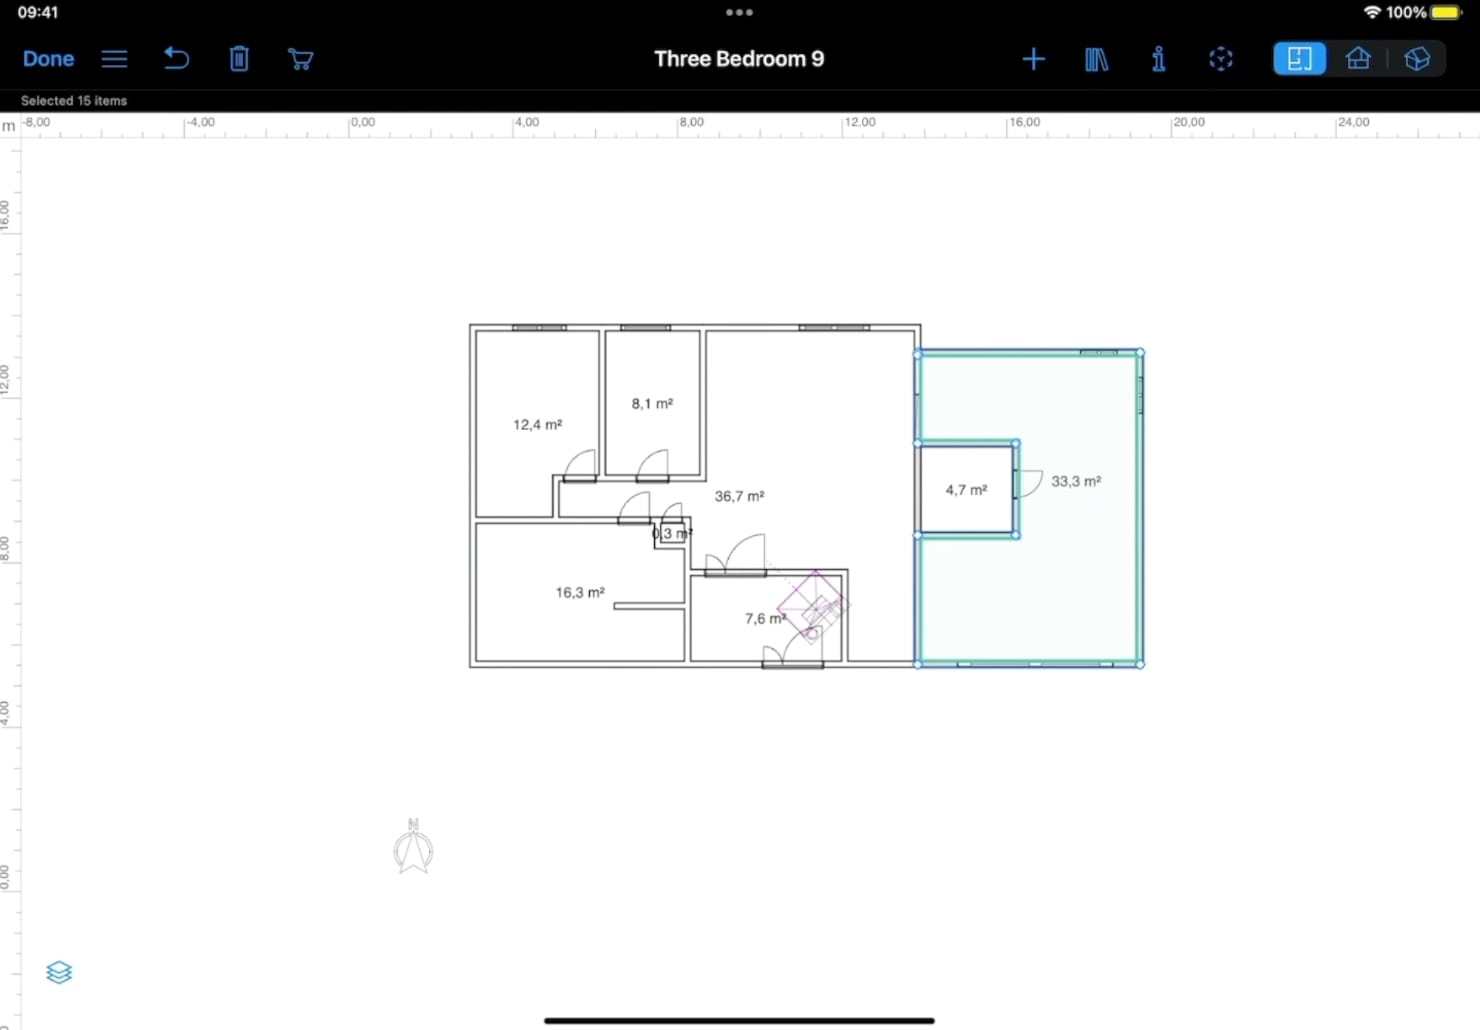
Adjust the Room in 2D View
Now, you will be able to move the created room and adjust its walls on the 2D floor plan if necessary, and even attach the room to the existing floor plan layout.
Well, that’s all for the Room Scanner feature. You can watch our video tutorial on how to scan a room in AR to go through the whole process again: