Auxiliary Objects
Images
Images on the Floor Plan and in the Elevation View
Images can be added to your floor plan or Elevation view in order to display a logo or other information.
To add an image, open the 2D Plan or Elevation view and choose the Insert > Image menu command. You can also drag and drop an image from Finder to the 2D Plan or Elevation view. Images added in this way are not visible in the 3D view.
If you have a floor plan drawing in a graphic format such as PDF, TIFF or JPEG, you can place it in the 2D Plan view to see where to draw walls or place objects in your project.
The image properties are located in the Object Properties tab of the Inspector. You can find tools here to adjust the image size, rotate or flip it, and also change its opacity.
To resize an image, use handles on its frame or input a new size in the Inspector. To show the image with proper scale, you can use a Dimension tool. The image size in the Inspector is displayed in the measurement units selected for the whole project.
To rotate an image, use its rotation handle.
The Project Tree lets you control the Visibility and Lock options.
Images in the 3D View
There are two ways to display an image in the 3D view:
- Apply an image to an object as a texture as described below.
- Import an image as a 3D Image object.
To apply a texture to an object:
- Create a custom material, and then apply it to the object.
- Drag an image from Finder and drop it onto an object in the 3D view. See Creation of a Wall Picture below for detailed instructions.
The creation of a new material lets you adjust it before applying. You can also save it in the library for later use. The "drag and drop" is the simplest and preferred method for one-time applications.
Creation of a Wall Picture
To create a wall picture, you can drag an image directly onto an object. The program will create a custom material automatically and place it in a category with imported materials. The texture will most likely be tiled on the object's surface. The following steps explain how to fit the texture to the object.
Keep in mind that the texture size is limited, so importing images with very high resolution is not recommended.
To create a wall picture:
- Determine the aspect ratio of the image. To do this, open the image in the Preview.app and press Cmd-I. Assume that the image width is 533 pixels and the height is 421 pixels. The aspect ratio is then 533 / 421 = 1.26
- Add a wall panel from the library to your project.
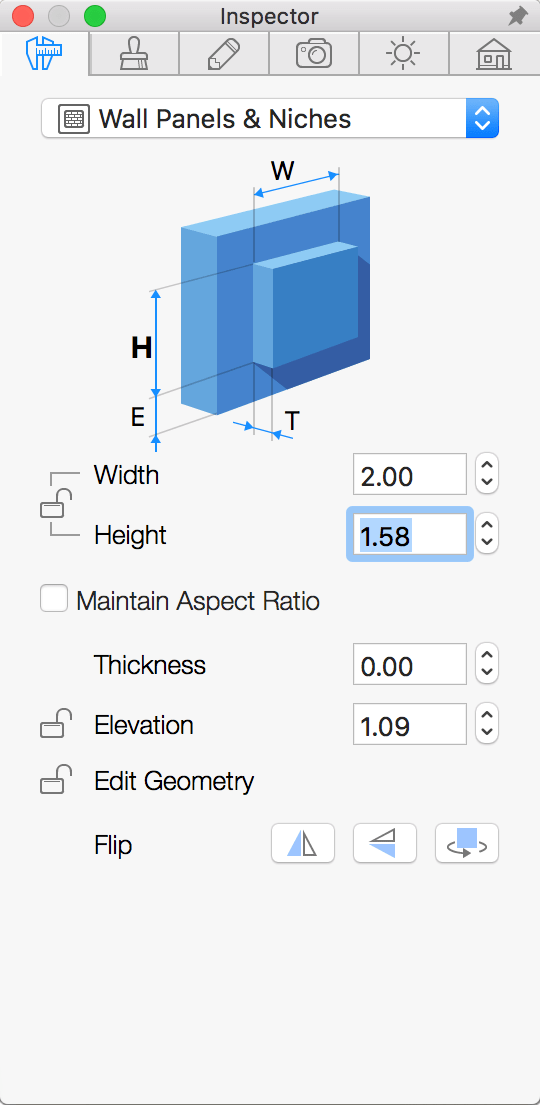
- Resize the panel using the Object Properties tab of the Inspector. Assume that we need to have a width of 2m. The height will be calculated using the aspect ratio of the image:
2 / 1.26 = 1.58m

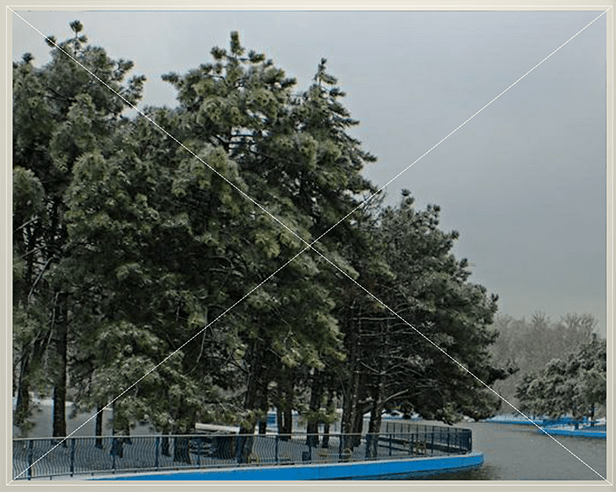
- Drag the image from Finder and drop it onto the wall panel.
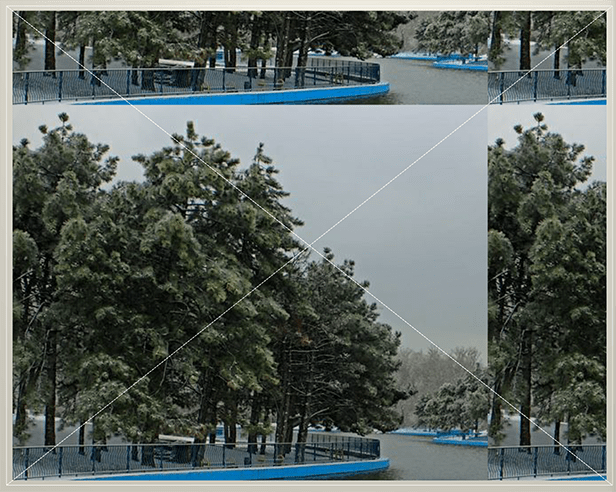
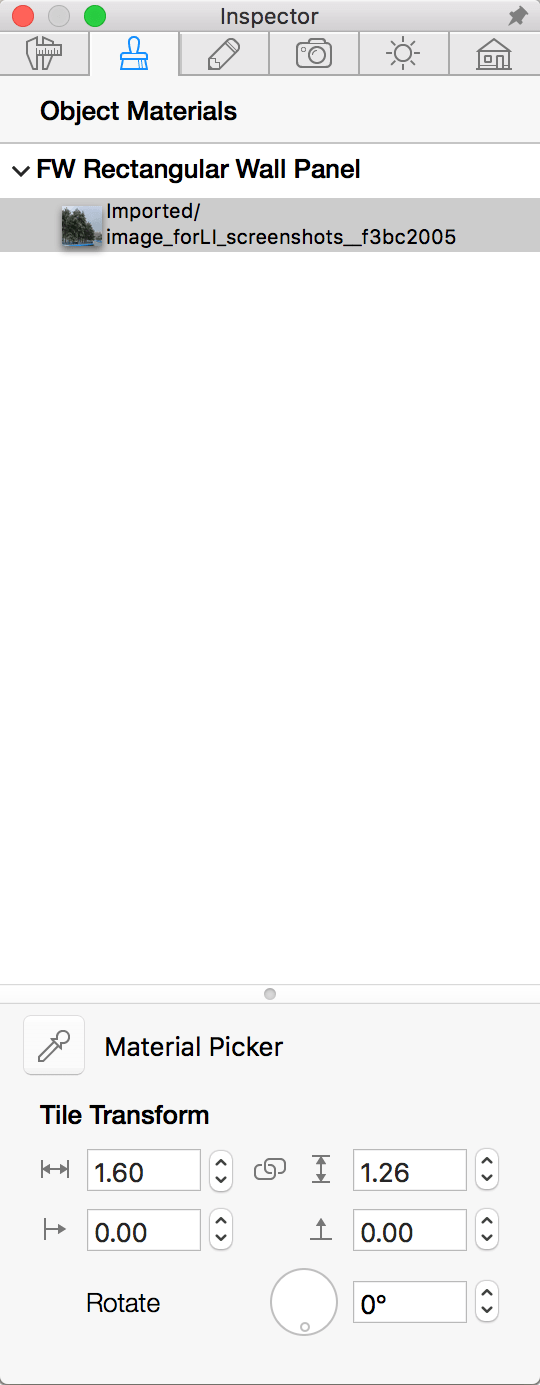
- The image is tiled. Correct this using the Tile Transform tool in the Object Materials tab of the Inspector. Make sure that the Preserve Texture Aspect Ratio is on (indicated by the chain icon). Input one of the image dimensions, such as the width.
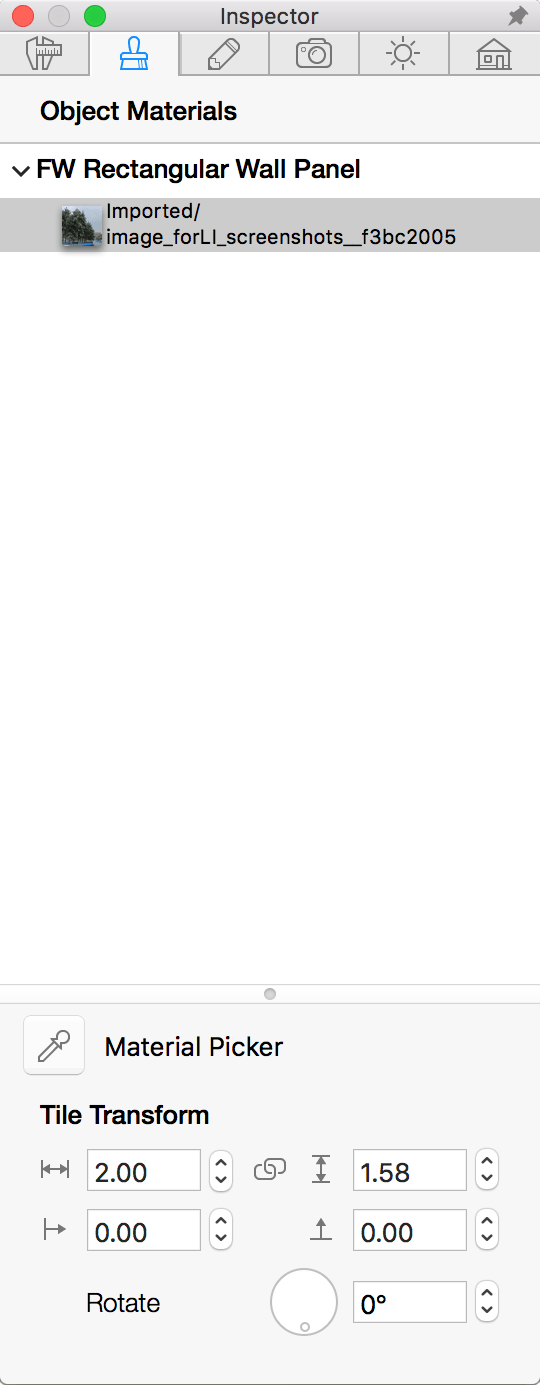
You can apply a texture to other objects in the same way. However it is important to remember that the Tile Transform tool works only with walls, wall panels, ceilings and floors.