Working with Materials
Applying Materials
The material library is located in the Library panel. To open it, use the View button in the toolbar, or choose Window > Material Library from the main menu.
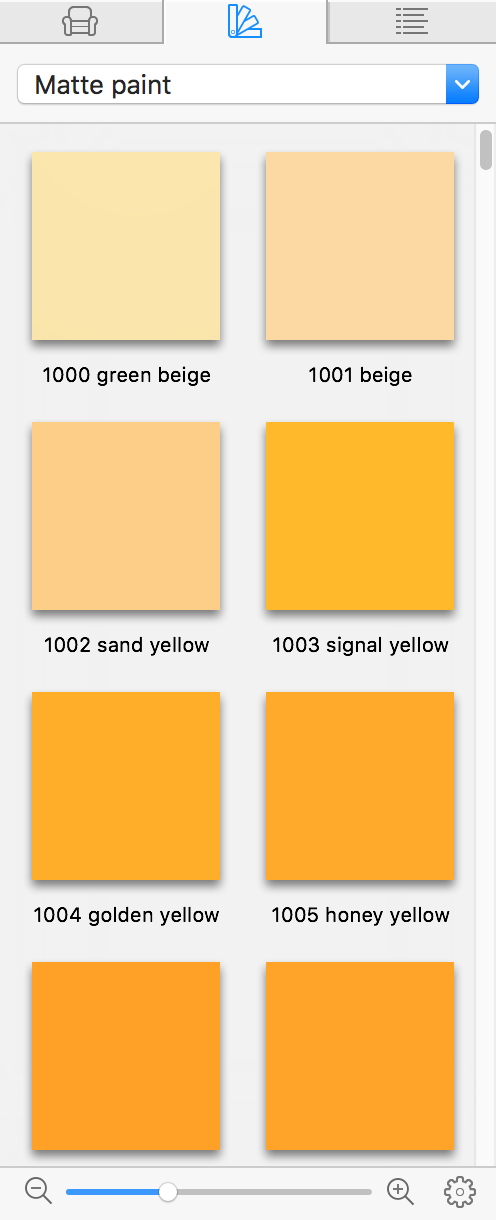
The drop-down menu at the top of the panel lists categories of materials such as Brick or Wood. The Favorites category can serve as a storage for materials that you select for your project. At the bottom of the drop-down menu there are the New Category… and Delete Current Category commands. They let you create and remove custom categories.
Applying a Material to an Object
Applying Materials in the 3D View
Drag a material from the library and drop it onto an object's part. Be careful, because an object may have multiple parts with different or the same materials applied.
The Building Block, Opening, Wall Panel and Niche objects, and also the side surfaces of slabs support two ways of applying materials. Let's see how this works with Building Blocks. If you drag and drop a material onto any side of the block, this side will be repainted. The same happens after drag-and-dropping a material onto the top of the block. However, if you drag and drop a material onto a side holding down the Option key, a new material will be applied to all of the sides. The Option key doesn't change the regular behavior when you apply a material to the top of the block or to the face of a wall panel.
Replacing a Material Listed in the Inspector
- Select an object in your project.
- Open the list of materials of the selected object in the Object Materials tab of the Inspector.
- In the Inspector, select one or several materials that you wish to change. To select multiple items, click on them while holding down the Cmd key.
- Right-click on a material in the library and choose Apply to Selection. The program will replace the selected material with the new one.
Using the Inspector to apply a material is useful when:
- An object or its part is very small, and it is difficult to drop a new material onto it.
- There are many identical objects (for instance, walls) and you want to replace the same old material with the same new one.
To copy a material from another object, use the material picker.