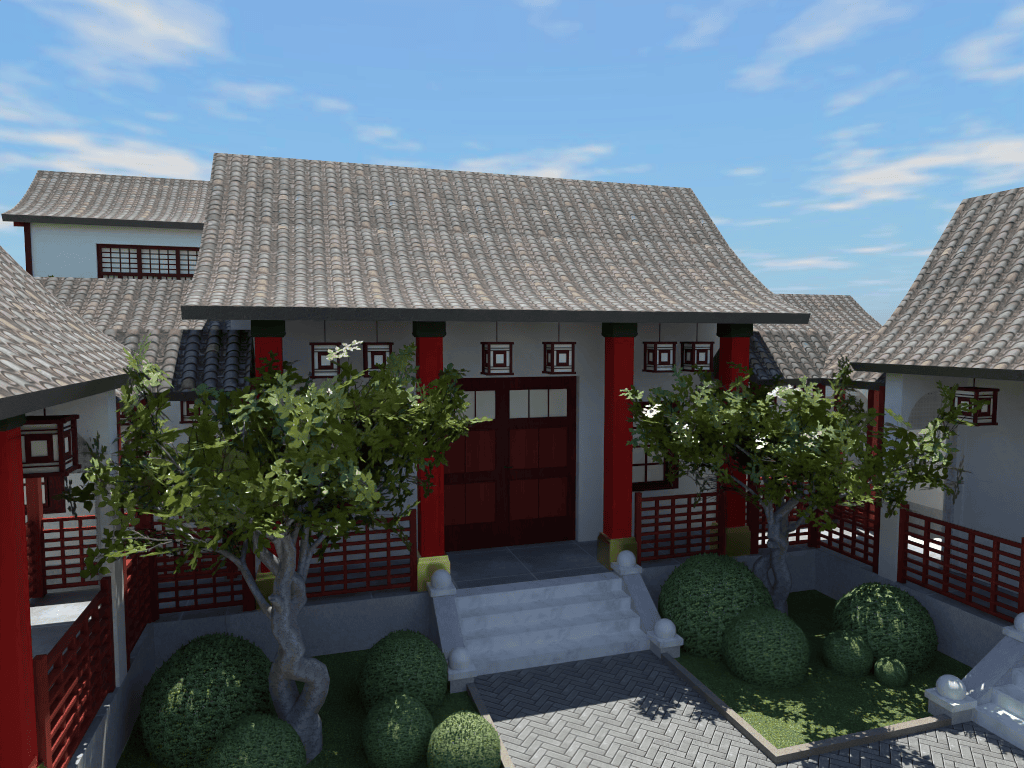
Working with Projects
The Daylight Settings
The lighting in any project is a composition of the daylight and artificial light. The Light Sources section explains how to work with light sources.
To set up the daylight, use the Light Properties tab of the Inspector.
The app simulates the daylight upon the geographic location, date, and daytime. They are located in the Environment section.
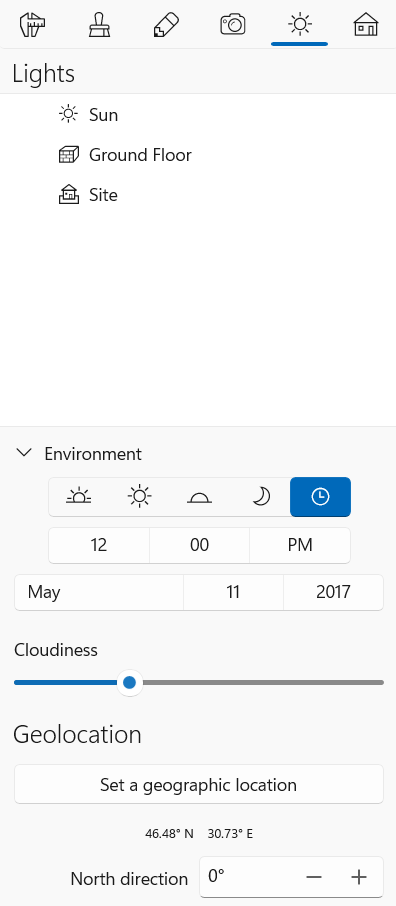
To set up the daytime, you can choose the predefined time by clicking the corresponding buttons: Morning (9:00), Day (13:00), Evening (18:50), or Night (01:00). To set any time you like, select the Custom option which is far to the right. Then click the box below and set the proper time.
In order to set up a new date, click each of the month, date and year fields.
The Cloudiness slide bar changes the amount of clouds in the sky. It is intended to change the sky conditions, but doesn’t affect the brightness of the daylight.
For correct daylight simulation, you should specify the geographic location. Do this by choosing the time zone or the name of the nearest city in the Geolocation section.
In order to define the direction to the north in your project, change the North direction value. The same result can be achieved by rotating the compass displayed on the floor plan. If the compass is not needed on your floor plan, deactivate the Show Compass in 2D option in the 2D section of the Settings.
Custom Panorama as 3D Background
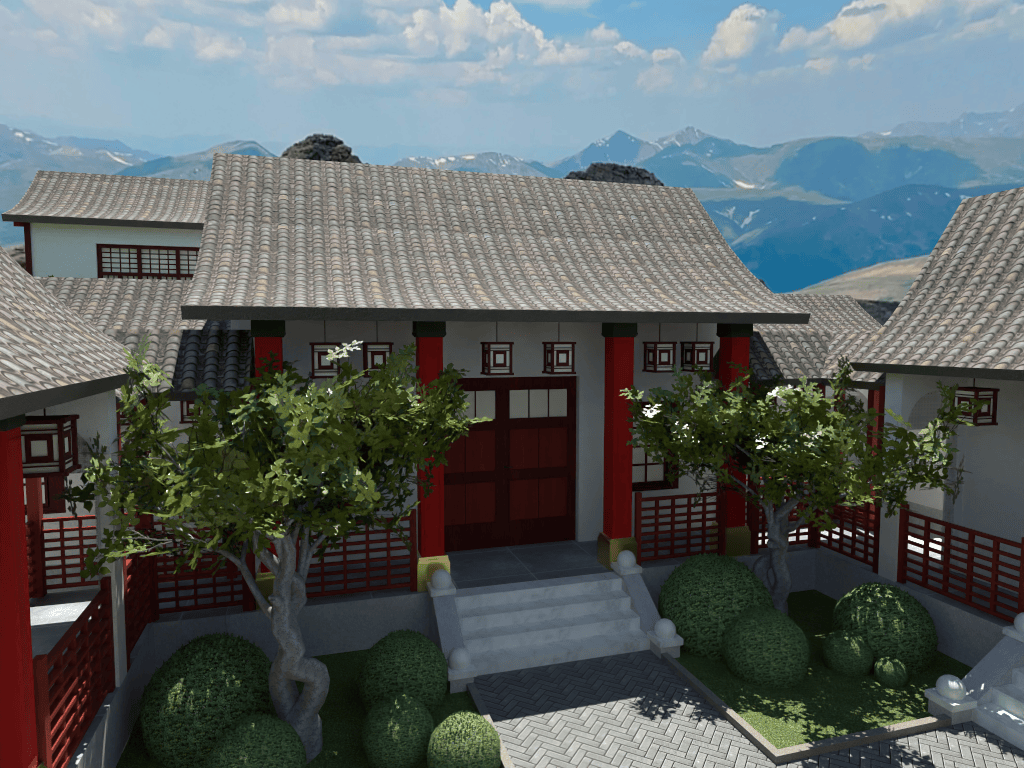
Instead of the automatically generated sky, you can use your own 360° panoramic image as the background of the 3D view. The panorama is displayed as a spherical environment around the entire scene.
The sky and background controls are in the Light Properties tab of the Inspector, in the collapsible Sky & Background section at the bottom.
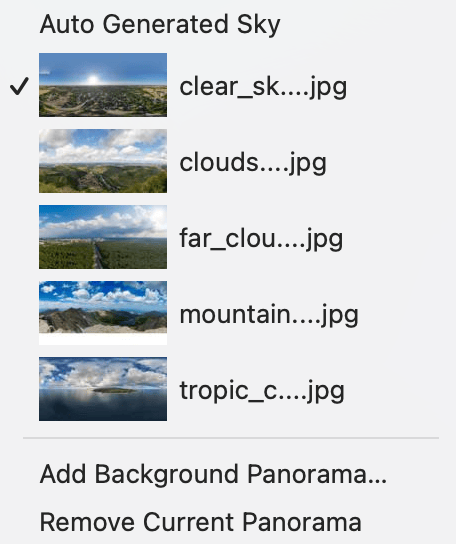
The section contains a pop-up menu that controls what the sky or background looks like. The menu includes:
- Auto Generated Sky — the default sky.
- Any panoramas you have already imported — listed above the separator.
- Add Background Panorama… — imports a new panoramic image, adds it to the list, and selects it immediately.
- Remove Current Panorama — deletes the currently selected panorama. Enabled only when a panorama (not the generated sky) is active.
When a panorama is selected, you can rotate it using the Rotate Panorama controls. Rotating the panorama lets you align a specific part of the image with the direction your camera faces. If the sun or shadows are present in the panorama image, you should align them with the direction of the sunlight and shadows in the project.