Live Home 3D Workspace
The 3D View
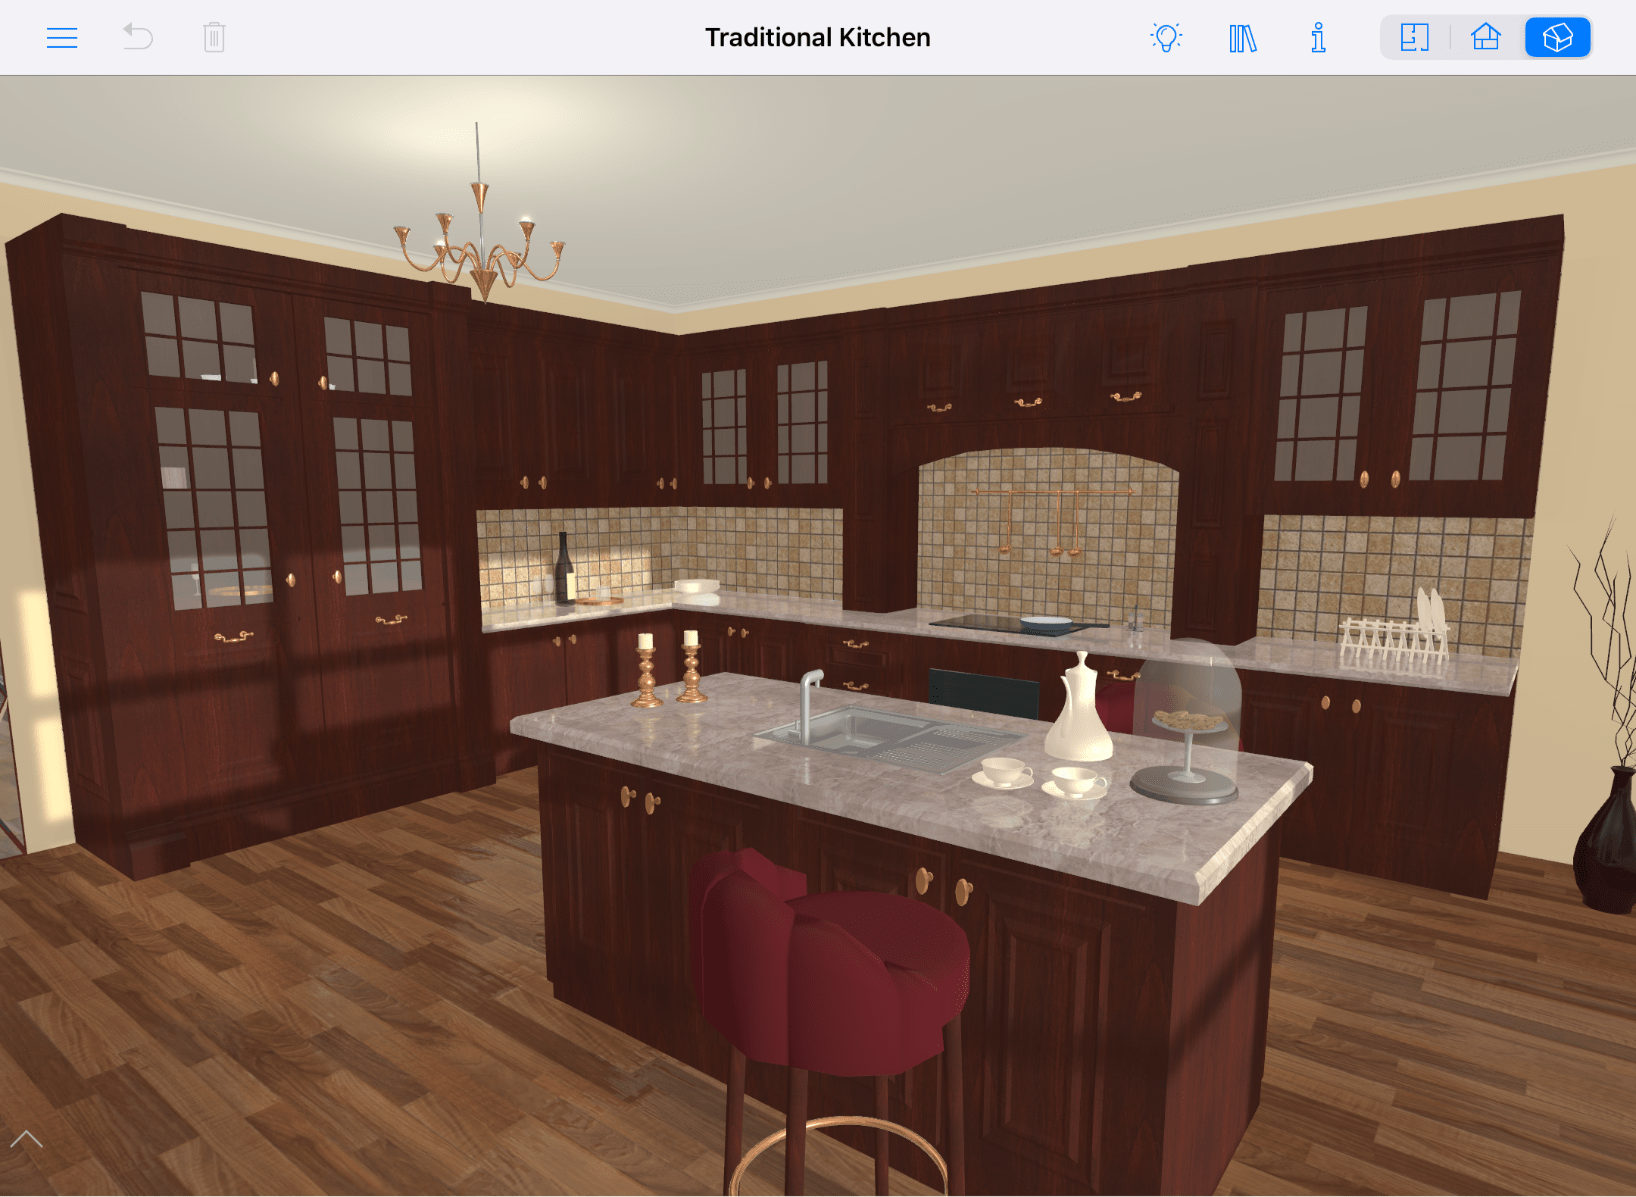
The 3D view displays a 3D model of your project. In the 3D window, you can move objects, change materials, adjust lighting and more. You can also walk around in the 3D space and take pictures.
To open the 3D view, tap on the ![]() button in the toolbar.
button in the toolbar.
The 3D view can display the Information bar below the toolbar. It shows details about a selected object.
The 3D Toolbar

1 – Open the menu.
2 – Undo the last action. For Redo, tap on the icon and hold until a popup menu appears on the screen.
3 – Delete a selected object.
4 – Render the scene with or without the lighting. Turning the lighting off makes the view respond faster.
5 – Open or close the Library which gives you access to the library of materials, library of objects and Project Tree.
6 – Open or close the Inspector.
7 – Display the 2D Plan view.
8 – Display the 2D Elevation view. (Pro edition only)
9 – Display the 3D view.
The view can be fine tuned by changing the Camera Settings in the Inspector. It is possible to choose either perspective view or orthographic projection. The perspective view lets you adjust the field of view.
A camera icon may be displayed in the top right corner of the 3D view. The icon indicates that the current view is linked to one of user cameras.
Walking Around
There are several ways to navigate inside your 3D model. One of the possibilities is to use gestures. There is also a specialized tool called the Walk Control. You can operate it like a joystick.
Gestures
These two gestures might be the most frequently used.
To look around preserving your point of view, swipe to the left or right with one finger.
To move forward or backward, place two fingers on the screen and move them forward or backward (in case you keep the screen horizontally).
Some other useful gestures are described in the Gestures section.
Walk Control
The Walk Control appears at the bottom of the 3D view. It consists of a joystick that lets you move horizontally, and a slider that changes the elevation.
To show or hide the Walk Control, tap the button near the bottom left corner of the screen.
To operate the joystick, move its handle within the dark area. The farther you pull the handle off the center, the faster you move.
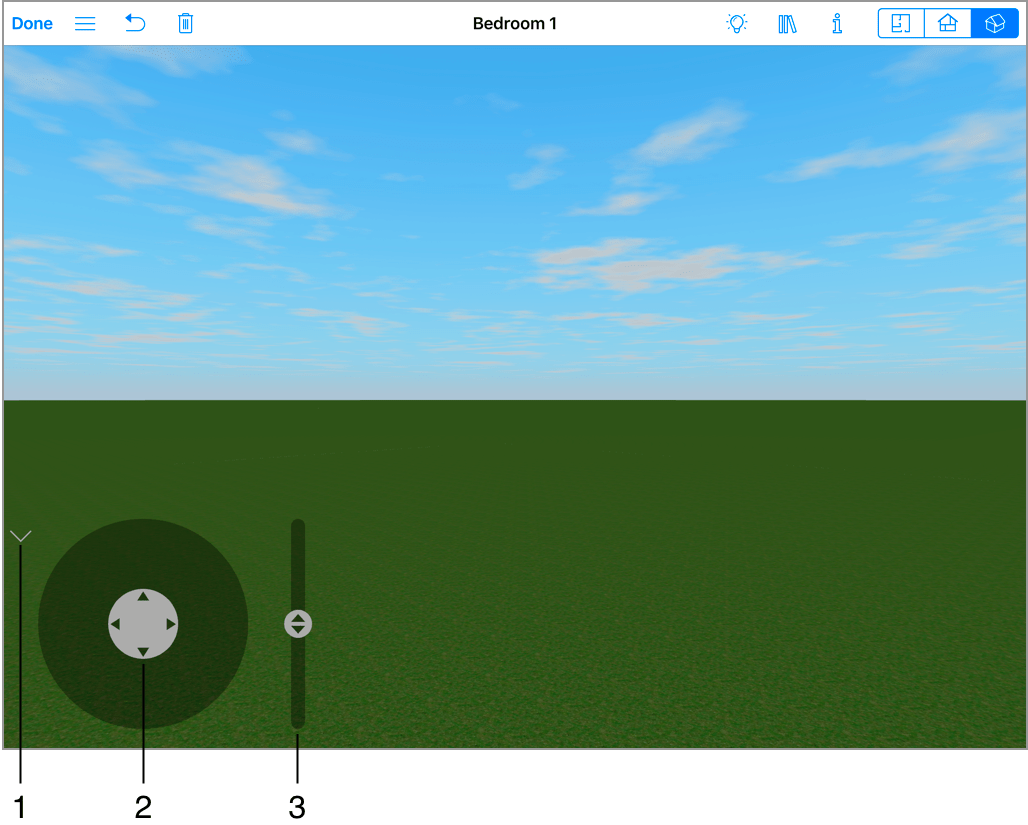
1 – Show or hide the Walk Control.
2 – Move around horizontally.
3 – Move up or down.
Moving Objects in the 3D View
To move an object horizontally in the 3D view, select it. Then drag it to a new place.
The Glue By option in the Inspector defines how an object moves in relation to the floor, walls and other objects. When the option is disabled, you can drag the object strictly horizontally. When it is enabled, the object will snap to the floor, walls or other object, and will be able to change its elevation. For example, if you move a vase (with Glue by Bottom activated) off a table, it will fall onto the floor.