Working with Projects
Creating Videos
You can create a video as you walk through the 3D space. In order to do this, you should begin with creation of a movie track.
In the Inspector, you can activate the Loop Track option. It links the beginning and end of the movie track by adding one more segment. This allows you to make the camera move along a closed circle.
Creation of a Movie
To create a movie:
- Choose a movie track that you want to use for recording. It's a good time to verify its configuration on the floor plan, and its name in the Camera Properties tab of the Inspector.
- Tap on the Menu button
 and choose Export and then Share.
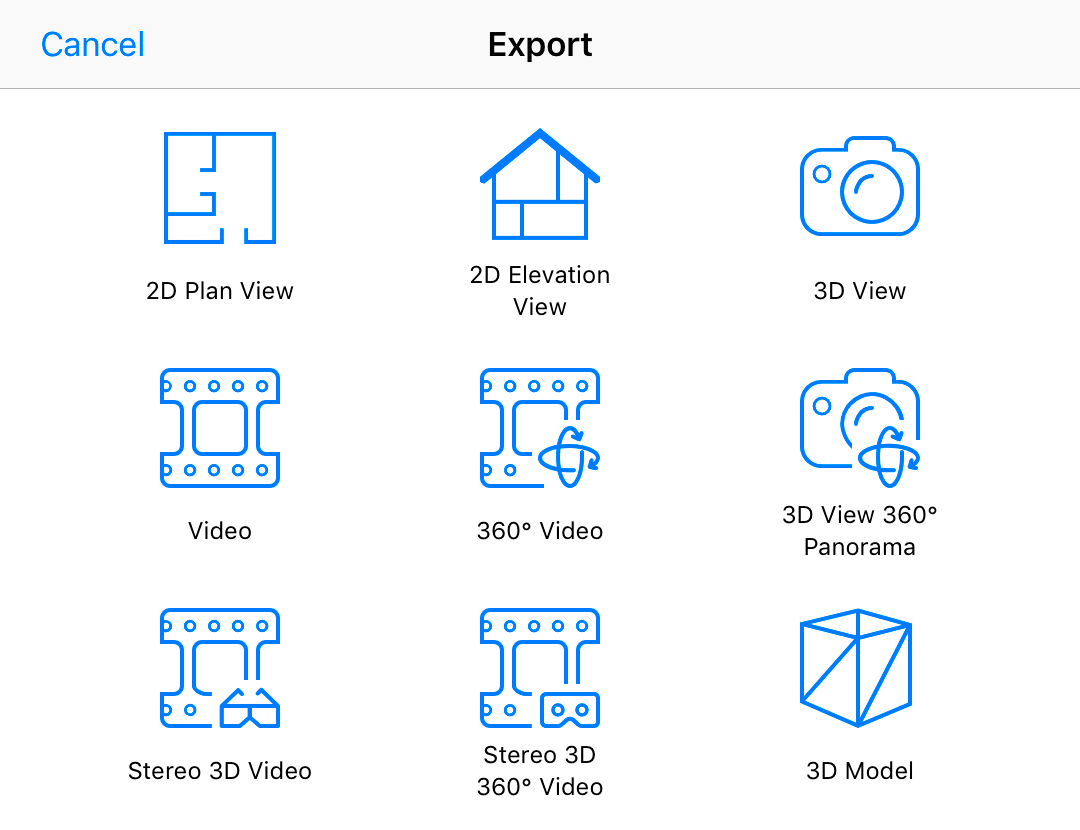
 - In the Export popover, select what kind of video you want to export.
- Set up properties of the video.
- Track - select the name of the track.
- Preset - select a preset which specifies video codec, or a combination of a codec and resolution.
- Frame size - choose the frame size. This option can be disabled if the value is specified by the selected preset.
- FPS - select the frame rate.
- Tap on the Share button to start the creation of a video file.
- Select where you want to save the created file, or which app or device you want to share it with.
For better quality, choose a higher resolution and frame rate. Note that increasing these parameters increases the size of a video file and the creation time.
To make sure that movie cameras and lighting are set up correctly, you can export a draft movie with low resolution or frame rate. Exporting a high quality video usually takes some time which may be not suitable if you wish to experiment with lighting, positions of movie cameras, or different materials.
If you create a high resolution video, or if its duration is more than a few minutes, make sure that the battery of your device is charged, or it is connected to a charger.