Turn On the Terrain View in Google Maps
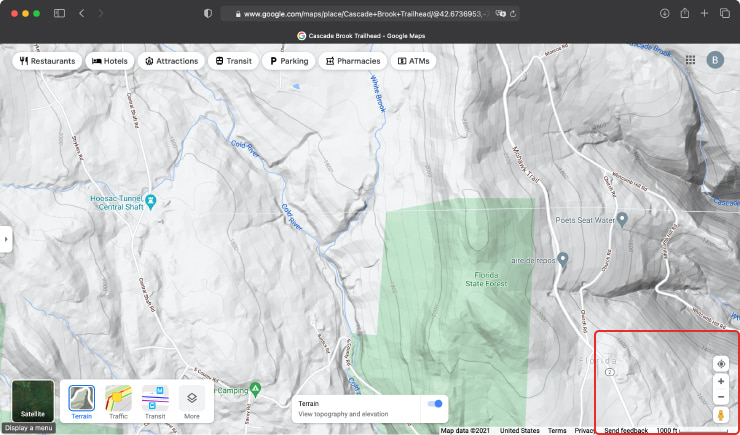
Open the Google Maps website or the Google Maps app on your phone or tablet and find the needed location. Then turn on the Terrain view by clicking the Layers icon in the bottom left corner. Place the necessary area in the bottom right corner as close to the scale as possible. A sample of such an area is marked on the map below. The area shouldn’t be larger than 3,000 feet along any side. This is important for keeping the size of the 3D model within reasonable limits.
Make a Screenshot of the Map
Make a screenshot of the area you need, or crop the map in case of a full screen capture. Make sure the map scale seen in the bottom right corner is included in the screenshot. This will allow you to match the project scale to the real map scale in Live Home 3D.
These instructions will help you make a screenshot on any device supported by Live Home 3D:
Switch to Site Level of Live Home 3D Pro
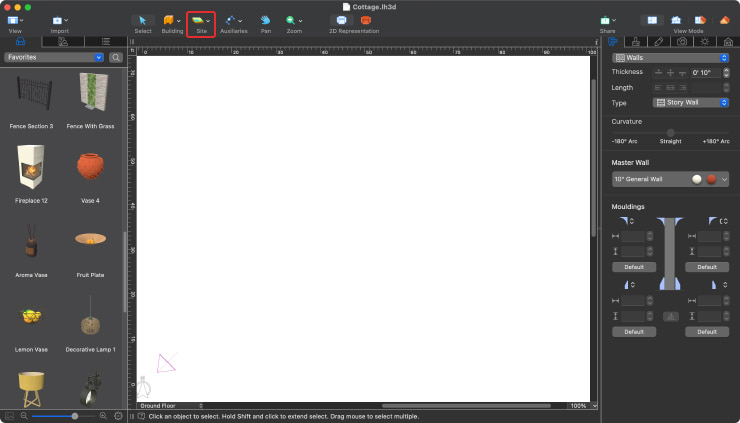
Open Live Home 3D with Pro features unlocked. If you haven't unlocked them yet, visit our Store page for more information. Create a new document. Press the Site icon in the Toolbar in the Mac and Windows versions, “+” button > Site tab in the iPhone / iPad / Android version. You will be offered the opportunity to switch to the site level. Сlick the “Go to Site” button in the dialog that pops up.
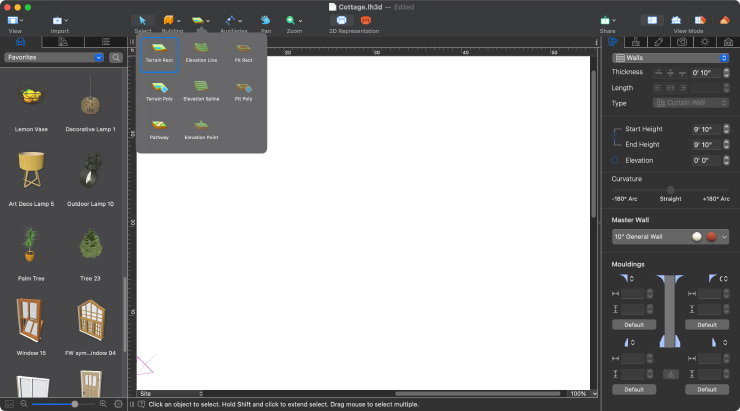
Select the Terrain Rect or Terrain Poly Tool
Click the Site icon and select the Terrain Rect or Terrain Poly tool. The Terrain Rect tool is used for adding rectangular terrain, while the Terrain Poly tool will assist with creating polygonal terrain.
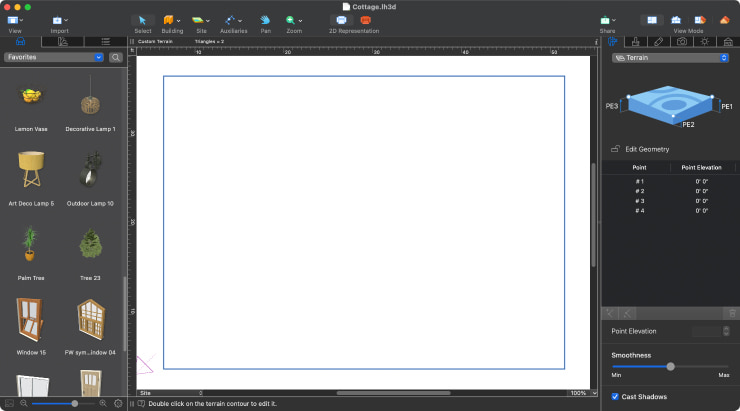
Mark the Terrain Area
Mark the area of the document where you want to create terrain elevations and pits. You can double click any side and drag the handles to modify the area, and even turn straight lines into curved ones.
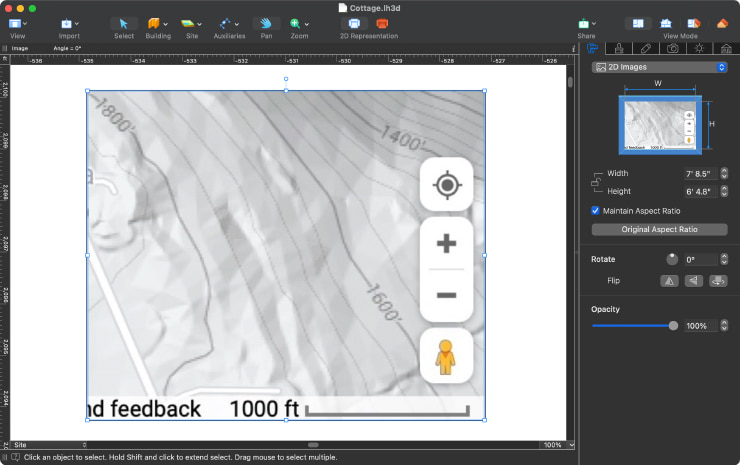
Add the Terrain Map Image
Add your terrain map image to the document by selecting the “File > Import” menu in the Mac version; tap on the Menu button and choose “Import > From Photos” or “Import > From File” on an iPhone / iPad / Android device; click the Menu button and select “Import > From File…” in the Windows version. Import it as a 2D image. Make sure that the “Maintain Aspect Ratio” option is activated in the Inspector. You can adjust the opacity of the terrain view and remove this map later when you have finished with the elevation lines.
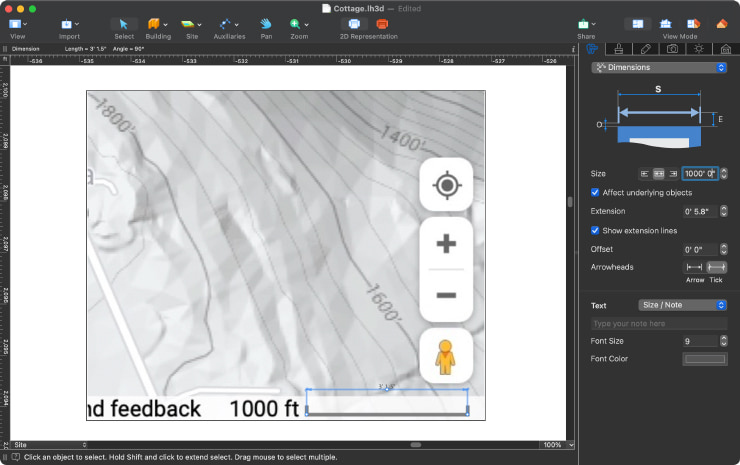
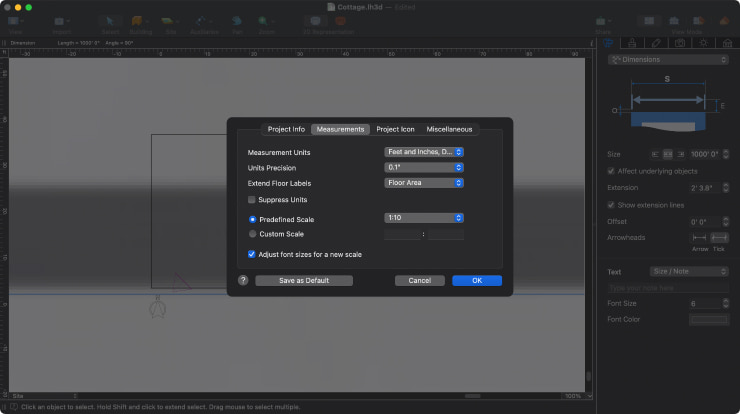
Match the Scale of the Document With the Map
When you add the screenshot of the landscape into Live Home 3D Pro, make sure to match it to your document scale. For this, measure the length of the scale mark in the bottom right corner of your map with the help of the Dimension tool, which can be found in the Auxiliaries menu in the toolbar, or “+” button > Auxiliaries tab of the iPhone / iPad / Android version.
Next, activate the “Affect underlying objects” option for the Dimension tool in the Inspector, type the required length into the Size field and click Enter. Now the map and the project are perfectly matched.
Adjust the Project Scale
You may need to modify the predefined scale to be able to view the whole project after rescaling. To zoom out, 1:200 or a larger scale will do. The project scale can be changed under the “File > Project Settings” menu of the app (Mac version), Menu button > Settings > Project tab (Windows / iPhone / iPad / Android version).
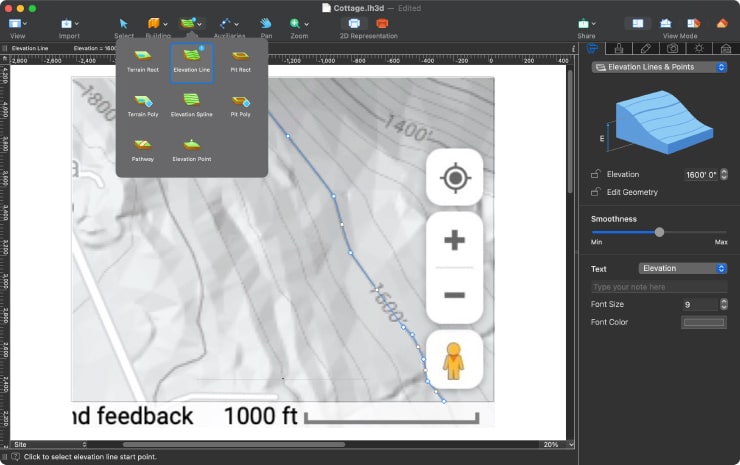
Add Elevation Lines
Repeat the terrain elevations using the “Elevation Line” or “Elevation Spline” tools. For straight lines, use the Elevation Line tool, while the Elevation Spline tool resembles a freehand tool in graphics software and creates a curved line.
You can edit these lines later. More information on working with the elevation lines and splines: for Mac, for iPhone/ iPad, for Windows and for Android.
Mark the top point with the help of the Elevation Point and underground parts using the Pit Rect and Pit Poly tools. The negative numbers entered into the Elevation Point field create the lowest underground point. The Pit Rect tool is great for creating rectangular pits, e.g. swimming pools, while the Pit Poly tool is used for creating more advanced shapes.
Please note that all operations with elevations are performed in the 2D mode only. You will be able to work with your building in the 2D and 3D modes and switch back to terrain editing any time under the Object Properties tab of the Inspector, or by clicking the layers button in the bottom left corner of the 2D view on iPhone and iPad.
Remove the Terrain Map Image
Select and delete the image with the map you used as a basis for your project.
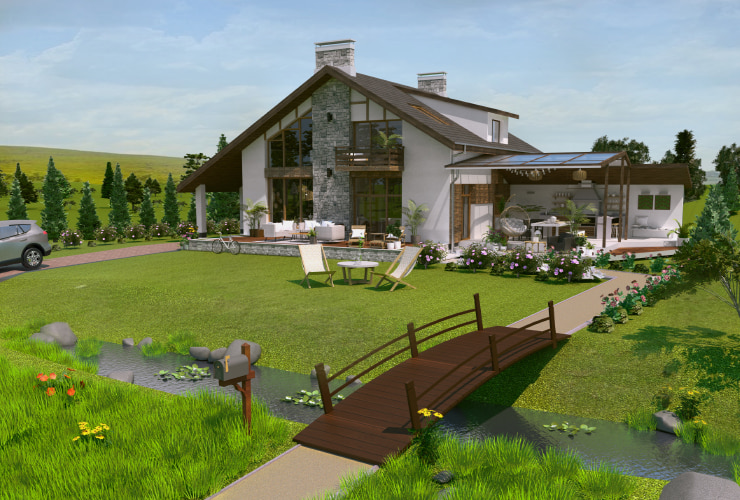
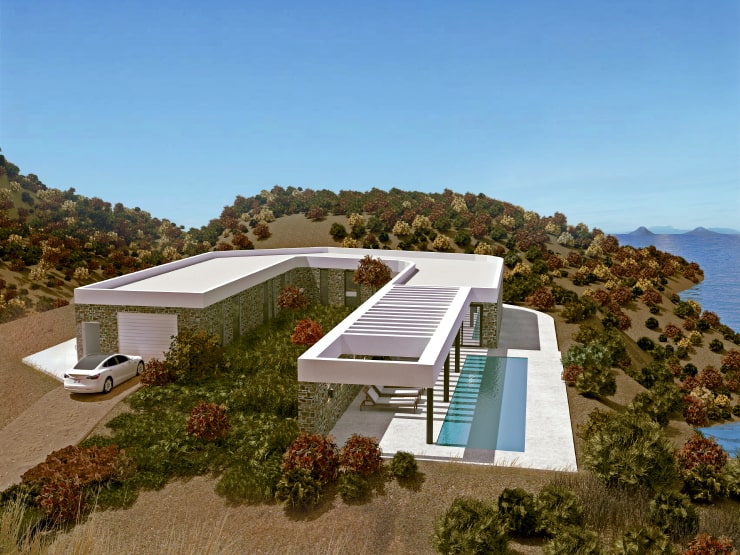
In this way, you can make true-to-life 3D terrain based on Google Maps terrain view! Here are some samples of terrain created in Live Home 3D.