Setting Project to Work
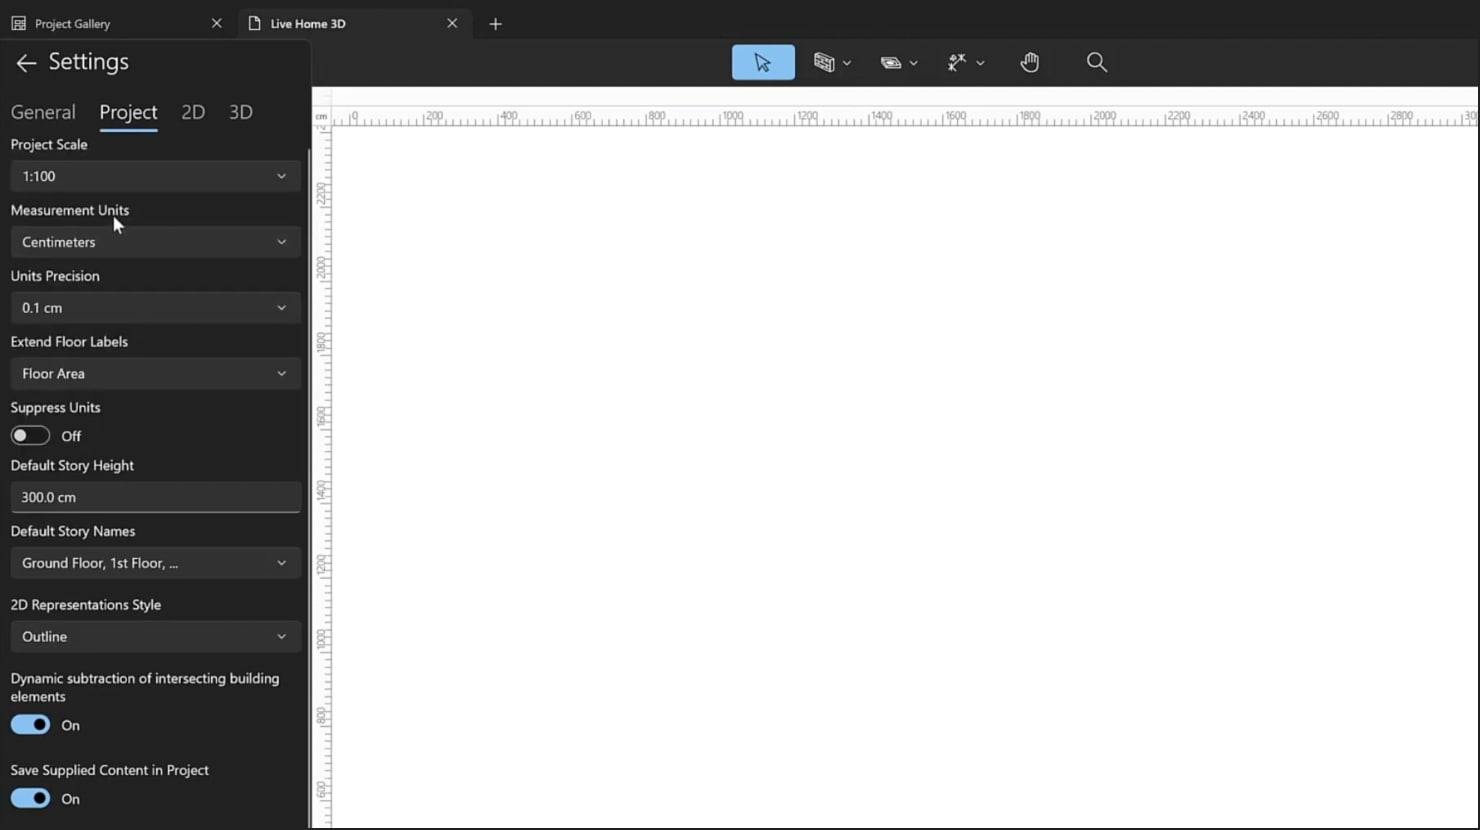
To begin with, start a new blank project by choosing the House Scale template from the Project Gallery. In the new project, choose Settings from the menu, go to the Project tab and set the convenient units, scale and precision.
Importing a Plan
It is possible to create the plan of the future building starting from a blank sheet, but if you already have a plan of the house, you can turn your blueprint into a digital floor plan.
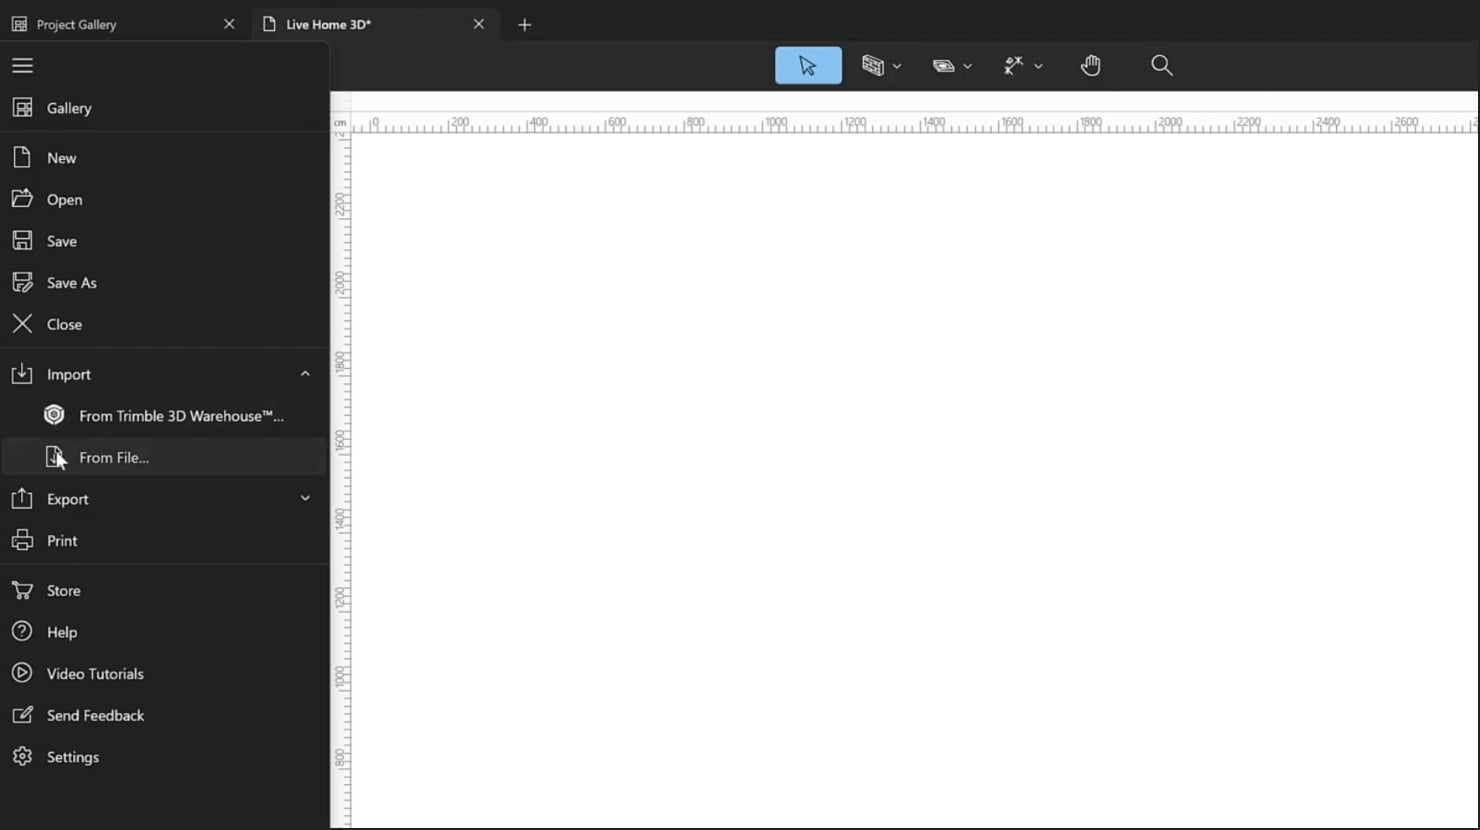
To add an image to the 2D plan, click Import, then From File, and navigate to the file with your house plan on your device. In the dialog that appears, choose to import As 2D Image. You can also drag and drop it directly onto the plan.
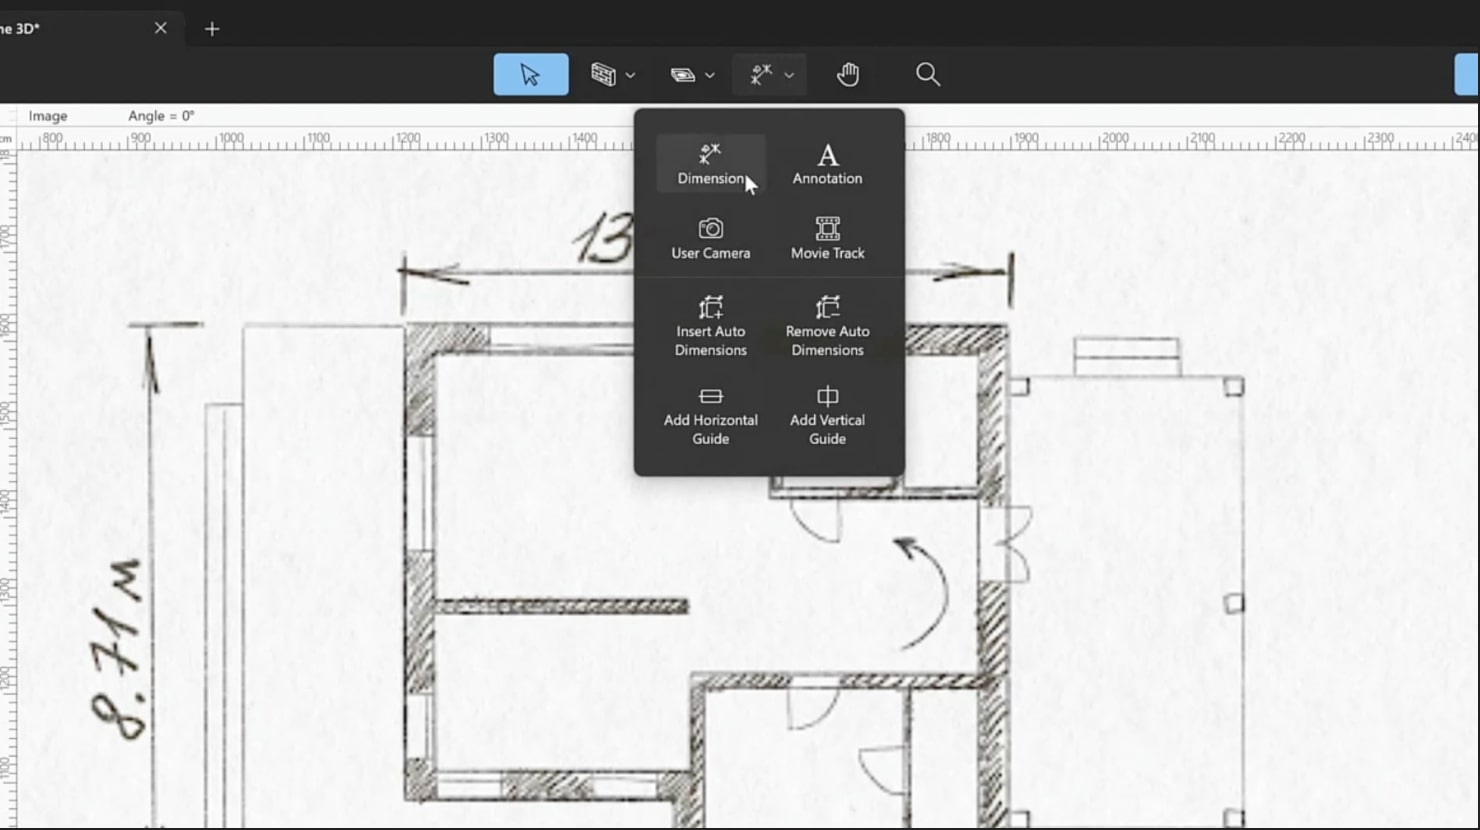
Scale the image to match the real measurements. The fastest way to do this is to use the Dimension tool. Click on the auxiliary tools icon on the toolbar and choose the tool. Use it to mark the points on the imported plan if you know the exact distance between them.
Building the House Structure
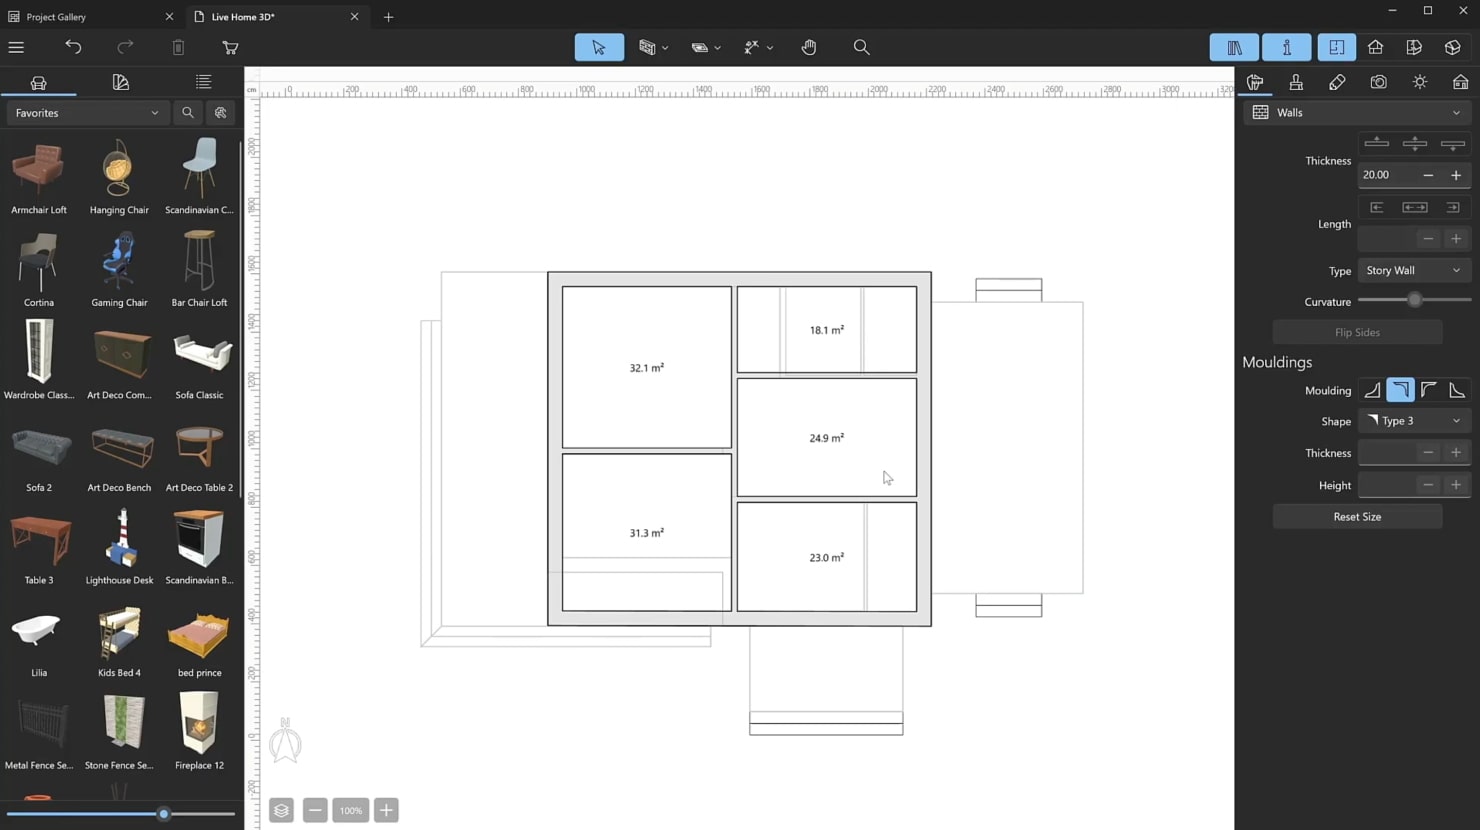
Now let’s move on to the walls. You can use the Room tool to quickly create the entire rooms, or you can select the Straight Wall tool.
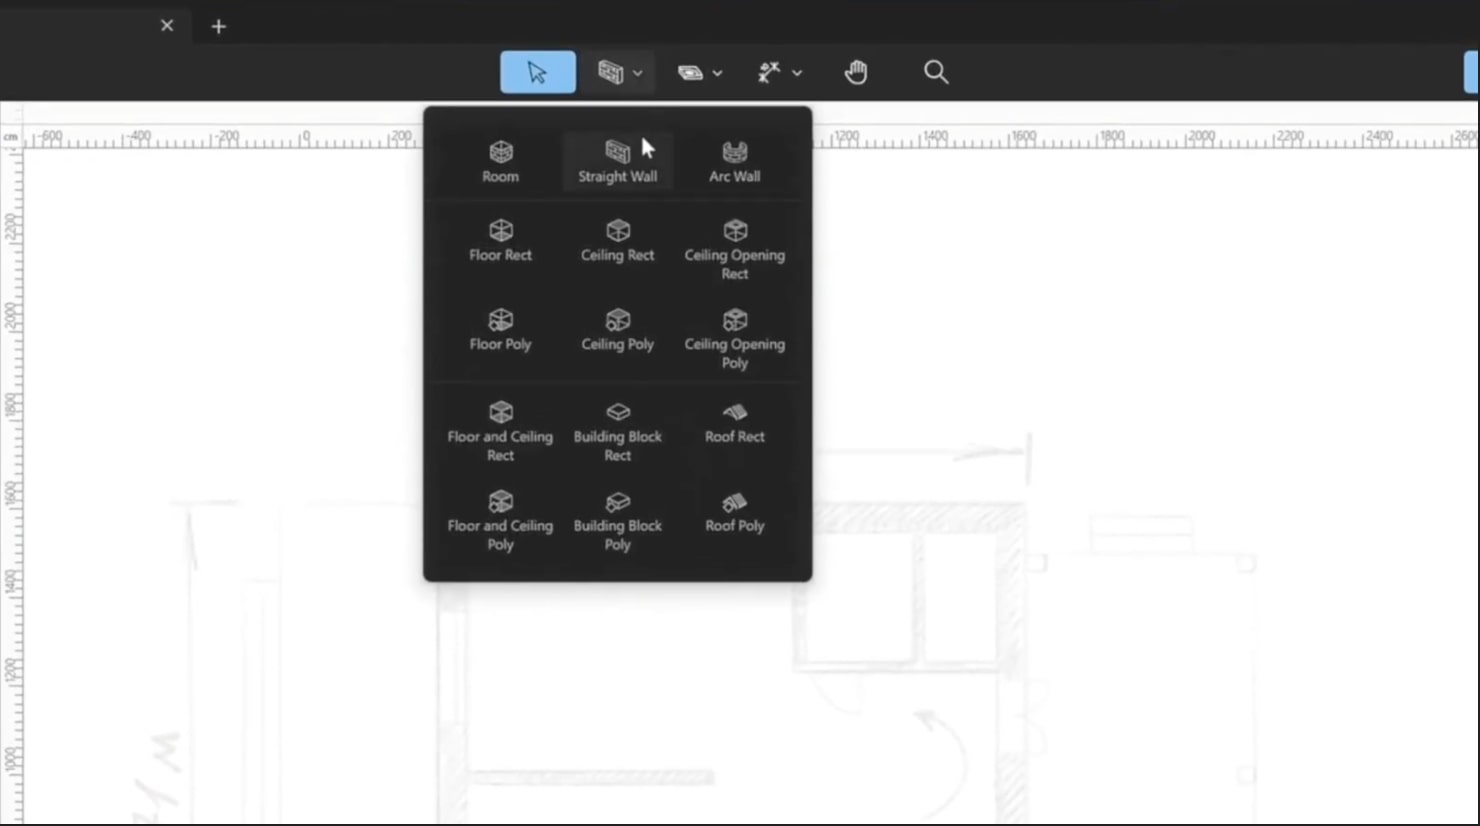
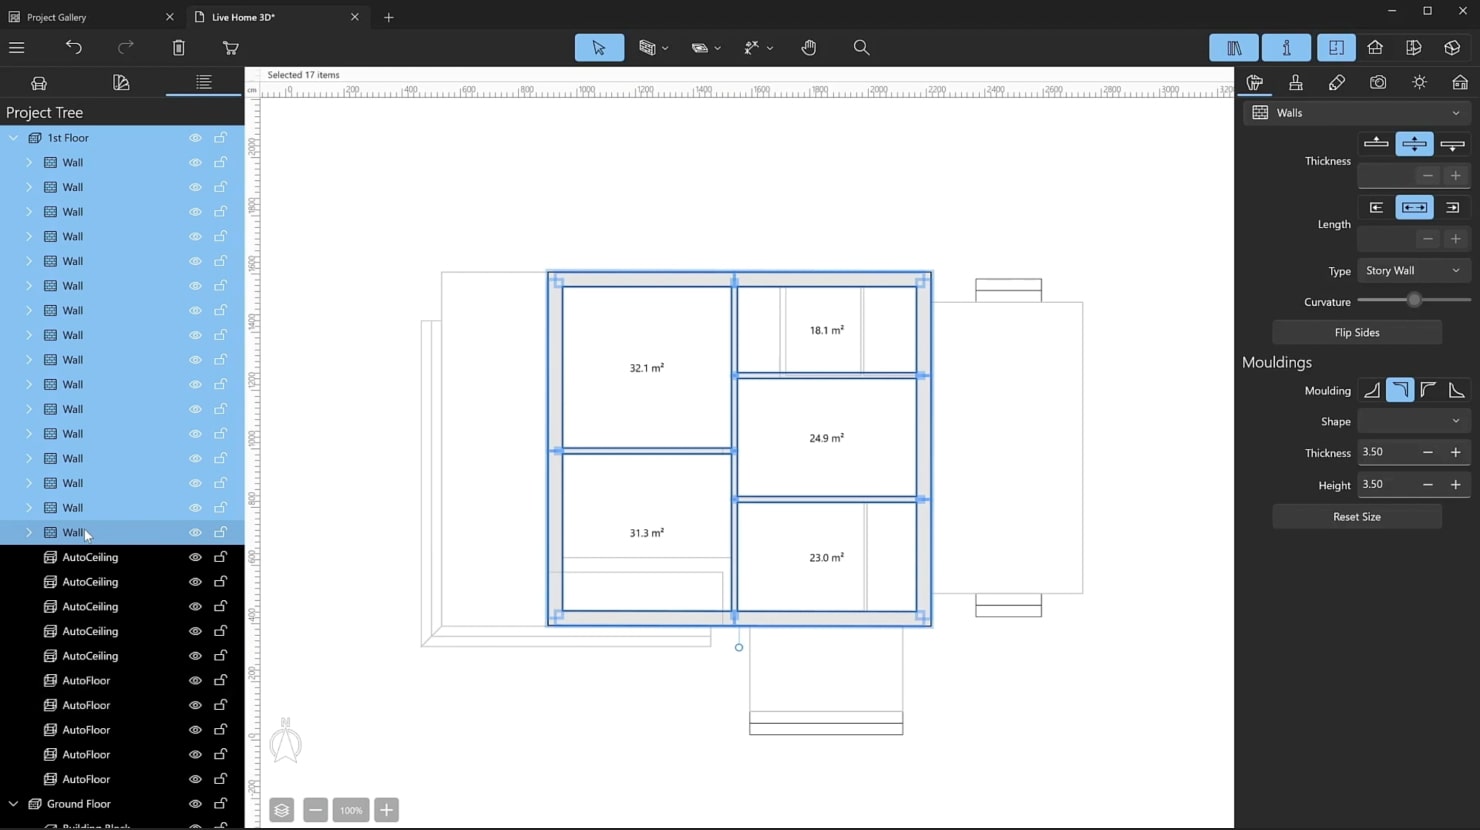
Set the thickness of the walls in the Inspector, draw the walls, outlining the imported image of the floor plan. The thickness of the built walls and their position can be adjusted at any time.
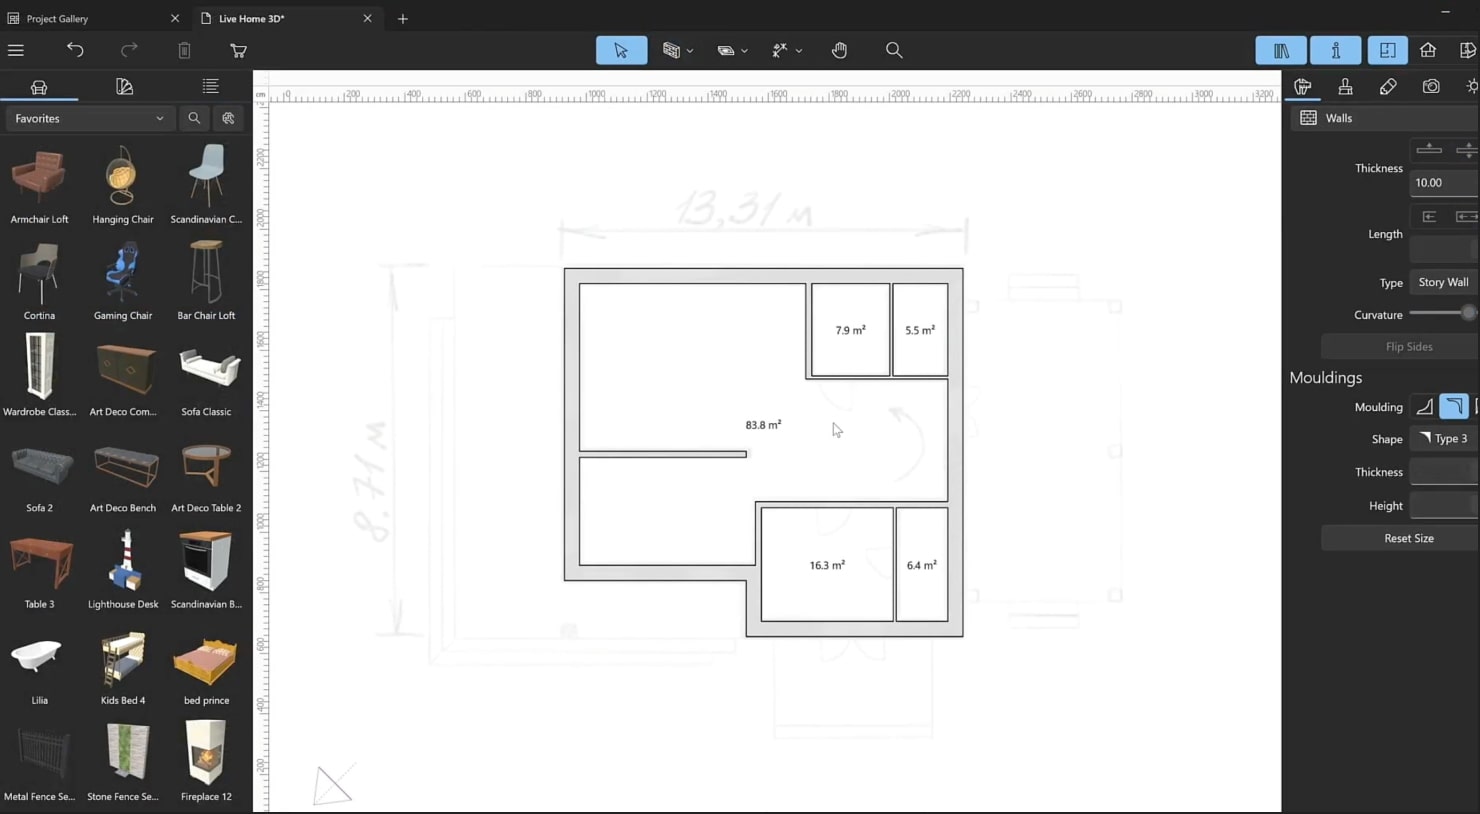
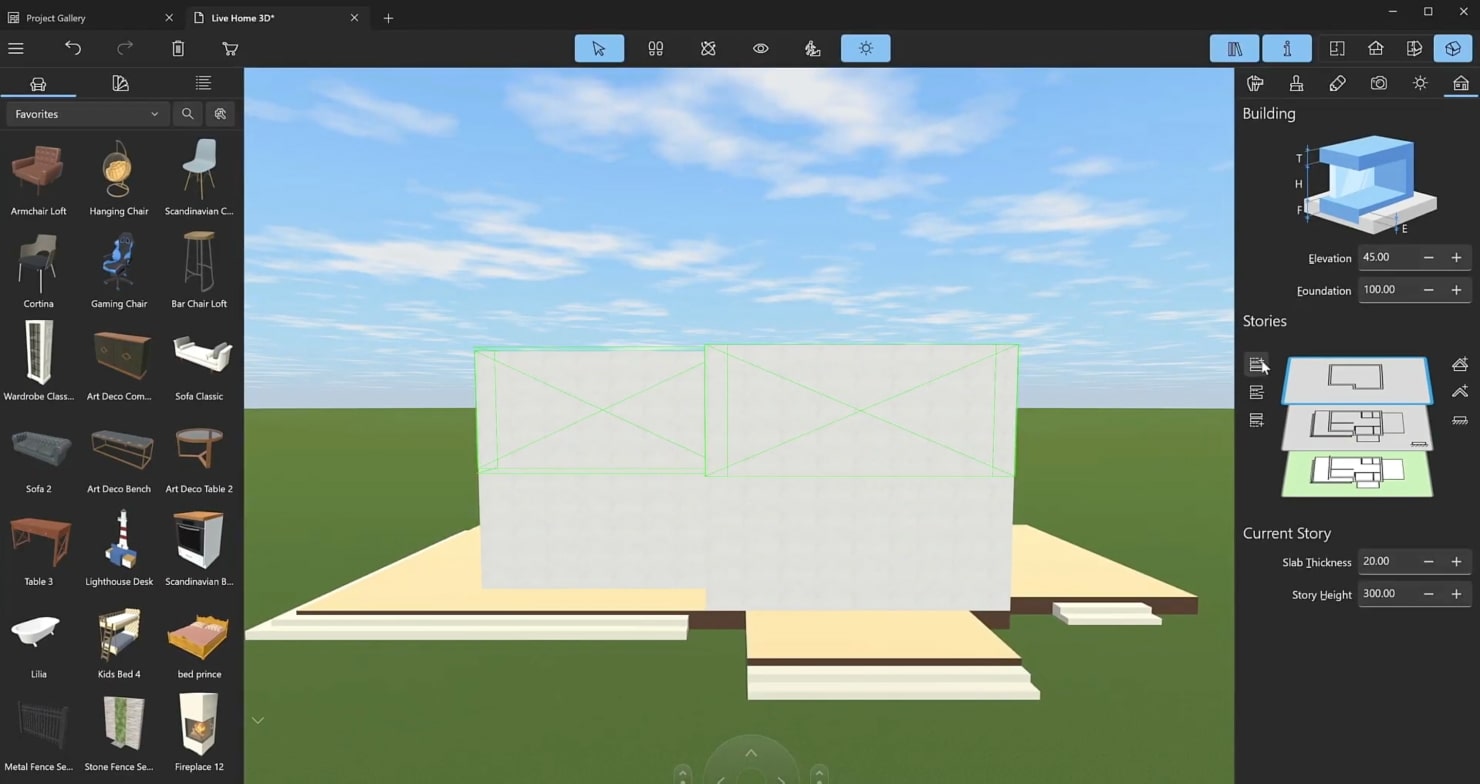
When you have drawn the envelope of the building, you can start adding the internal walls. Set the appropriate width and build them with the same tools–Room and Straight Wall. The height of the walls can be adjusted at any time. To change the default story height, open the Project tab in the Settings. The initial value is 300 cm (188.11′). The height of the current story can be changed under the Building Properties tab of the Inspector.
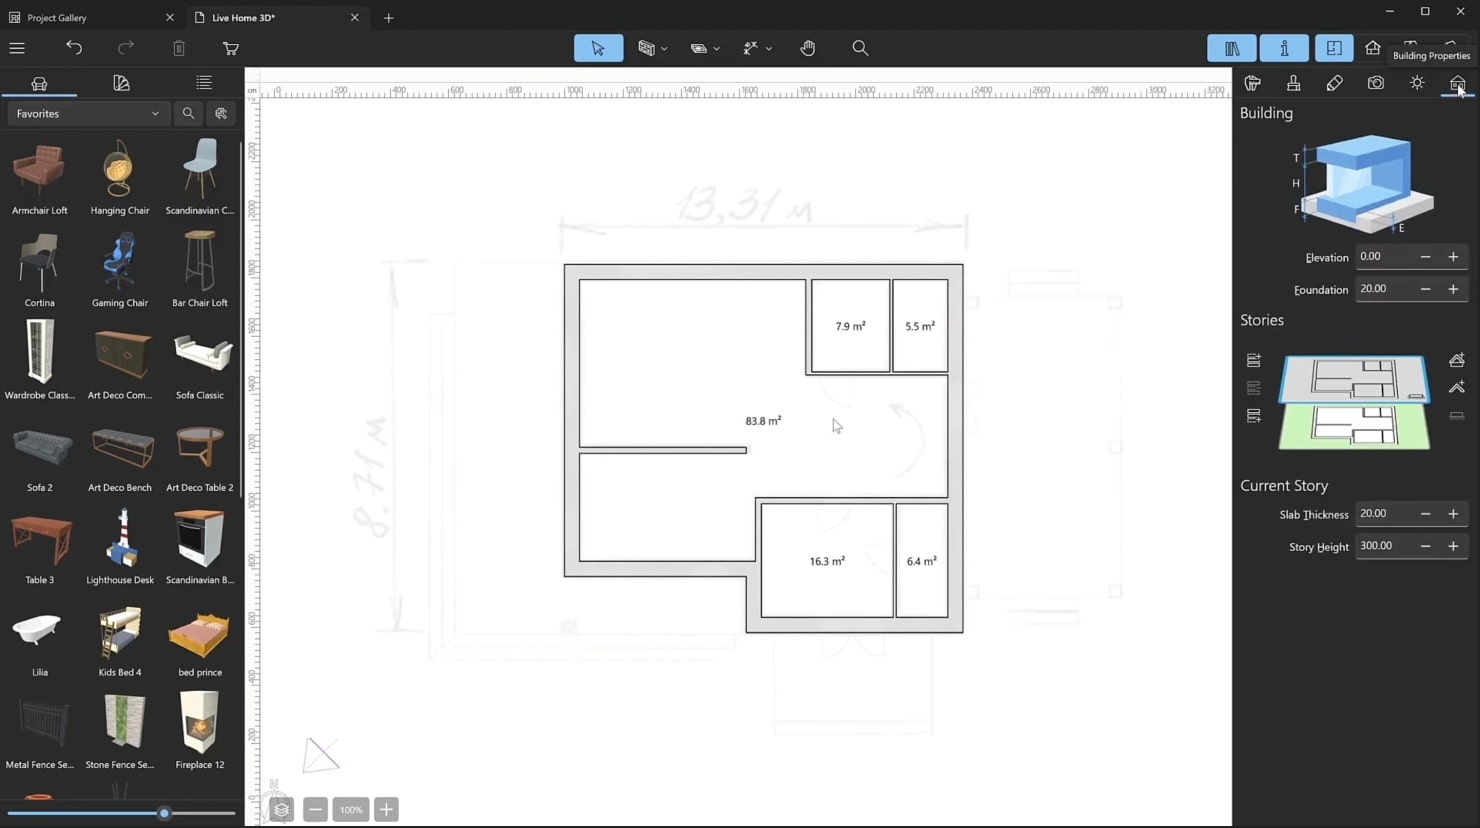
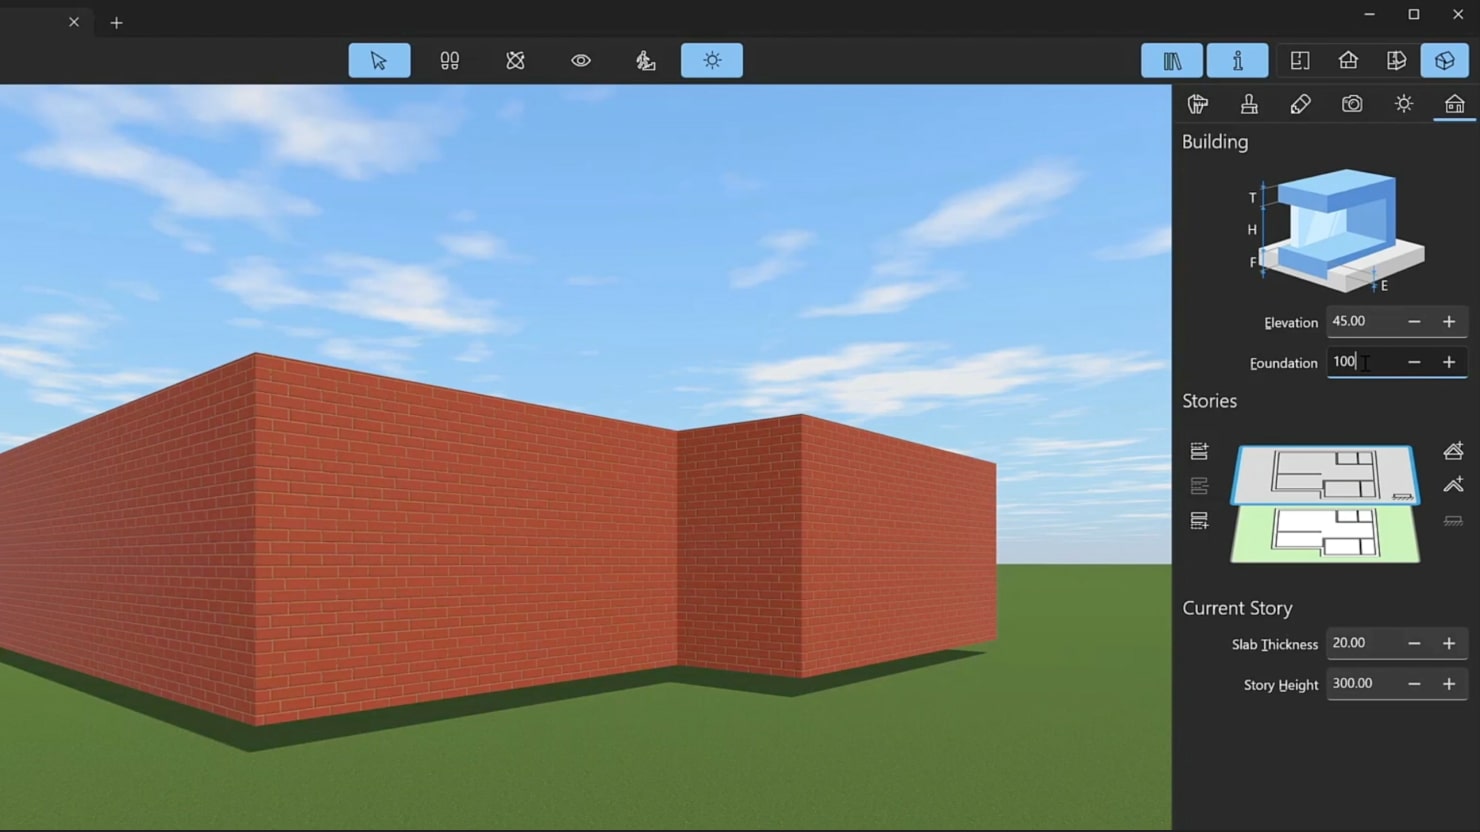
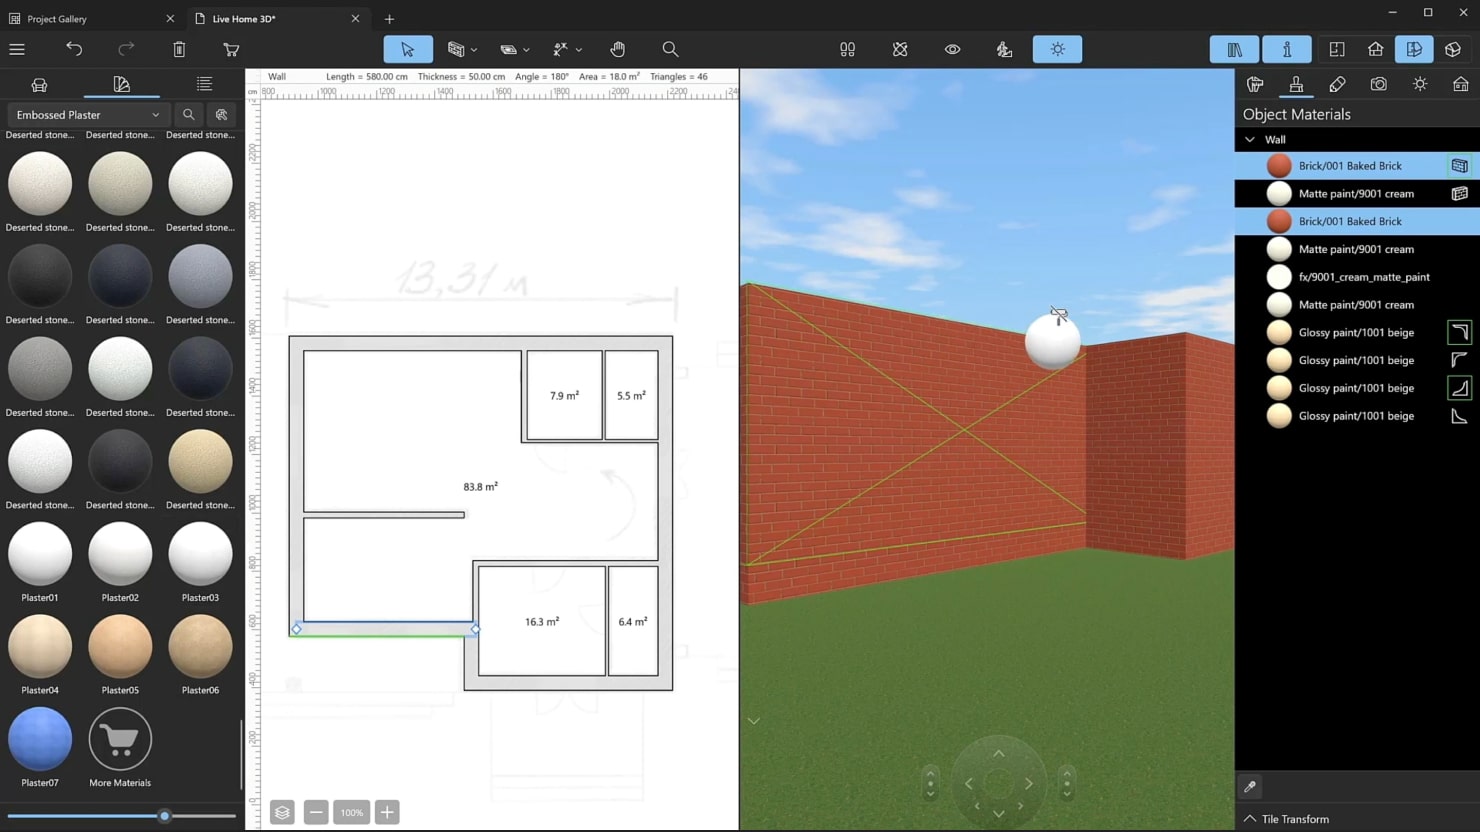
You can change the Foundation and Elevation settings under the same tab. For example, if you wish to add terraces, set the elevation to 45 cm (17.71′) and the thickness of the foundation to 100 cm (39.37′). For clarity, now you can paint the facade in any color, but it also can be done later, when you move on to the details of the project.
Now, switch to the Object Materials tab of the Inspector and select the material you wish to replace. Right-click on it and choose Select Identical to select this material on all the surfaces where it is used. Then select a new material in the Material Library and drag it into the Inspector.
Activate the Floor Rect tool to build the terraces and the Floor Poly tool to build the entrance. Activate the tool and draw the outlines of the entrance. You can change the form of the resulting shape, right-click to open the context menu and choose the Edit Contour command (or double-click on the outline). Then, drag the points you need to reposition, add or remove points using the context menu commands.

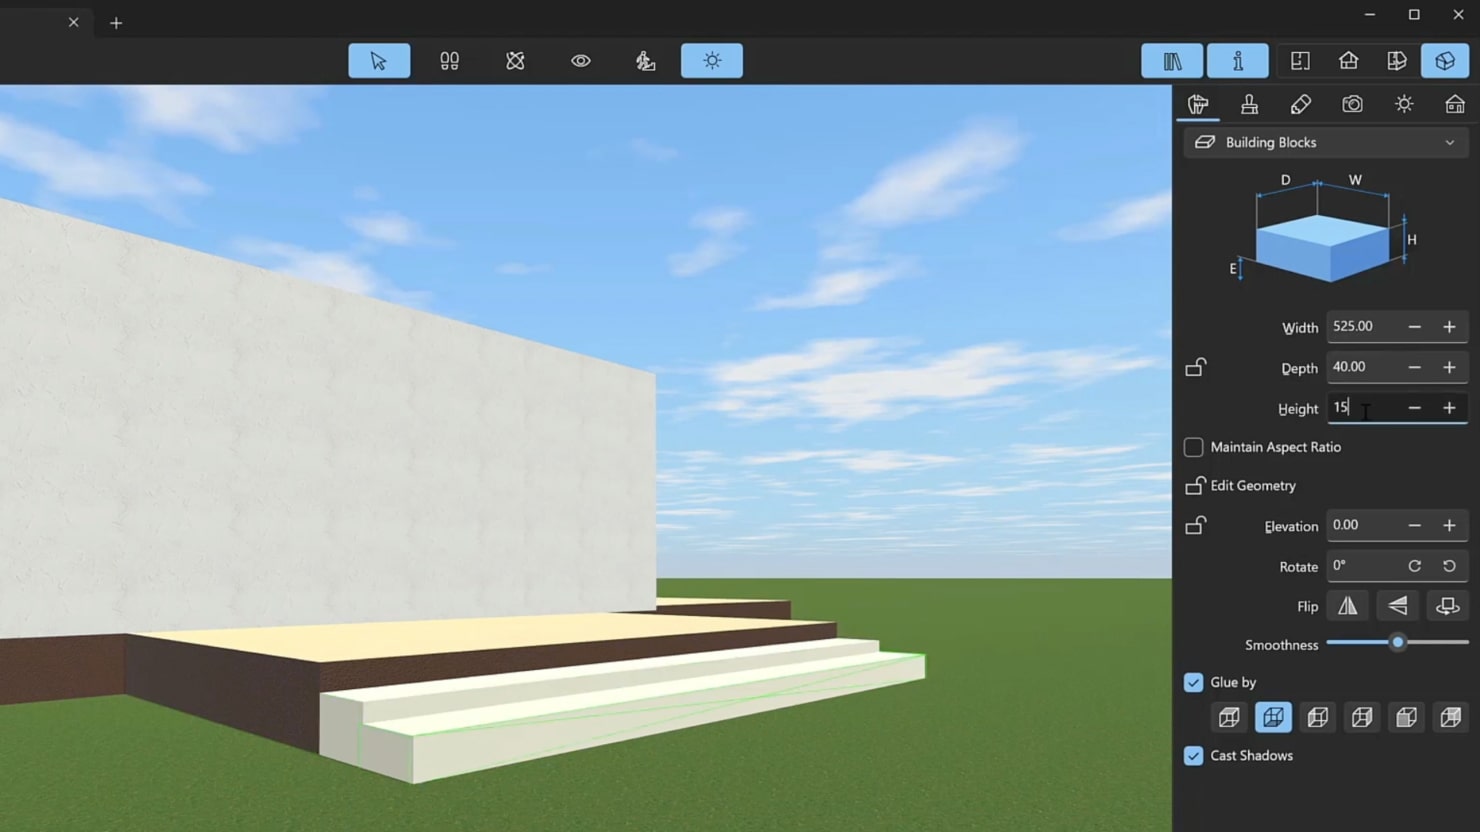
Now, we will use the Building Block Rect tool to build the steps. Note that this tool is only available with Pro features unlocked.. As an alternative, you may choose objects from the Shapes category of the Object Library for this purpose. Draw the steps with the tool and change their height in the Inspector. For convenience, you can group them using the context menu command or the Ctrl+G shortcut.
To build the attic, go to the Building Properties tab of the Inspector and click the Add a story above the current one button. You can also import images of the plan for the first floor and any subsequent one. For convenience, Live Home 3D displays the story below the current one by default. If needed, this option can be turned off in the “Settings”.
Now, you will need to reposition the load-bearing walls by adding the internal walls according to your floor plan.
Adding the Roof
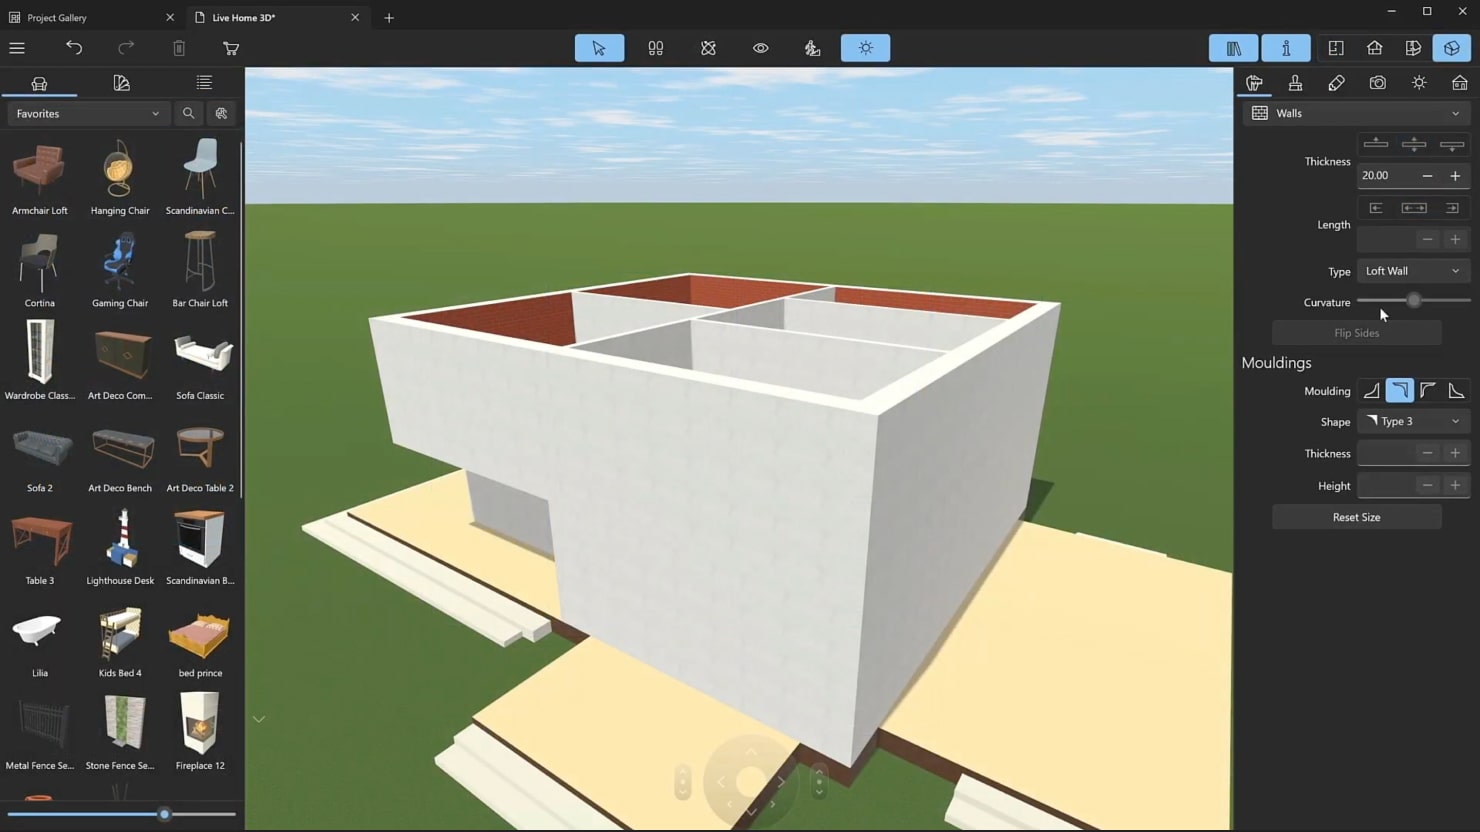
Choose the floor that will be an attic, select all the walls and change their type to Loft Wall. You can hold down the Shift key to select several walls at once.
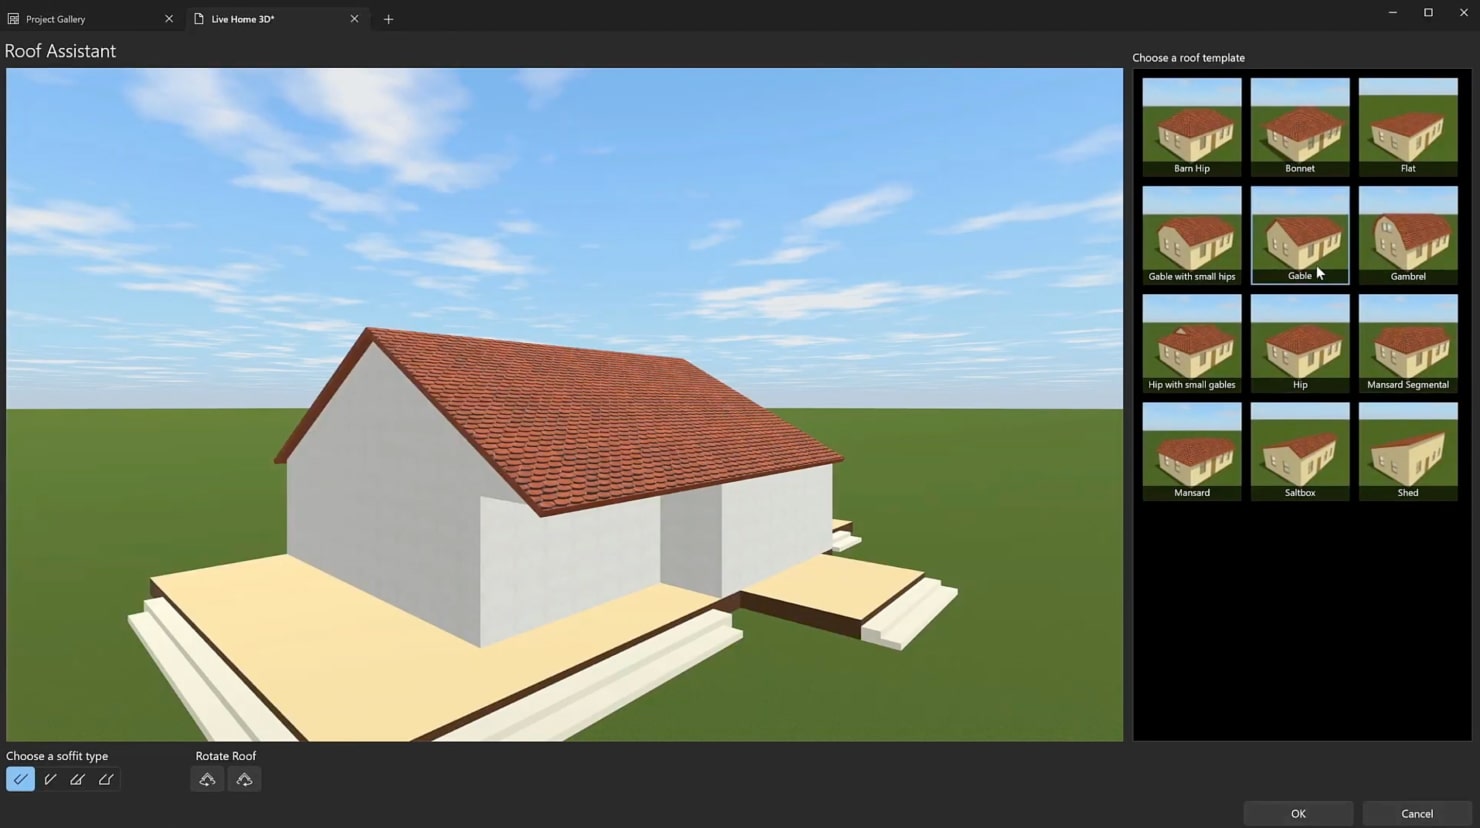
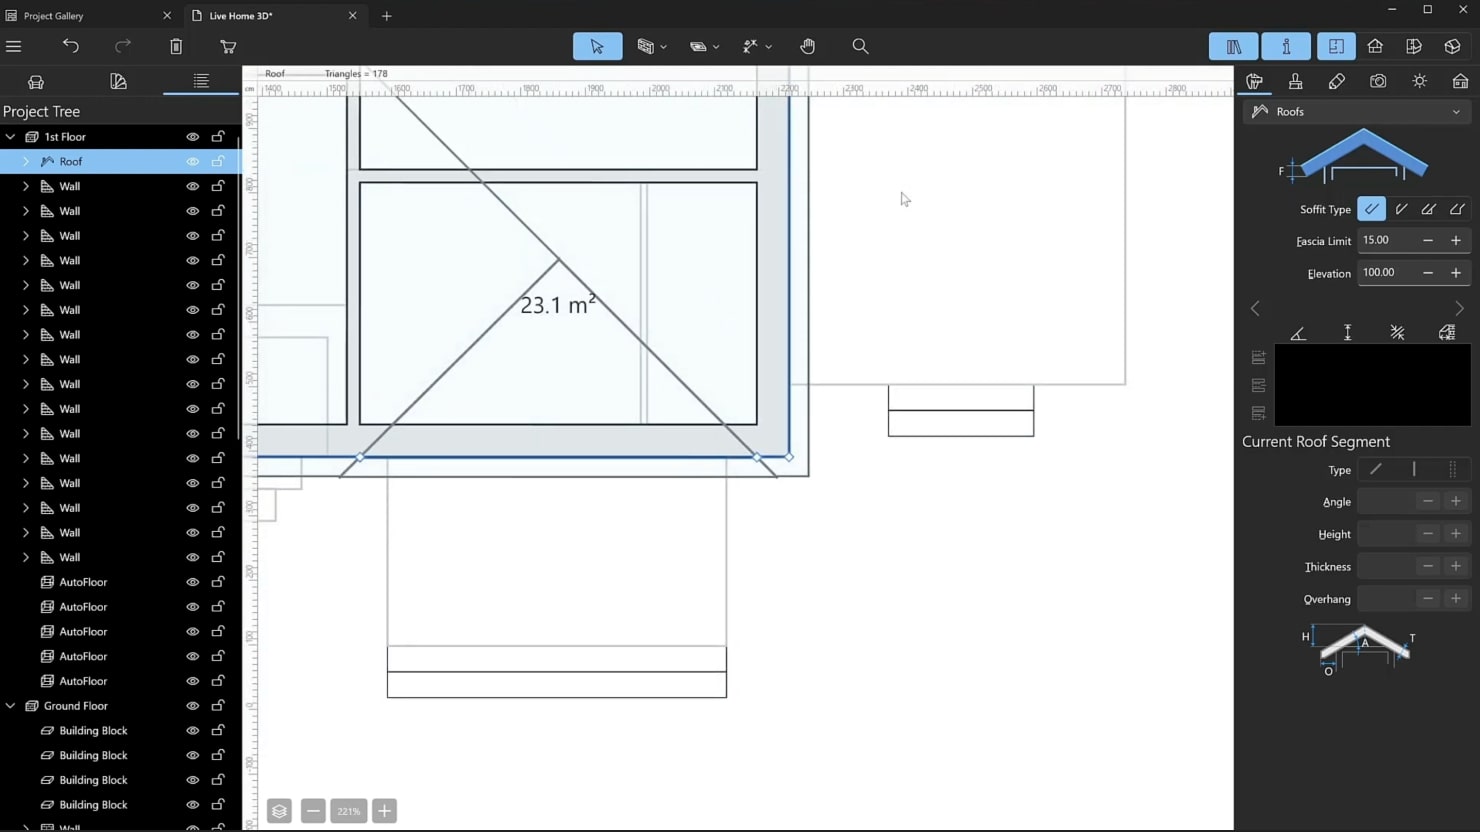
Now, you need to set the wall type to Loft Wall. The roof can be built in several ways. To add an automatic roof, switch to the Building Properties tab of the Inspector and click the Add an auto roof on the current story button. If you have already unlocked the Pro features, you can draw a custom roof with the Roof Rect and Roof Poly tools.
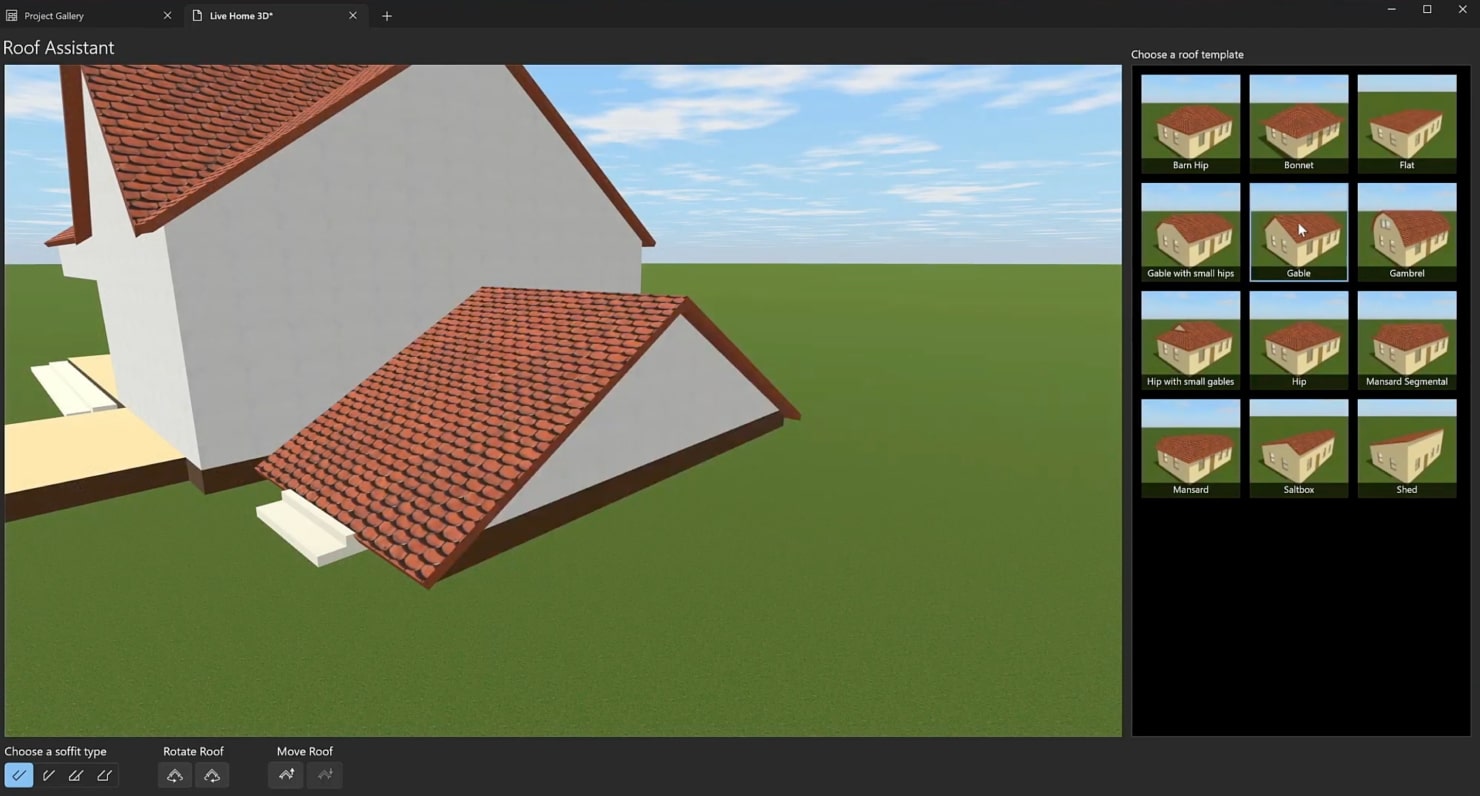
For example, you can create an auto roof. Please note that all the walls of the story should be of the Loft type for the auto roof to appear. In the window that comes up, choose the Gable roof type. Here you can configure some other roof settings and rotate the roof.
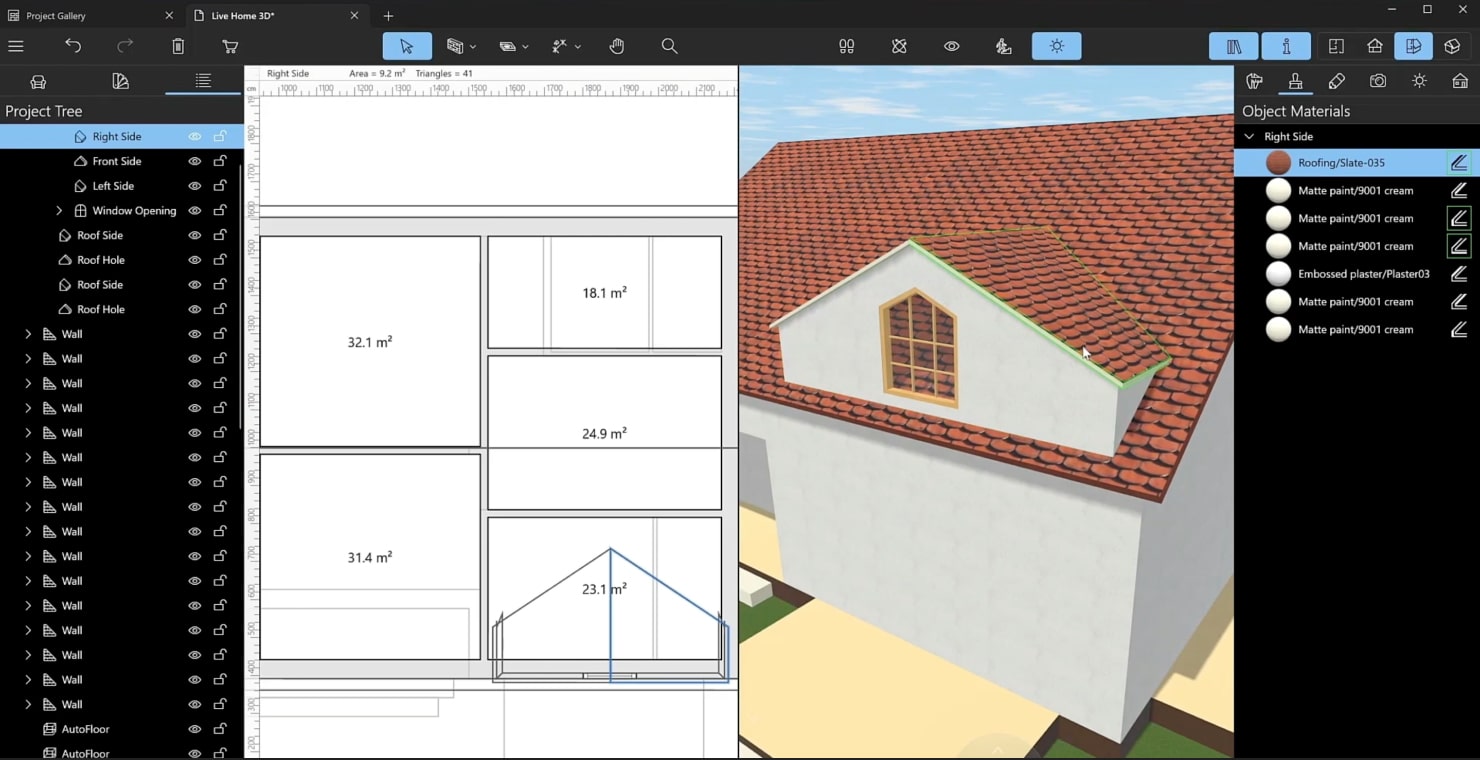
Now let’s add a dormer to the roof. You can use a ready-made dormer from the respective category of the “Object Library”. However, if you own the Pro features, you can also create custom dormers by editing the roof segments. Let’s start with the ready-made dormers. Note, that the two approaches are not equivalent, and you may not always be able to achieve the same result as with custom roofs. So, drag a dormer with the appropriate roof style from the library and adjust its parameters: width, location, elevation, wall thickness, roof overhangs, slope angle and type of soffit.

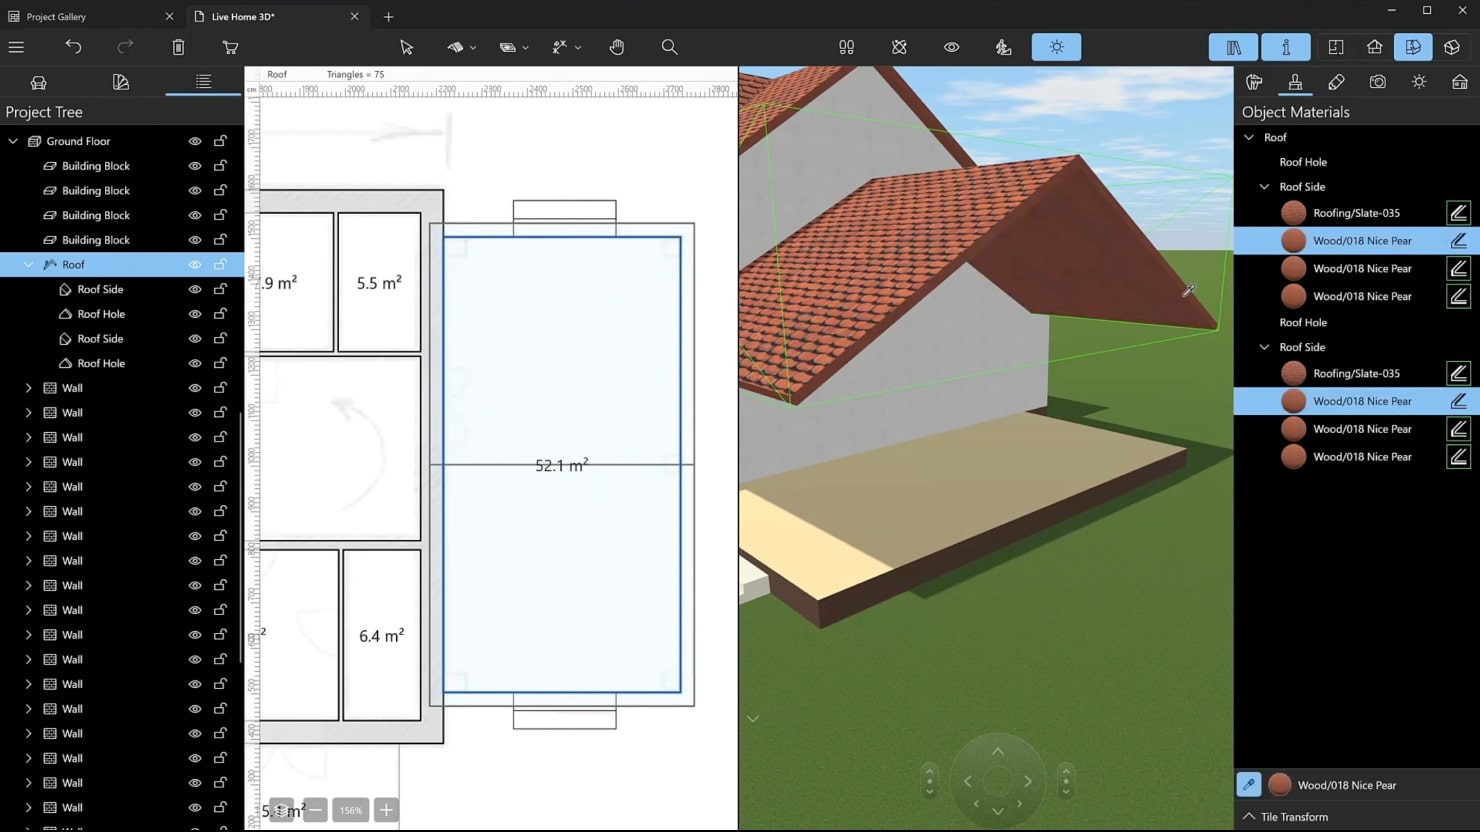
Set the same type of soffit as on the other parts of the roof that you’ve built before. Go to the Object Materials tab of the Inspector and apply the same materials for the gable and roof of the dormer as you have for the rest of the roof. You will be able to change the materials later at any time, if required.
As we have mentioned before, users that unlocked the Pro features have the ability to edit roofs. Let’s explore how you can do it. If your roof was generated automatically, you will need to make it editable first. Open the context menu by clicking the right mouse button on the roof and choose Make Roof Editable.
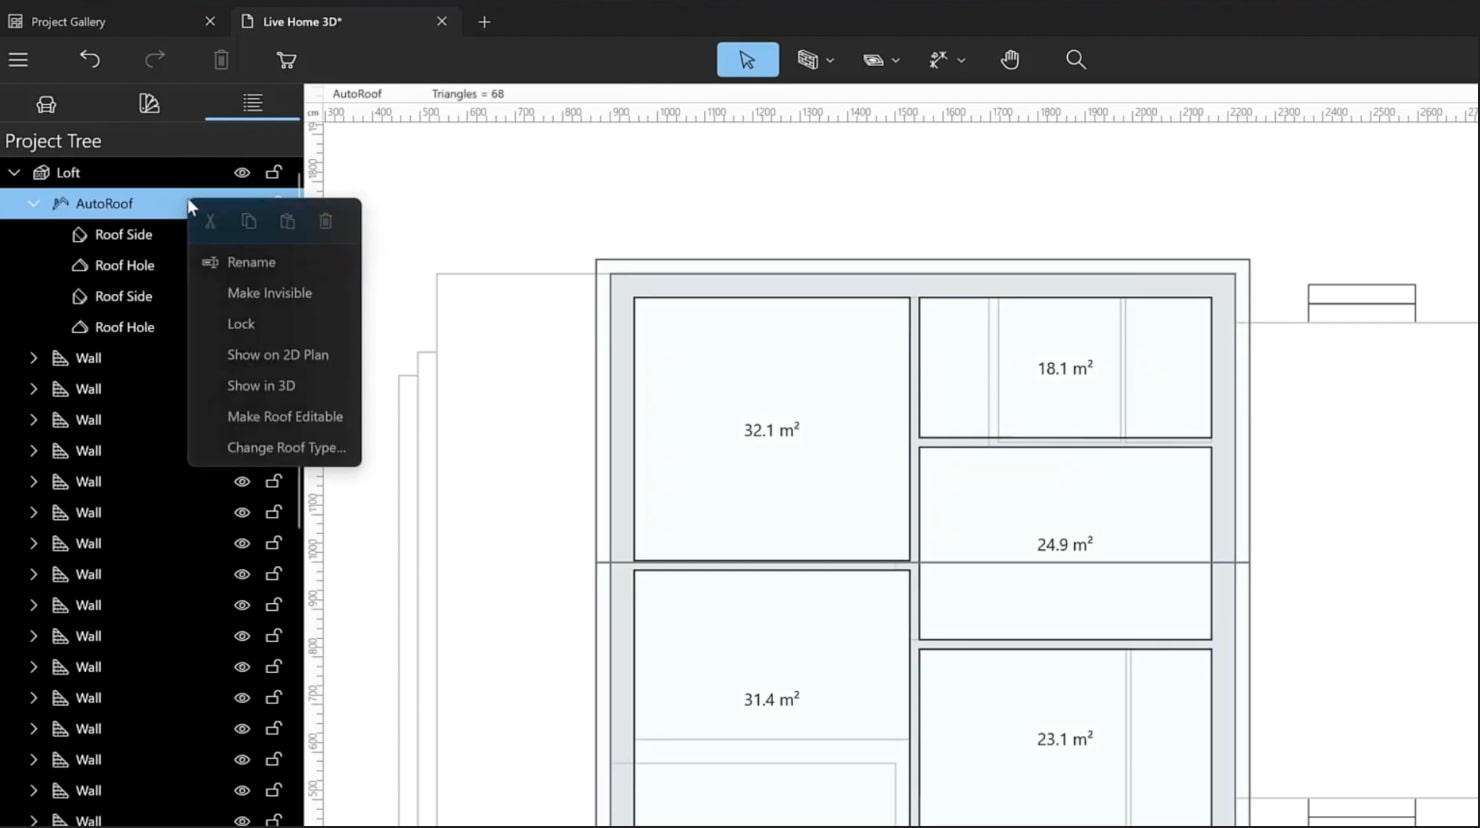
When you see that the control points appeared, you will need to right-click on the roof contour and select Add Point to add a new one. By moving control points, you can change the contours of the roof. Add as many points as you need, move or delete them.
There are several new sections of the roof now. Select one of them and change its type from Slope to Hole. As you can see, the facade adjusts automatically because the walls are of the Loft type. The automatic adjustment is not possible with other types of walls. Select the slopes and change their angle to achieve the desired result.

Let’s return to the ground floor and build a roof for the terrace. Select the “Roof Rect” tool and draw a rectangle along the outline of the custom floor you built in the beginning. Change the type of the roof to Gable and turn it if necessary. Using the Move Roof Up/Move Roof Down buttons, you can quickly move the roof to another floor.
Change both gables’ type to Hole and enter the desired height value into the Elevation field in the Inspector. This will raise the roof above the ground. Change the materials to your taste and modify other properties of the roof in the Inspector if needed.
Wrapping Up
Now, when we have covered the essential steps of creating your dream house with Live Home 3D, it’s time to move on to the next phases of construction. In the following part of the article, we’ll explore how to create various structural elements, apply materials and work with landscape. Additionally, you will learn how to master the time of day and cloudiness settings. So, let’s continue the journey and read How To Create a House From Start to Finish. Part 2!