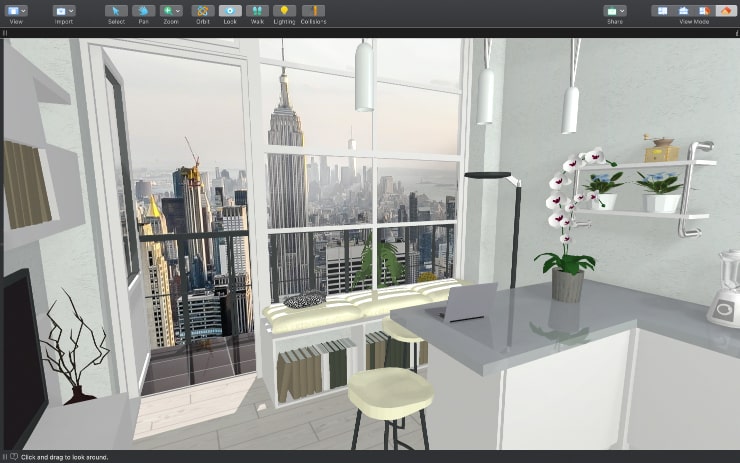
Add a Background Image
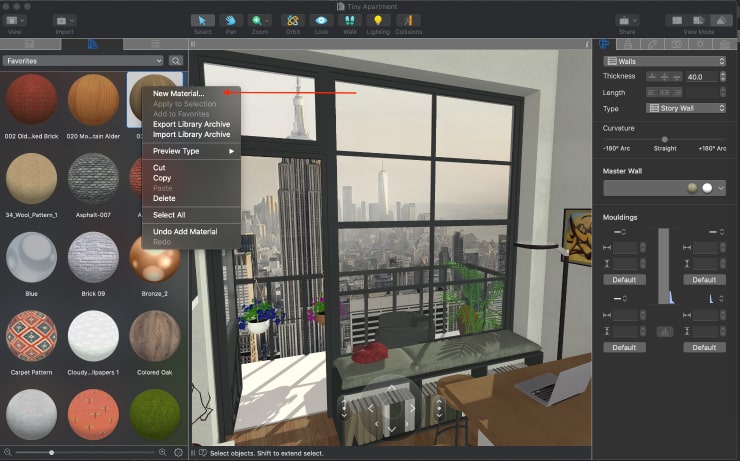
The image you want to use as the background should be added to the Material Library of the app as a new material. The context menu in the Material Library is the best option to use for this.
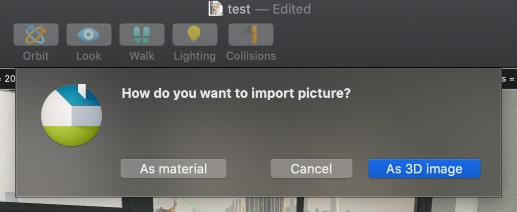
If you import an image by dragging and dropping it into a 3D view, you will be offered an option to import it as a material or as a 3D image. You should choose to import it as a material.
Don’t import it as a 3D image as you will get a so-called “sprite” object. This is a plain vertical image that turns in 3D view, depending on the viewpoint (you may see such objects in the Plants category of the Object Library). This image looks a bit dim and turns while you are moving in 3D, so it is not something you need for this purpose.
Create a Surface for the Background
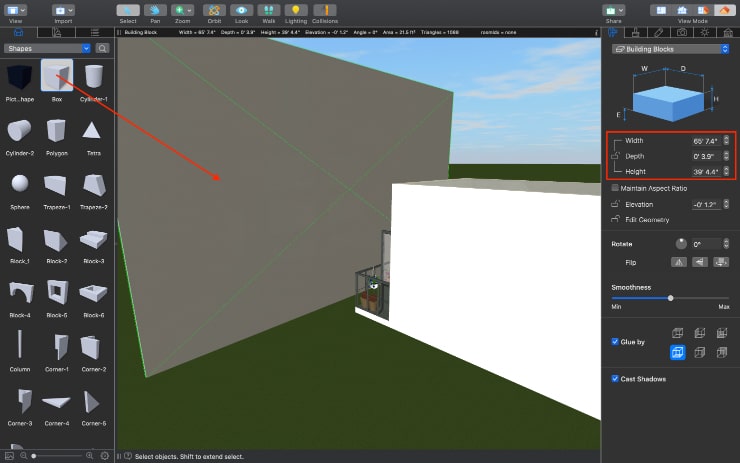
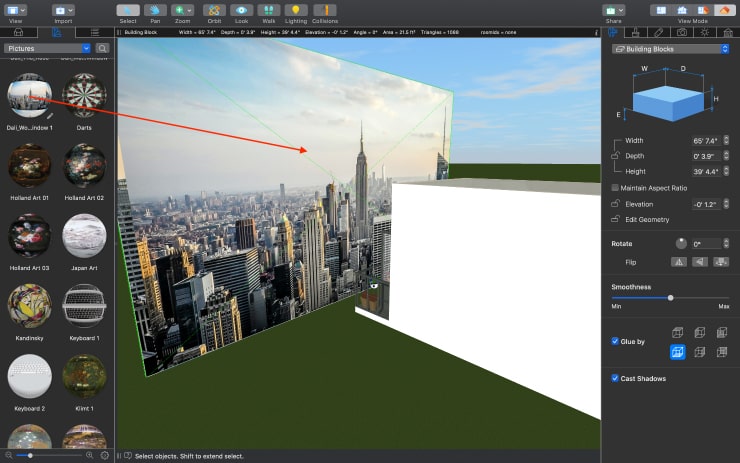
Once the material is in the Library, you can prepare a surface for it. If you use the Standard Edition of the app, you may create the surface by using the Box shape from the Object Library. For our project, we used the parameters shown in the screenshot. It is recommended that you disable the "Cast Shadow" option in the Object Properties tab for the added shape.
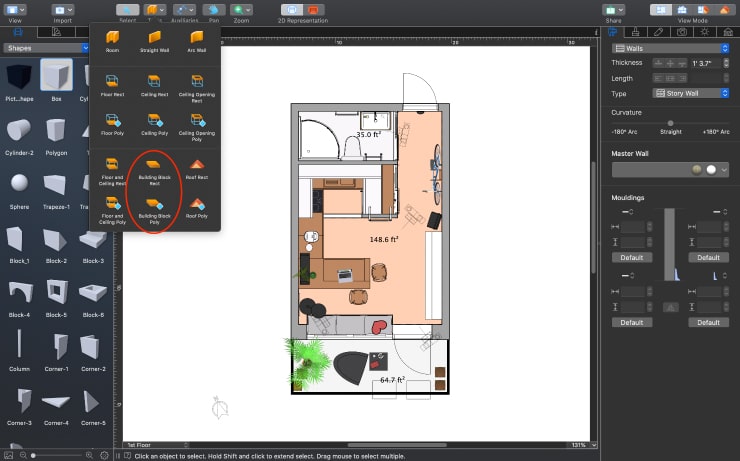
Pro Edition users may create the surface for the background image by either using the shapes or creating the building block of the appropriate size in 2D.
Apply the Material
The material is added onto the surface by a simple drag and drop.
Adjust the Sun Location
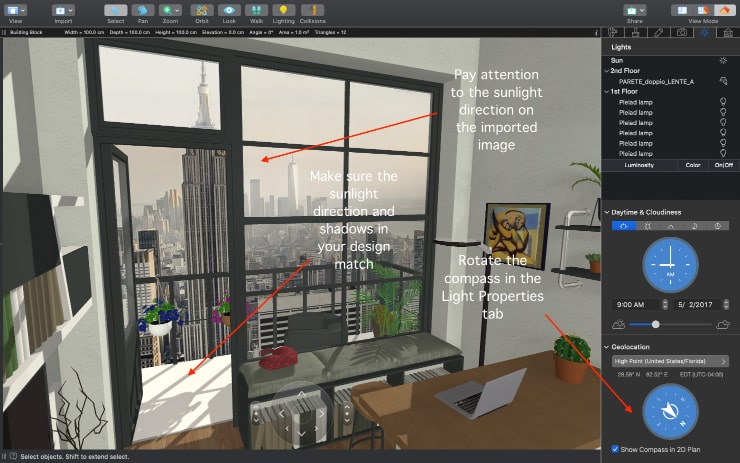
It is very important to pay attention to the location of the Sun on the image. By rotating the Compass in the Light Properties tab of the Inspector, you may achieve the right direction for the shadows falling from the handrails or other objects. This will add a realistic touch to your design.
As you can see, the process is really easy. Your photo or any image added to Live Home 3D will allow you to make great views of your interior design project!
The project used to illustrate this article can be downloaded at the bottom of the “Efficient Designs for a Tiny Home” article.