Live Home 3D Workspace
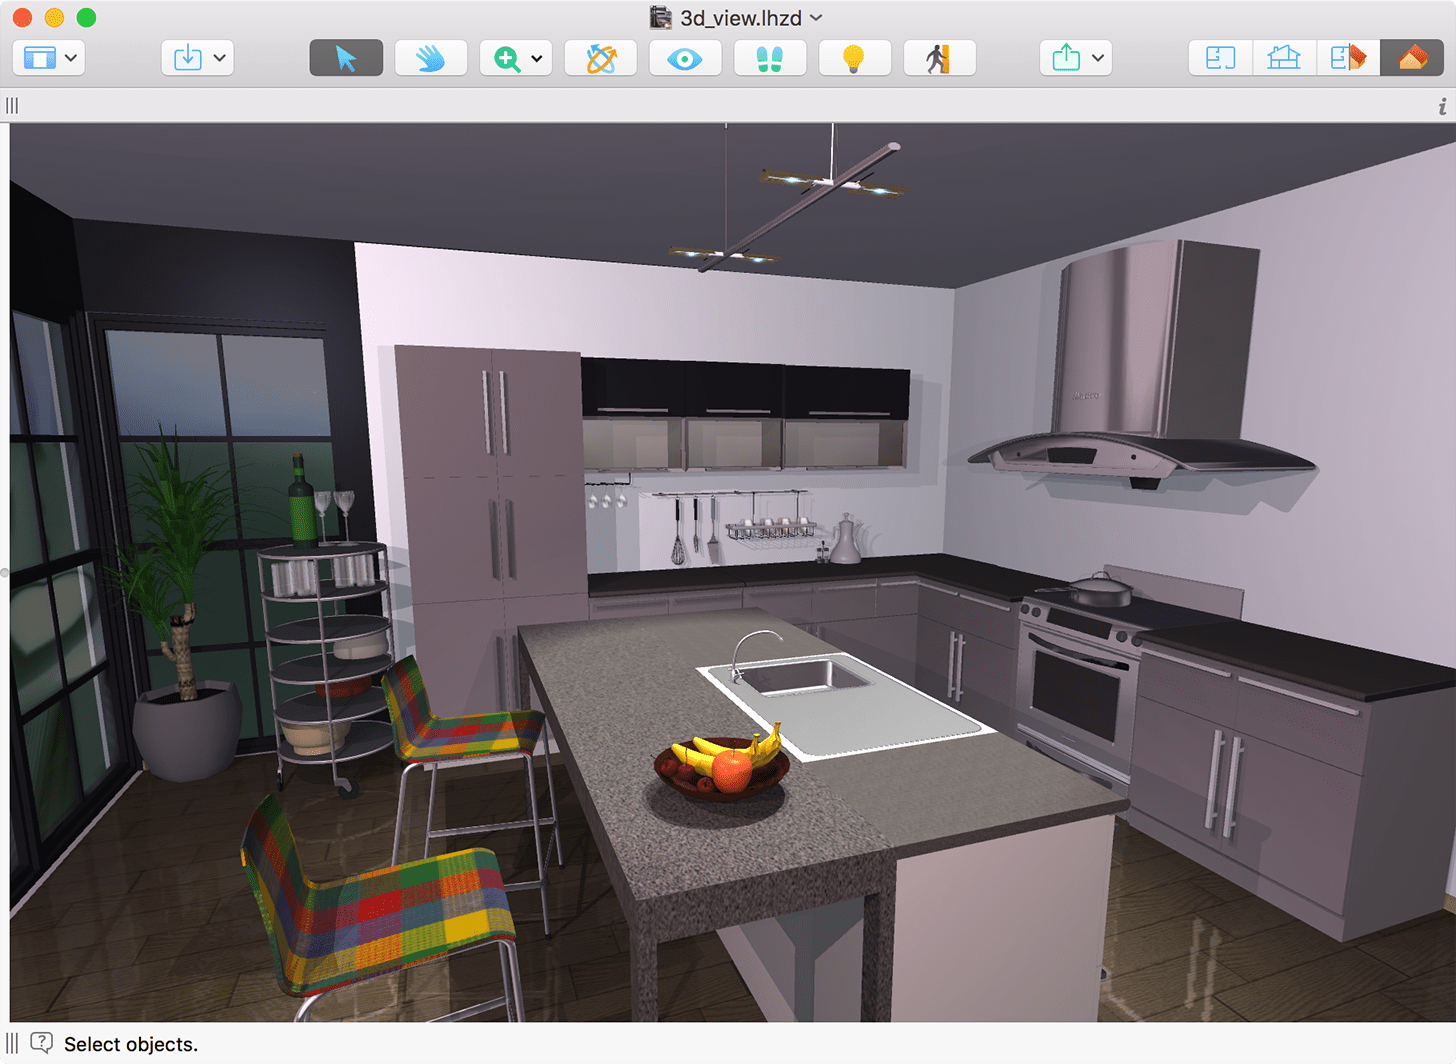
The 3D View
The 3D view displays a 3D model of your project. In the 3D window, you can move objects, change materials, adjust lighting and more. You can also walk around in the 3D space and take pictures.
To open the 3D view, click the 3D View button in the toolbar, or press Cmd-\.
The 3D Toolbar is described in a separate subsection below.
The Information Bar, located below the toolbar, shows details about a selected object, such as the type, size and others. The "i" button at the right hand side of the Information Bar lets you open or close the Inspector.
The Main Window section describes elements of the interface common for all views.
The 3D Toolbar
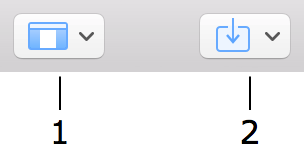
1 – The View button lets you control the Library and Inspector.
2 – Import 3D models from the Trimble 3D Warehouse™ online library or from files on your hard drive.

3 – The Selection tool for selecting and moving objects.
4 – The Pan tool allows you to grab and scroll the 3D view with the cursor.
5 – The Zoom tool.
6 – The Orbit tool. You can click at some point and drag. You will move around the selected point.
7 – The Look Around tool lets you rotate the view around your current view point.
8 – The Walk tool. While you are moving the cursor along the edges of the view, it turns into arrows. The direction of an arrow changes depending on the cursor position. If you click, you will move in the 3D space in the direction of the arrow.
9 – Render the scene with or without the lighting. Turning the lighting off makes the view respond faster.
10 – Allow or disallow walking in 3D through walls and other objects. Walking through doors is always possible.
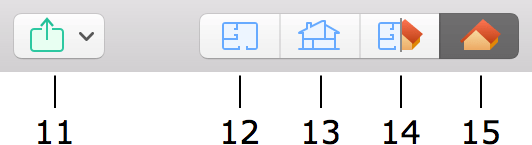
11 – Share the 2D or 3D view with other apps, export it to your hard disk or attach it to an email.
12 – Display the 2D Plan view.
13 – Display the 2D Elevation view. (Pro edition only)
14 – Display the 2D Plan and 3D views together (Split Mode).
15 – Display the 3D view.
To customize the toolbar, right-click on it and select the Customize Toolbar… command.
The view can be fine tuned by changing the Cameras Properties in the Inspector. It is possible to choose either perspective view or orthographic projection. The perspective view lets you adjust the field of view.
A camera icon may be displayed in the top right corner of the 3D view. The icon indicates that the current view is linked to one of the user's cameras.
If you extend the main window horizontally to give the 3D view as much space on your screen as possible, the 3D view may not take the available area entirely leaving empty borders on the sides. This happens because of limitations of your computer hardware.
Walking Around
There are several ways to navigate inside your 3D model. One of the possibilities is to use the toolbar buttons described earlier. There is also a specialized tool called the Walk Control with areas sensitive to clicks. The direction of movement depends on what area you click on.
The Walk Control appears at the bottom of the 3D view. It is visible by default. You can choose a display mode from the View > Display 3D Walk Control menu. In the Automatic mode, the Walk Control is shown when you move the cursor over the area it takes. In the two other modes, the control is always shown or never shown.
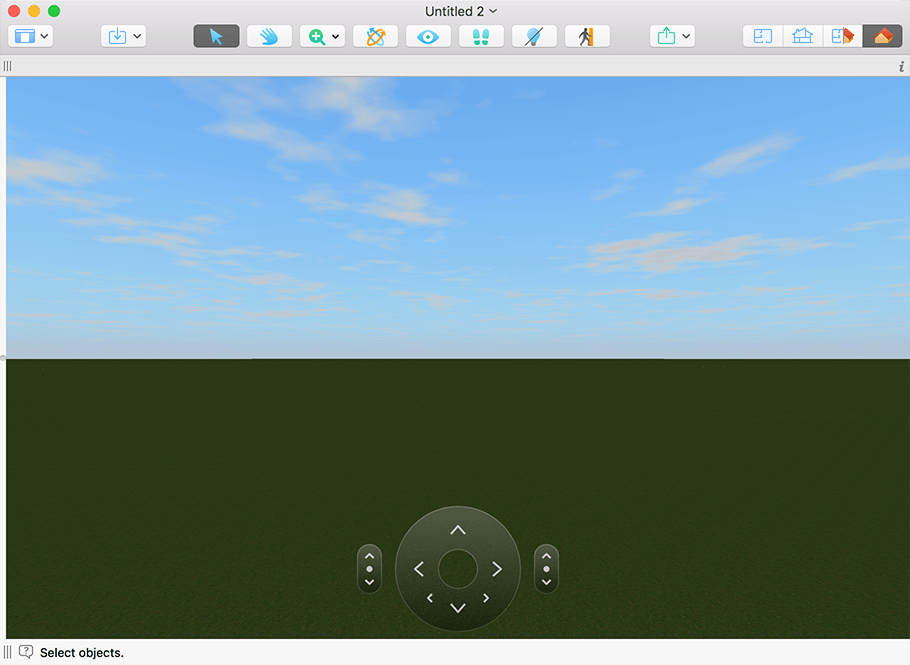
Note that the Walk Control is not displayed while the Walk tool in the toolbar is activated.
The walking speed depends on the rendering quality. At higher quality settings, the movement can be slower. In order to move faster, turn off the lighting in the toolbar, and/or decrease values in the 3D Settings tab of the app Settings. You can edit your project at a lower rendering quality that provides the most comfortable work with the 3D view. You can then set higher quality to take pictures.
Walk Control
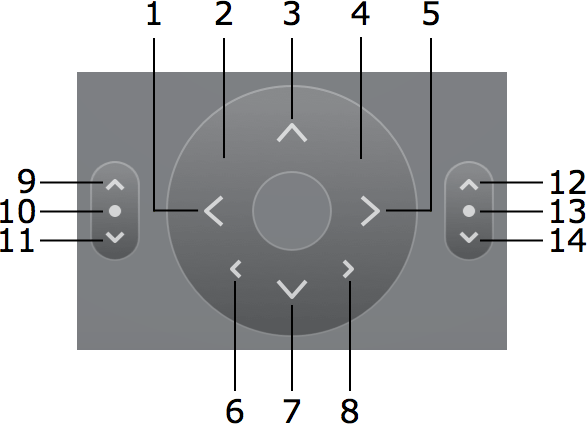
1 – Turn to the left.
2 – Move forward turning to the left.
3 – Move forward.
4 – Move forward turning to the right.
5 – Turn to the right.
6 – Move to the left.
7 – Move backward.
8 – Move to the right.
Camera Pitch
9 – Look upwards.
10 – Double-click to look straight forward.
11 – Look downwards.
Camera Elevation
12 – Move the camera up.
13 – Double-click to restore the default level.
14 – Move the camera down.
Using the Keyboard
The keyboard arrow keys can be used to move forward, backward, and turning left and right. The alternative shortcuts are shown in brackets.
| Up (W) | Move forward |
| Down (S) | Move backward |
| Left | Turn to the left |
| Right | Turn to the right |
| Cmd-Up (Q) | Tilt the camera up |
| Cmd-Down (Z) | Tilt the camera down |
| Opt-Up (E) | Move the camera up |
| Opt-Down (C) | Move the camera down |
| Opt-Left (A) | Move the camera to the left |
| Opt-Right (D) | Move the camera to the right |
Moving Objects in the 3D View
To move an object horizontally in the 3D view, drag it to a new place.
The Glue By option in the Inspector defines how an object moves in relation to the floor, walls and other objects. When the option is disabled, you can drag the object strictly horizontally. When it is enabled, the object will snap to the floor, walls or other object, and will be able to change its elevation. For example, if you move a vase (with Glue by Bottom activated) off a table, it will fall onto the floor.
Holding the Cmd key temporarily disables the Glue By option. When you release Cmd or the mouse button, the object will have the elevation that it should have according to the Glue By function.
To move an object in a vertical plane (perpendicular to the current view direction), hold the Option key.
To make the object elevation constant, activate the Lock Elevation option in the Inspector.