Working with Projects
The Daylight Settings
The lighting in any project is a composition of the daylight and artificial light. The Light Sources section explains how to work with light sources.
To set up the daylight, use the Light Properties tab of the Inspector. You can open it by choosing Window > Inspector > Light Properties from the main menu.
The program simulates the daylight upon the geographic location, date, and time of day.
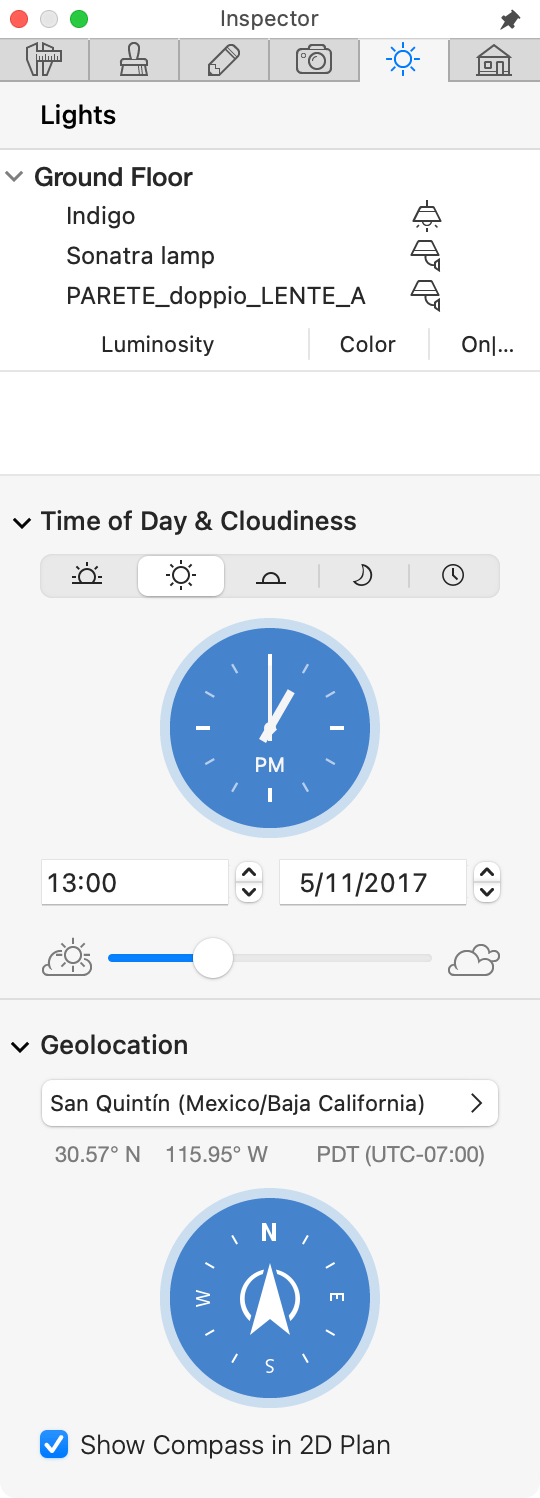
The Time of Day and Cloudiness Section
To set up the time of day, you can choose the predefined time by clicking on the corresponding buttons: Morning (9:00), Day (13:00), Evening (18:50), or Night (1:00). To set any time you like, grab and rotate the hour hand on the clock, or use the input field below the clock to the left. Click on hours or minutes, and type a new value.
To set up the date, click on the day or month in the field below the clock. You should then click on the steppers' arrows to move to the previous or next day or month. You can also choose the date in the calendar that pops up. To apply the selected date, click the Done button in the calendar.
The Cloudiness slider changes the amount of clouds in the sky. It is intended to change the sky conditions, but doesn't affect the brightness of the daylight.
The Geo Location Section
To set up the geo location, click on the button at the top of the Geo Location section. It will open the map of the world. Click on the map to specify your location. You should then choose the city, in which you are located, or the nearest one. It is also possible to input the geographic coordinates.
In order to define the direction to the north in your project, rotate the compass in the Inspector. The same result can be achieved by rotating the compass displayed on the floor plan. If the compass is not needed on your floor plan, deselect the Show Compass check box in the Inspector.